Master the art of applying Berger Homeshield Rising Dampstop like a pro with expert techniques in this informative blog.
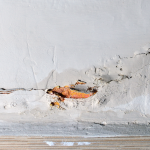
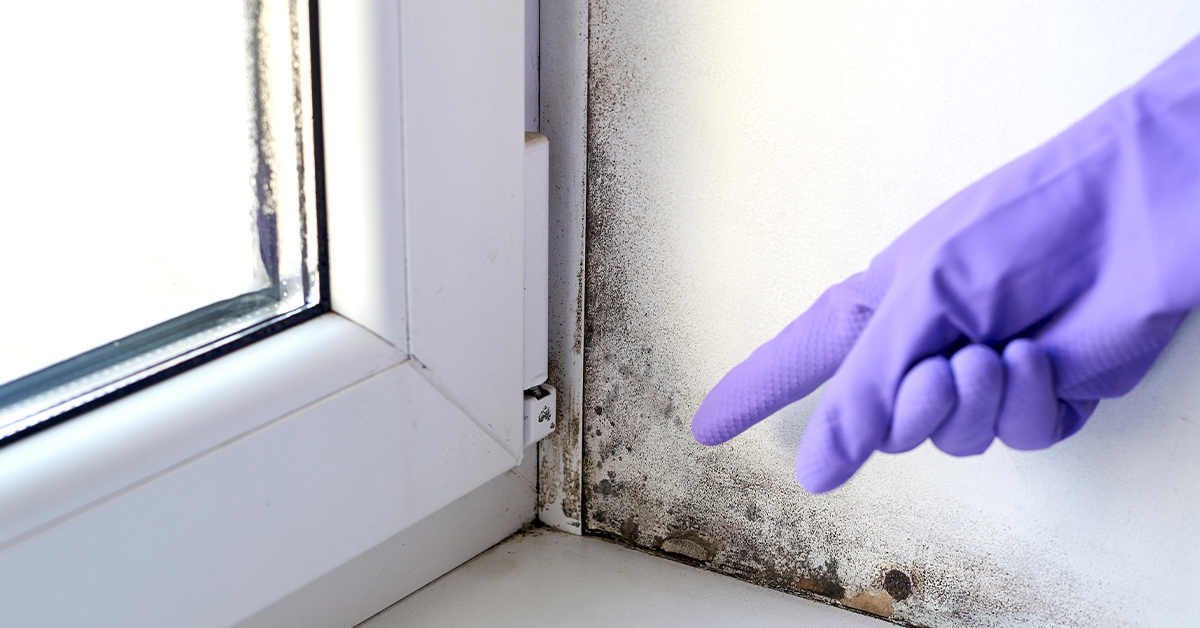
Rising dampness can be a nightmare for homeowners, causing damage to the walls and creating an unhealthy living environment. Fortunately, with the right dampstop waterproofing solution and proper application, you can bid farewell to this issue for good.
In this blog, we’ll guide you through the entire process of using Berger Homeshield Rising Dampstop, ensuring you get the most out of this innovative solution for rising moisture.
1. Drill Holes:
The first step in tackling rising dampness is to drill holes. These holes serve as entry points for the Rising Dampstop solution. You’ll want to drill them 8 to 12 inches apart with a diameter of 16-18 mm through 70% of the wall’s width. This creates a pathway for the solution to penetrate the affected area effectively.
2. Surface Preparation:
Now that you have holes, it’s crucial to prepare the surface. Clean the holes meticulously using a brush. Ensure that the walls are free of debris and dirt. A clean surface will ensure the best results in the long run.
3. Insert Rod And Tube:
To deliver the Rising Dampstop solution where it’s needed, you’ll need to insert an absorption rod into each hole. Cut any excess rod as required to ensure a snug fit. Additionally, insert a transparent tube into each hole, again trimming any excess as necessary. This rod and tube combination will facilitate the proper distribution of the solution.
4. Binding:
To ensure that the pipe stays securely in place within the rod, use Berger Homeshield Leakstop. This binding agent will create a strong connection between the pipe and the rod, preventing any leakage or displacement.
5. Using Rising Dampstop:
Now, it’s time to prepare the Rising Dampstop solution. Mix it with water in a 1:1 ratio to create an effective, ready-to-use mixture. Inject this mixture into each hole, repeating the process for every drilled hole. This step is the core of the rising dampness solution, as it will create a barrier against further moisture infiltration.
6. Sealing:
After the Rising Dampstop solution has been successfully injected into the holes, remove the pipes, and seal the exposed holes with Berger Homeshield Leakstop. This step ensures that your walls maintain their integrity and appearance.
7. Putty:
To further enhance the finish and durability of the walls, apply two coats of Berger Homeshield Waterproof Putty. Allow for a drying time of 4-6 hours between each coat. This waterproof putty not only seals the surface but also provides a smooth finish.
8. Finishing Touch:
To wrap up the process, apply a primer coat of Dampstop Duo. This will prepare your walls for the final touch—a coat of your desired top coat. This top coat not only provides a visually appealing finish but also enhances the overall protection of the walls against rising dampness.
With this comprehensive guide, you can control dampness in walls and provide a dry, safe, and beautiful living environment to your clients. Proper application of Berger Homeshield Rising Dampstop ensures its effectiveness, offering peace of mind and protecting the living space for years to come. Say goodbye to rising dampness, and hello to a healthier, happier home!
Take action today with a dampguard for internal walls. SMS HS to 56767 and get home walls treated with Berger Homeshield Rising Dampstop.
 Get in Touch