Introduction To Grouting

 Jan , 2026
- Waterproofing
- 4 Min Read
On a finished surface, the small lines between tiles can look like a minor detail, until they start cracking, discolouring, or letting moisture through. That’s where grouting becomes more than a finishing step; it’s part of what makes an installation feel solid and last for years.
From home upgrades to large infrastructure projects, the same idea applies: fill the gaps correctly, and the surface performs as one connected system. In fact, grouting in construction is used not only for tiles, but also for void filling, sealing, and strengthening areas where movement or water ingress can create long-term damage.
What Is Grouting?
If you’ve ever looked closely at a tiled floor and wondered why those joints matter so much, it helps to start with the basics: what is grouting in practical terms? It’s the act of placing a flowable or paste-like mix into joints, seams, or empty spaces so they become sealed and supported after curing.
Once it hardens, grout can help bond adjoining materials, reduce shifting, and block moisture from reaching the base layer underneath. That’s the real grouting meaning in construction, turning separate pieces (or weak zones) into a more stable, better-protected assembly.
Purpose Of Grouting
Good joints do more than “fill space.” The point is to close pathways where water, dirt, and microbes can settle, and to prevent movement that slowly loosens tiles or damages edges. The goals typically include:
- Sealing joints to reduce water seepage
- Supporting tile and stone installations
- Blocking dust, dirt, and insects from entering gaps
- Improving visual uniformity across floors and walls
- Reducing mould-friendly pockets in damp areas
On-site, teams often describe the grouting work meaning as “locking the finish in place,” because it supports both performance and appearance over time.
Types Of Grouting
Before you choose a product, think about location, exposure, and how much cleaning or traffic the surface will see. Most contractors talk about grouting types based on the binder system and the job requirement (finishing, sealing, injection, or strengthening).
In technical specifications, you’ll also see types of grouting in construction grouped by where they’re used: tiling, crack sealing, void filling, or soil stabilisation. Availability matters too, so it’s worth checking the types of grouting material commonly stocked in your area before finalising. In day-to-day practice, materials used for grouting usually fall into a few core categories, each with predictable strengths and limitations.
1. Cementitious Grouting
This is the familiar option for many residential installations and light commercial spaces. It’s cost-effective, workable, and widely available, but it does require careful mixing and curing.
Key traits include:
- Easy application
- Budget-friendly performance
- Best suited to low-to-moderate moisture zones
For standard floors and walls, installers typically select a cementitious grout product that matches joint width and expected wear. Many project BOQs even call this out specifically as cement grouting work for typical tile-laying scopes.
If you’re aiming for a clean finish, remember that the final look depends heavily on joint prep and cleanup timing, not just the bag you buy. A consistent tile grout colour and uniform joint profile usually come from patient wiping and controlled curing, not aggressive scrubbing.
2. Epoxy Grouting
Epoxy is chosen when you want maximum stain resistance, strong joints, and easier long-term cleaning. It’s common in high-moisture zones and places where harsh cleaners are used.
This is why bathroom grouting jobs often shift to epoxy in shower areas, around floor drains, and near basins. For homeowners focused on low-maintenance finishes, grouting bathroomtiles with epoxy can reduce staining and make routine cleanup simpler, though application needs more care and faster working time.
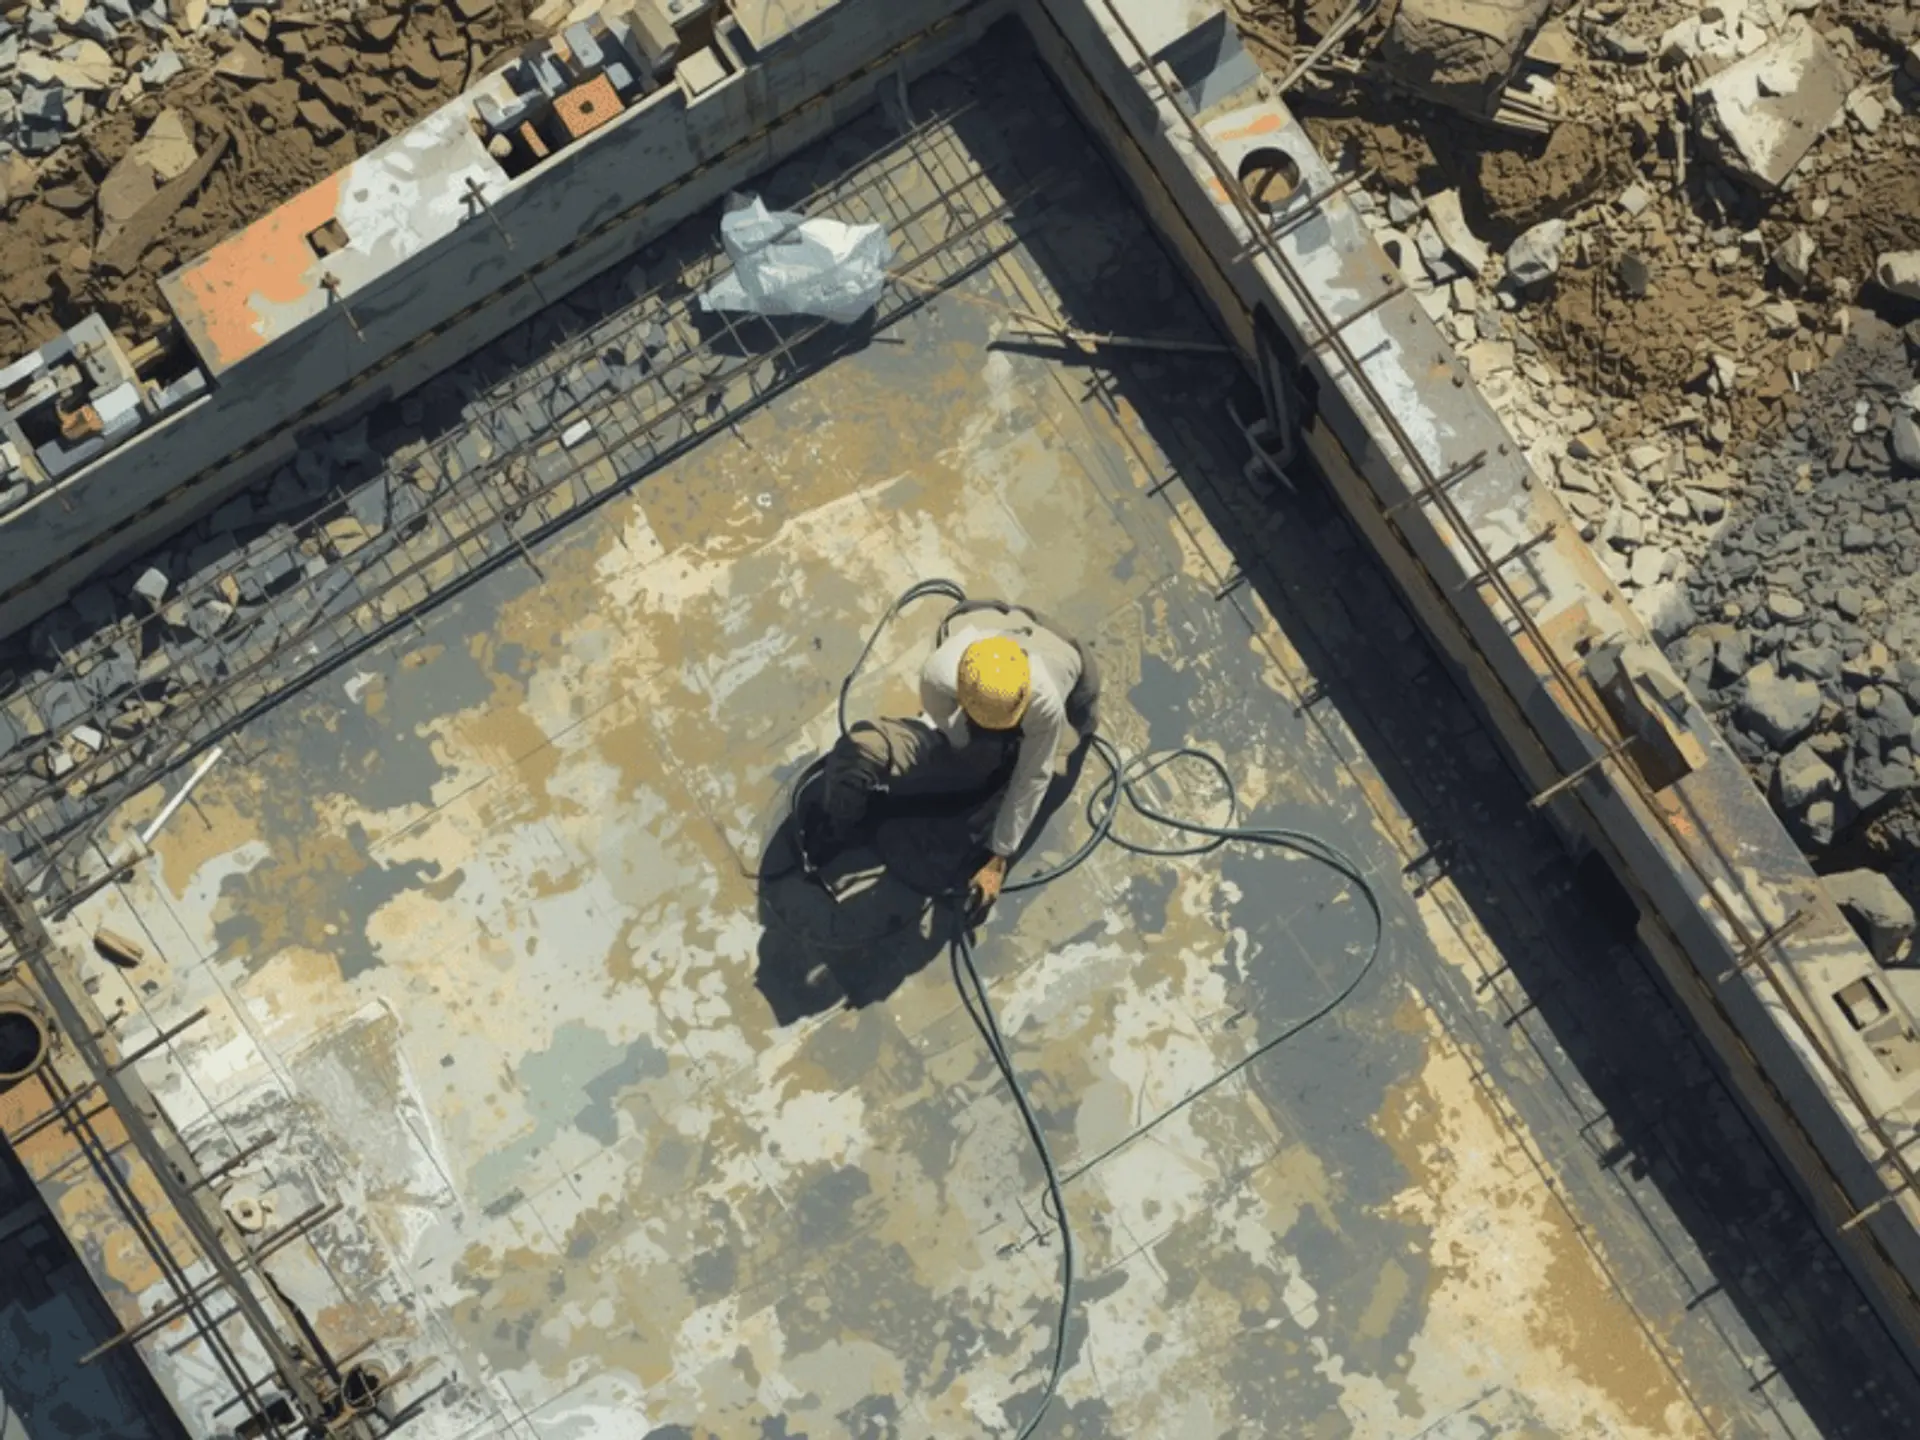
3. Chemical Grouting
Chemical systems are typically injected, not spread with a float, and they’re widely used in repair and civil engineering. They can penetrate very fine cracks or porous ground where thicker mixes won’t travel.
When leaks or micro-cracks are the root issue, engineers may specify a grouting method of crack repair that relies on controlled injection and setting behaviour. In these cases, success depends on choosing the right grouting method for the material, crack pattern, and moisture level, plus controlling pressure to avoid widening the defect.
4. Polymer Grouting
Polymer-modified grout bridges the gap between basic cement mixes and speciality systems. It’s often used where slight movement is expected due to temperature swings, vibration, or outdoor exposure.
You’ll commonly see the application of grouting broaden here, to balconies, exterior walkways, and busy zones that see repeated loading. The polymer additives improve flexibility and bond strength, helping joints resist hairline cracking over time.
Benefits Of Grouting
Most people notice grout only when it looks dirty or starts failing, but its real value shows up in how well a surface ages. Quality grouting work supports the installation by stabilising joints, reducing water pathways, and protecting edges from chipping.
Key advantages include:
- Improves structural strength by reducing movement between units
- Prevents water damage by sealing vulnerable joint lines
- Enhances appearance by creating crisp, consistent visual lines
- Increases durability by reducing erosion and joint breakdown
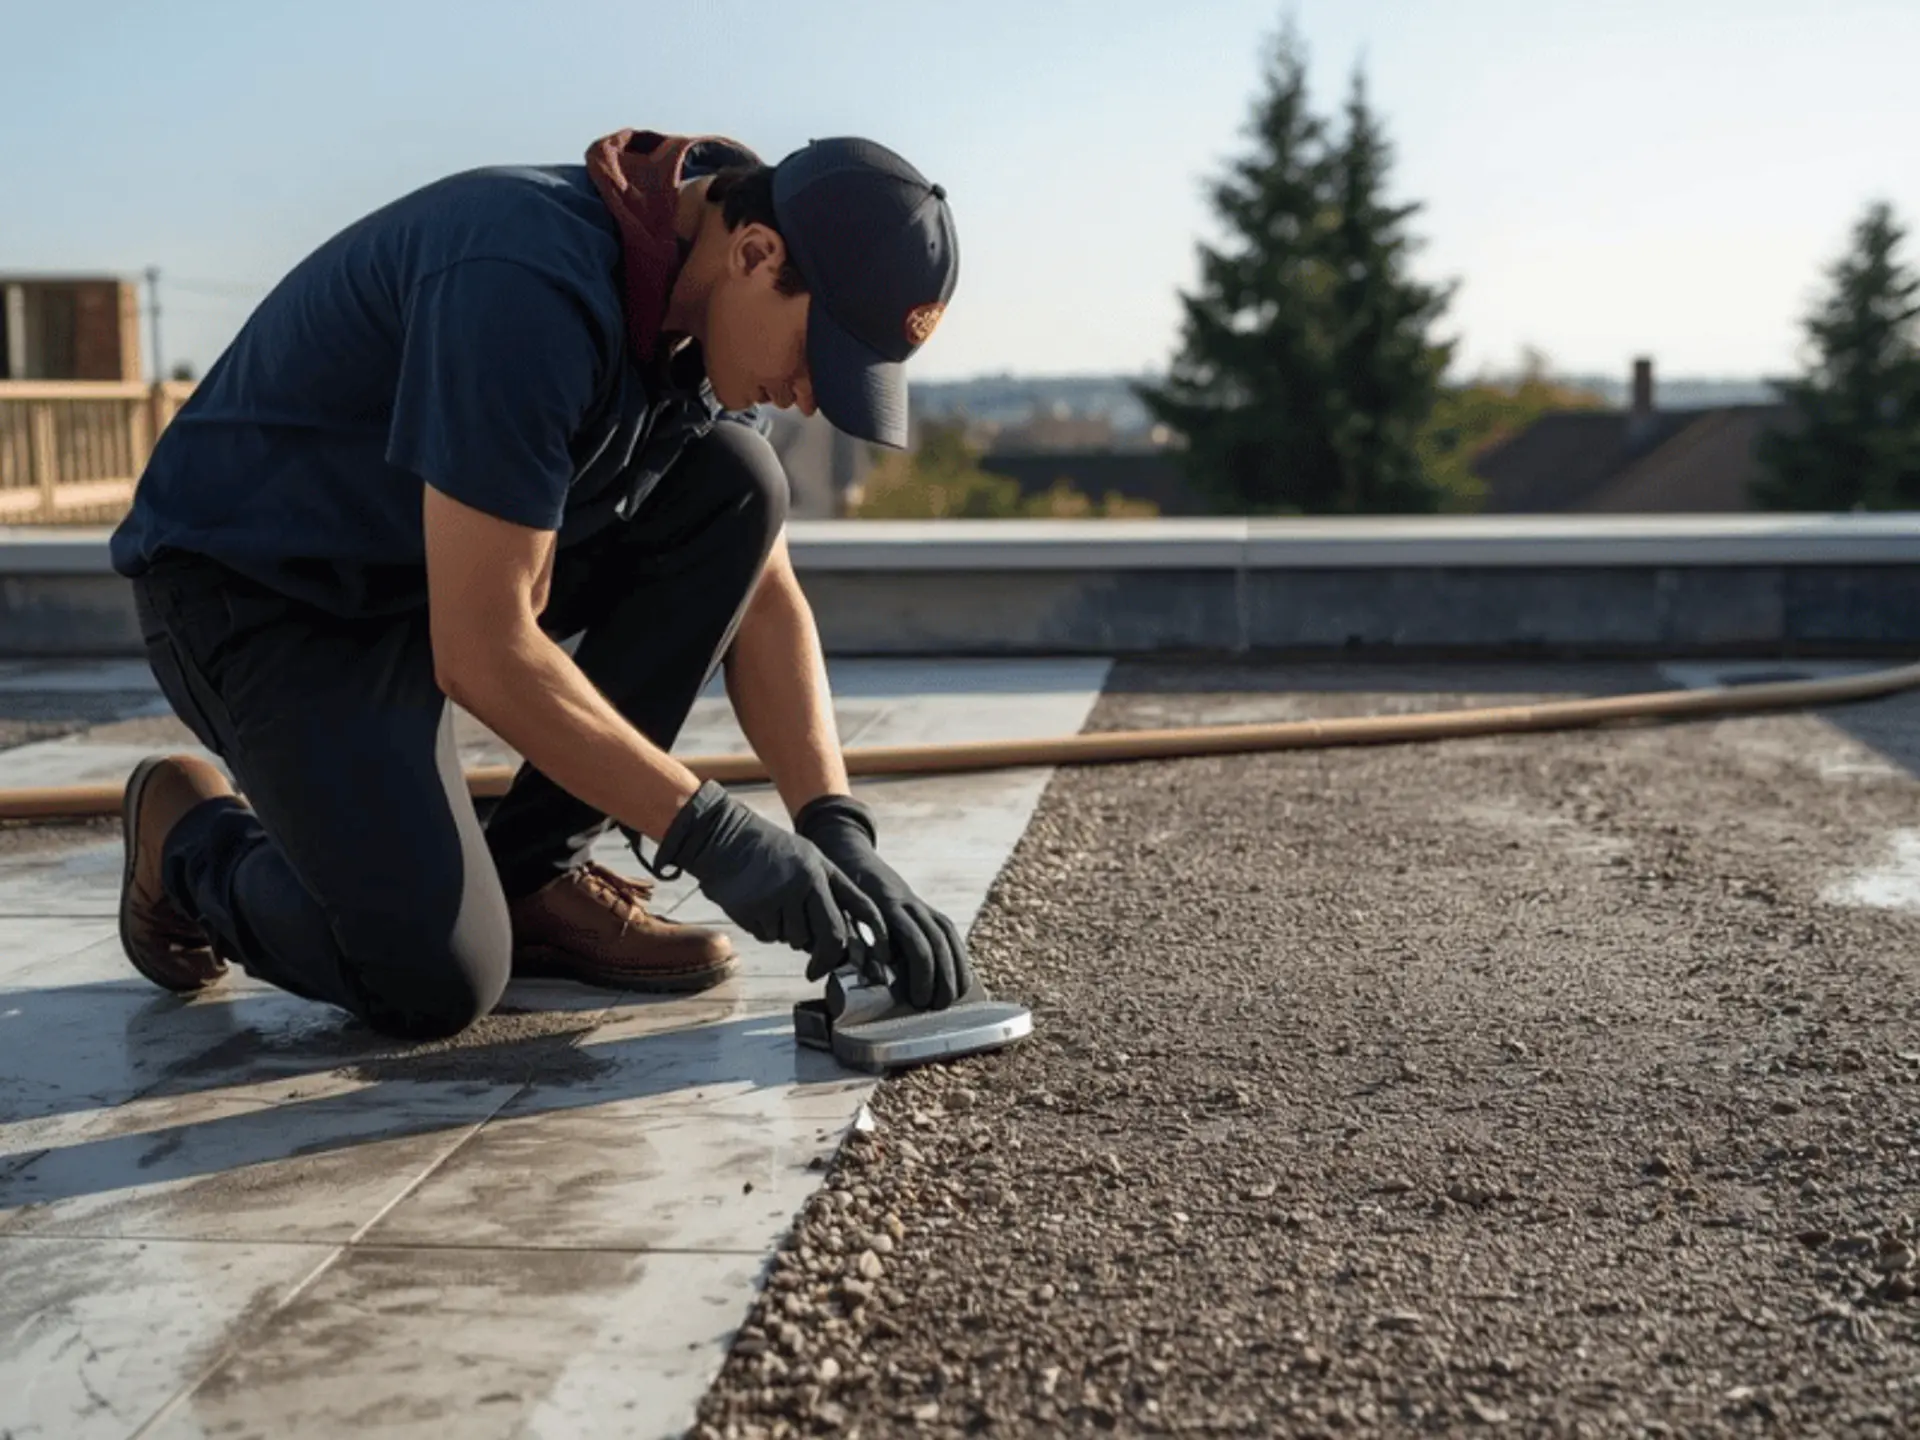
Step-by-Step Guide On How To Apply Grouting
A clean finish comes from steady preparation and timing, not rushing. Treat this as a practical grouting process you can repeat room to room, and always double-check product-specific directions for curing and cleanup windows.
If you’re working on a tiled surface, the tile grouting process is easiest when you set up everything first: tools, clean water, sponge, and a clear exit path, before you mix anything.
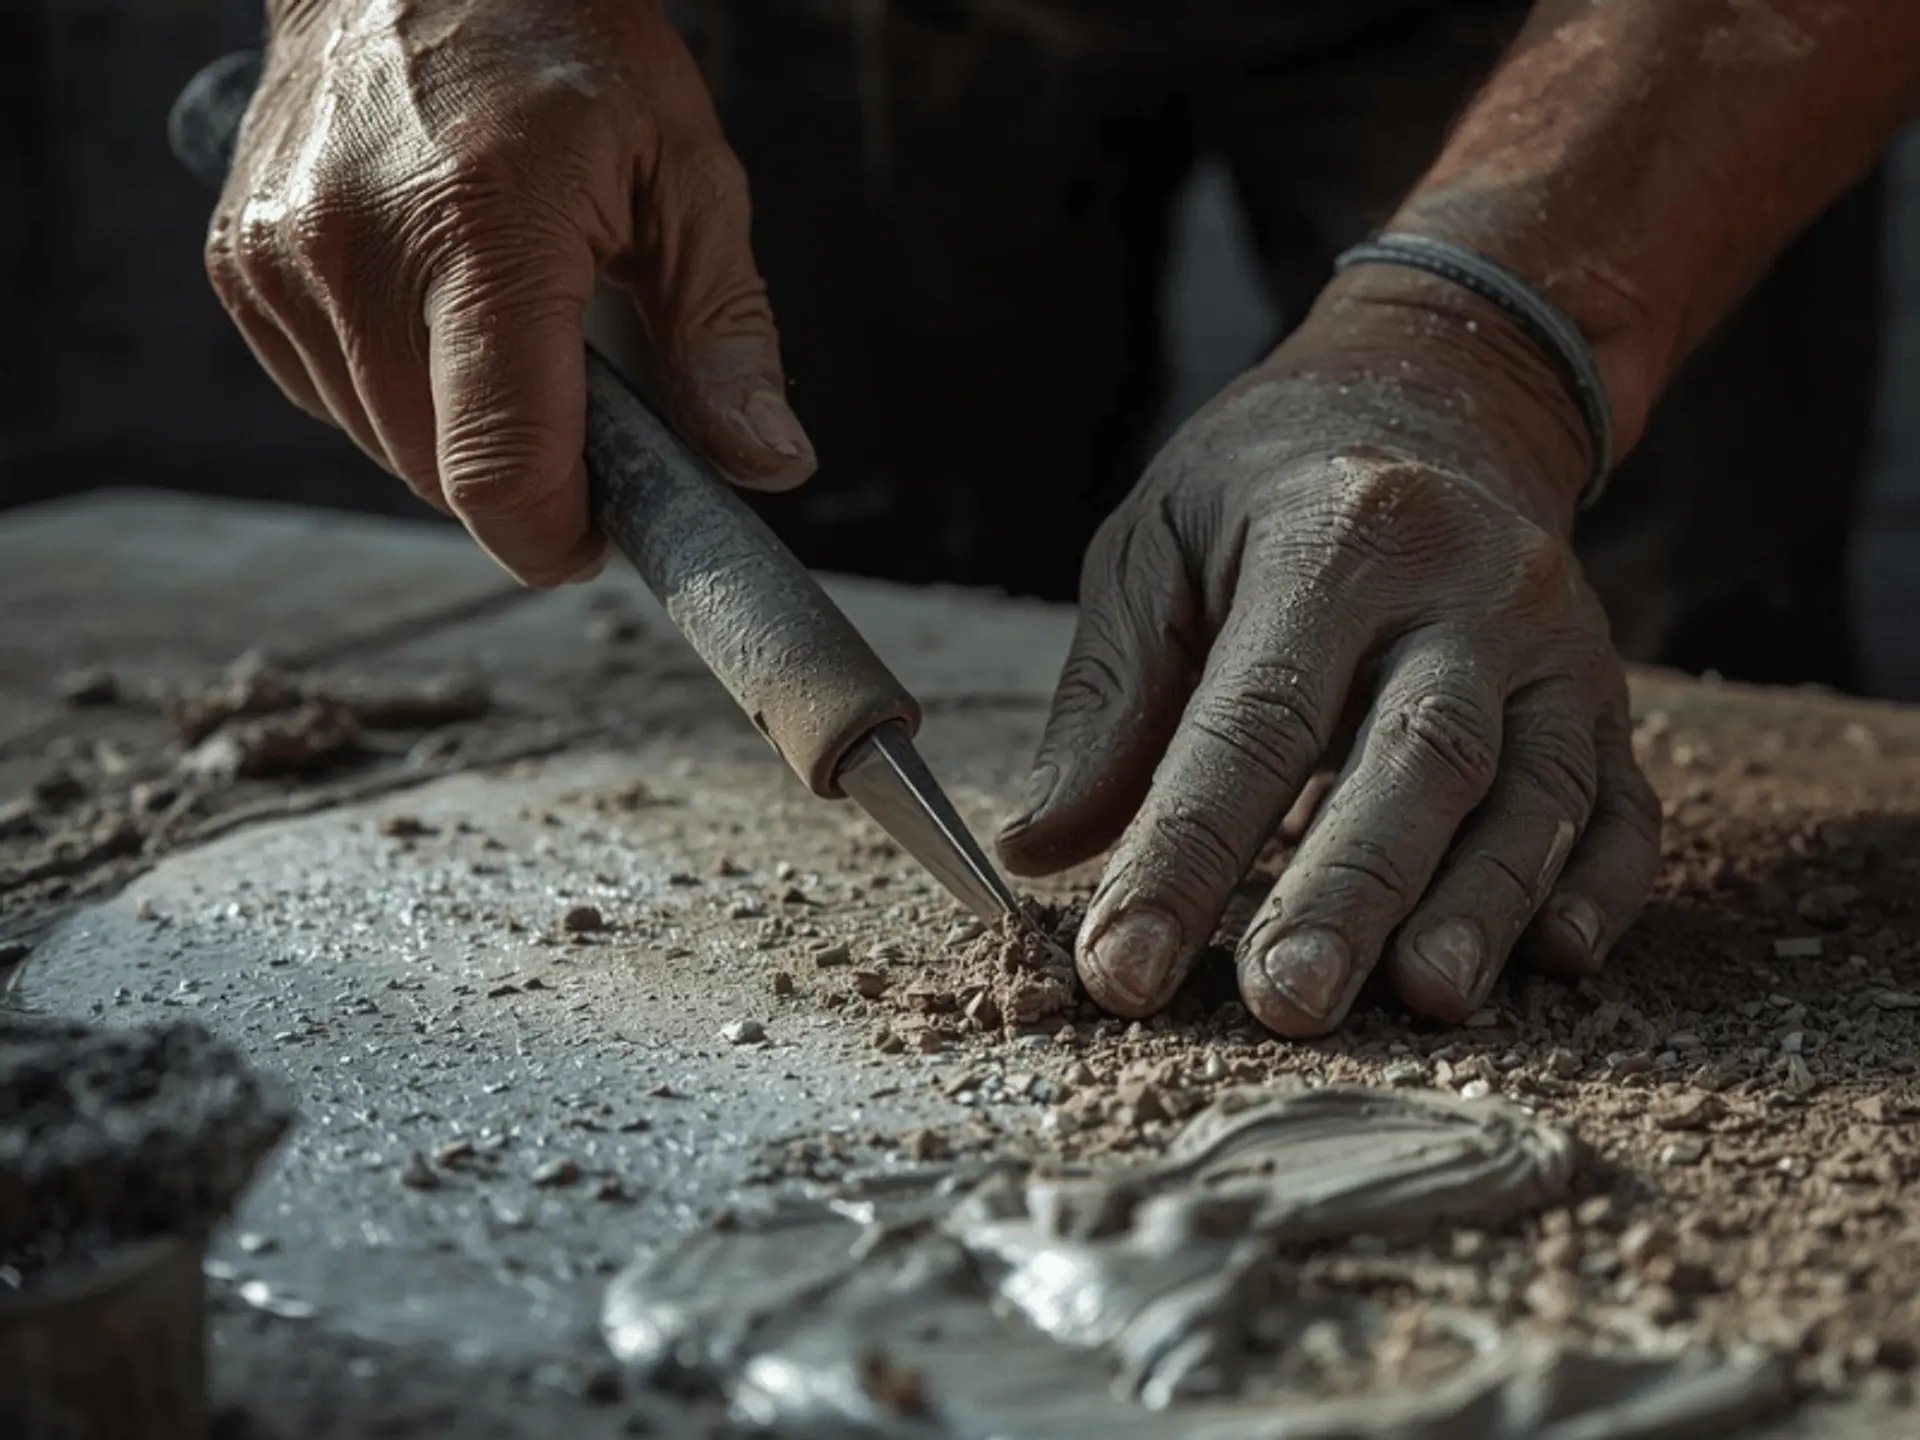
Step 1 – Prepare The Surface
Start by making sure the joints are ready to accept grout.
- Remove spacers and loose debris
- Clean adhesive ridges or dust from the gaps
- Confirm tiles are firmly set, and the surface is dry
Dirty joints weaken bonding and can cause early cracking later. This early prep also reduces patchy colour and uneven texture after curing.
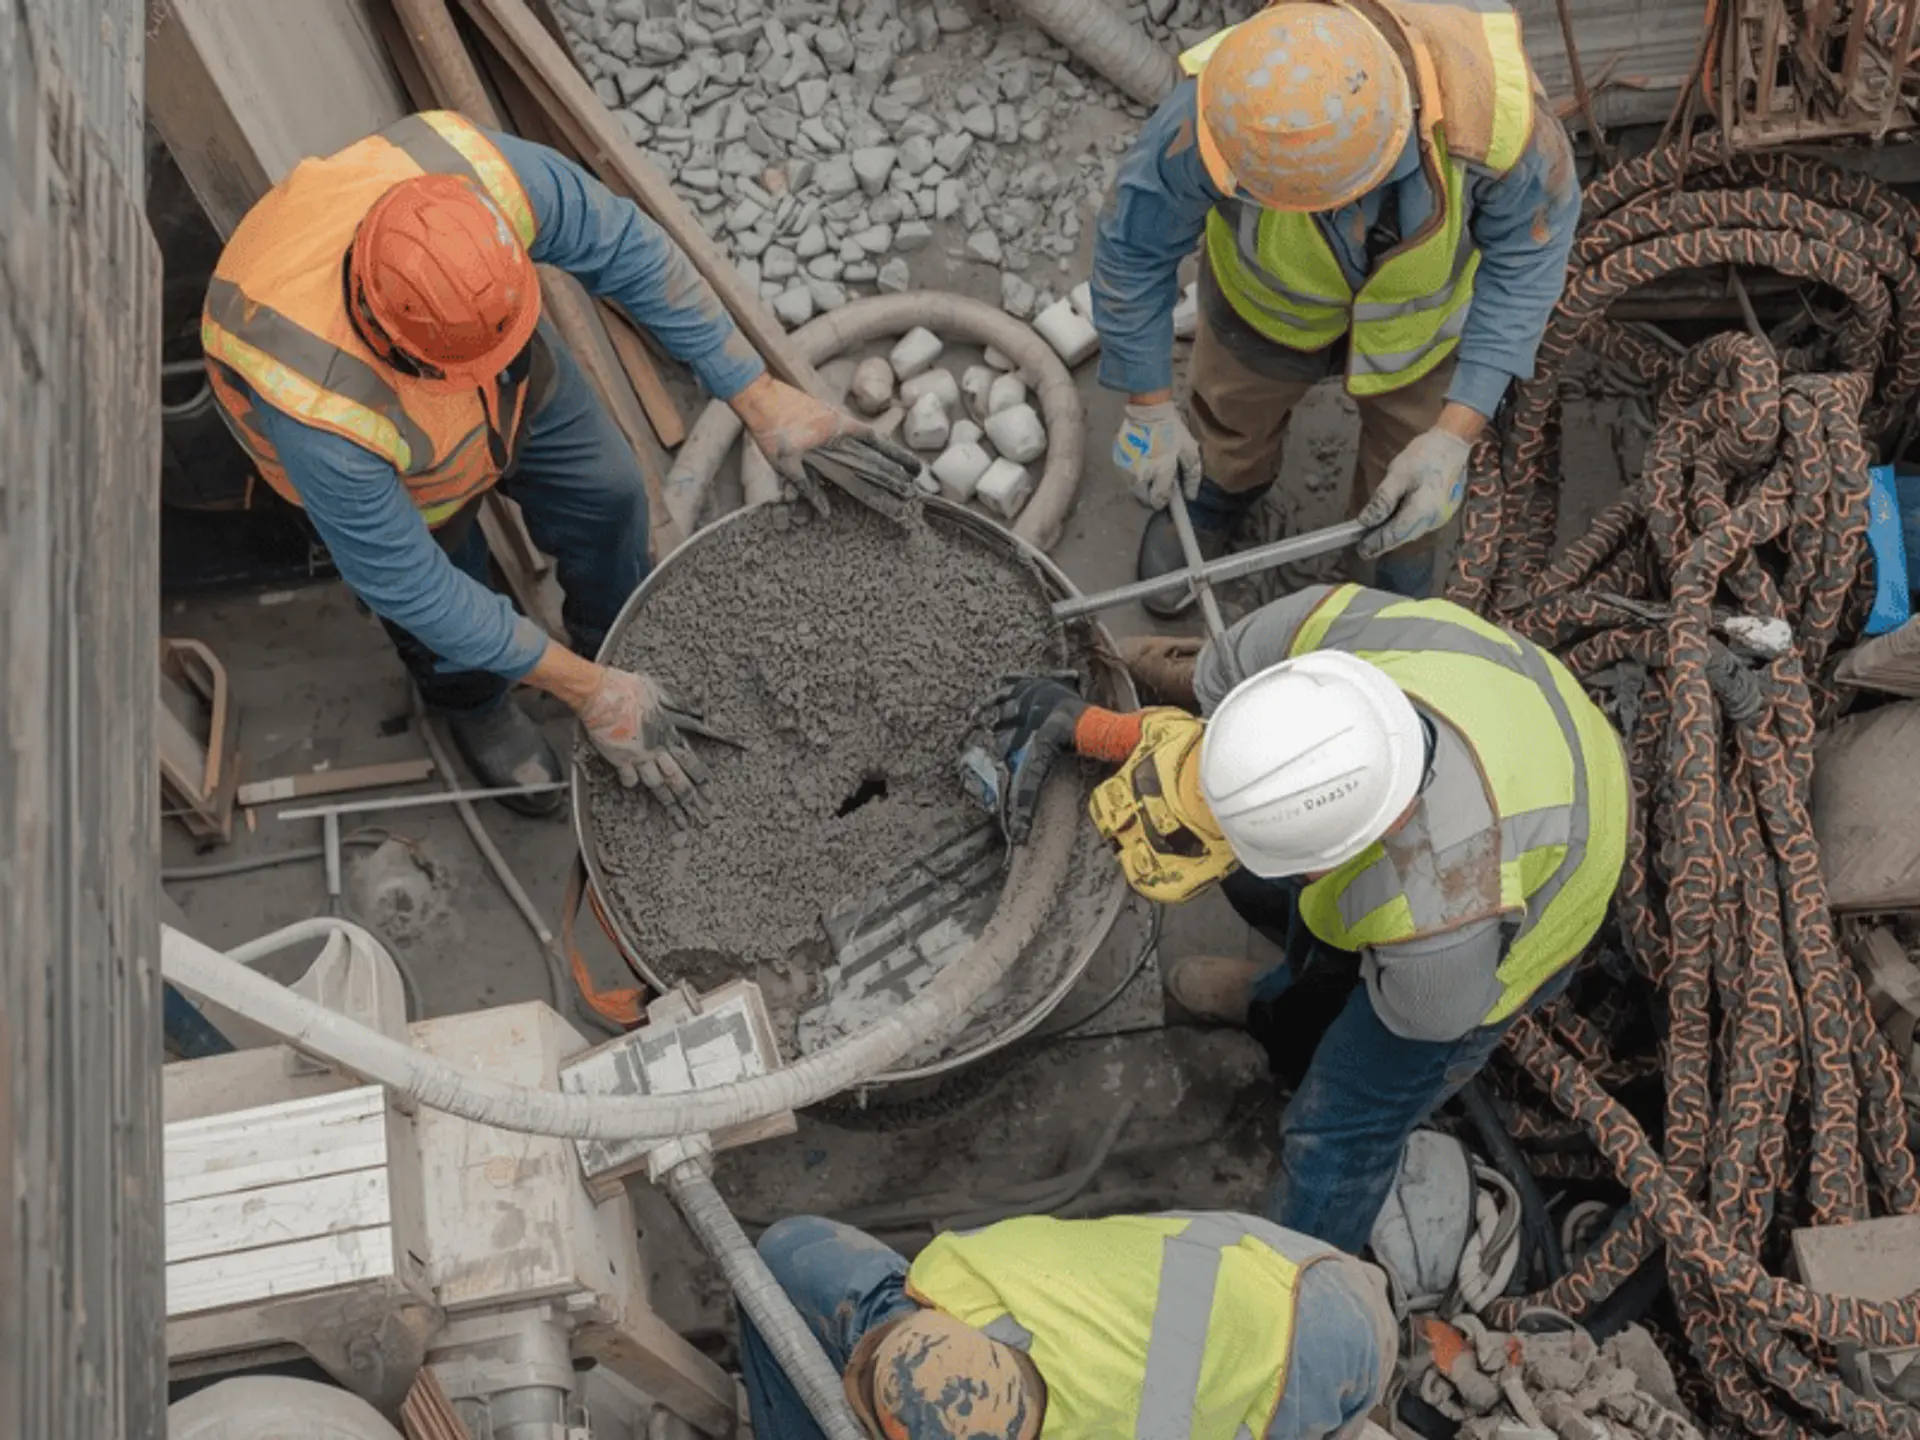
Step 2 – Mix The Grout Properly
Mixing is where many failures begin, especially when water ratios are guessed. Add liquid slowly, mix thoroughly, and pause briefly so the powder hydrates evenly.
Follow the brand’s grouting instructions for rest time and remixing, because different products behave very differently once activated. A well-mixed batch should spread smoothly without slumping or turning runny.
Step 3 – Apply The Grout
Use a rubber float to push grout into joints at an angle. Work diagonally across tiles and apply steady pressure so you pack joints fully.
This approach is one of the most reliable grouting steps for typical tile installations, especially when joint widths are consistent. Keep your working area small so the surface doesn’t haze over before you’re ready to wipe.
Step 4 – Remove Excess Grout
After the grout begins to firm up, wipe gently with a damp sponge. Rinse often, and avoid digging into the joints. At this stage, you’re shaping the final joint profile while keeping the tile face clean. Slow, light passes usually beat aggressive wiping, which can pull material out and create low spots.
Step 5 – Let the Grout Cure
Curing is part of the process of grouting, not an optional waiting period. Keep the area dry, avoid foot traffic, and protect joints from early washing or splashes. Most products allow light use after about a day, but full strength can take longer depending on humidity and airflow. Always follow the package guidance for realistic timelines.

Step 6 – Seal the Grout (If Required)
If your grout is cement-based, sealing can help with staining and moisture resistance. Apply sealer only after the grout has cured as recommended, and ensure the surface is clean before sealing.
On larger jobs, supervisors often document the full grouting procedure so every room gets the same finish and performance level. When the same checklist is followed consistently, the procedure of grouting becomes easier to inspect and far less prone to callbacks.
For homeowners, grouting DIY is doable when you plan your timing and cleanup carefully. If you want a quick checklist to keep on hand, write down clear steps to grouting before you mix, because grout waits for no one once it starts setting.
Conclusion
Whether you’re sealing tile joints or stabilising vulnerable zones, choosing the right product and applying it with care is what keeps surfaces looking sharp and performing well. If your project also includes wall paint, schedule the work so that grout has enough cure time before adjacent finishing gets started, especially in wet areas.
For a consistent, professional finish, Berger Express Painting offers surface prep, precise grout application, and coordinated painting services that help renovations move smoothly. If you’re combining upgrades across rooms, aligning timelines with tiling solutions can also reduce rework and protect fresh finishes.
check for any query you have about the blog
Frequently Asked Questions
It’s used to fill joints and voids, seal surfaces against moisture, and improve stability in tile, stone, masonry, and repair applications. In broader civil work, it can also support ground improvement and leak control.
Many products become firm within hours, but most need around 24 hours before light use, with longer curing for full strength. Temperature, humidity, joint width, and ventilation can all change drying time.
It’s not recommended for tile joints because it can shrink, crack, and lack additives that improve bonding and stain resistance. Use a grout designed for joints, especially in wet or frequently cleaned zones.
Sealing is often recommended for cement-based grout in moisture-prone or stain-prone areas. Epoxy grout typically doesn’t need sealing, but it’s best to confirm with the manufacturer’s guidance.