How to Paint Kitchen Cabinets for a Smooth and Professional Finish

 Aug , 2026
- Berger Speaks
- 4 Min Read
Painting kitchen cabinets is a practical way to refresh the look of your kitchen without replacing the entire setup. A smooth, professional finish depends on careful preparation, the right tools and suitable paint.
From cleaning and sanding to priming, painting and allowing enough drying time, each step matters. With a simple, planned approach, you can improve the appearance of old cabinets and give the kitchen a neat, updated overall feel.
Why Paint Your Kitchen Cabinets?
Painting can improve older cabinets and give the kitchen a different colour scheme. It works when cabinetry is functional but looks dated. Coordinating cabinet colour with wall paint can also help the kitchen feel connected.
Tools Required to Paint Kitchen Cabinets
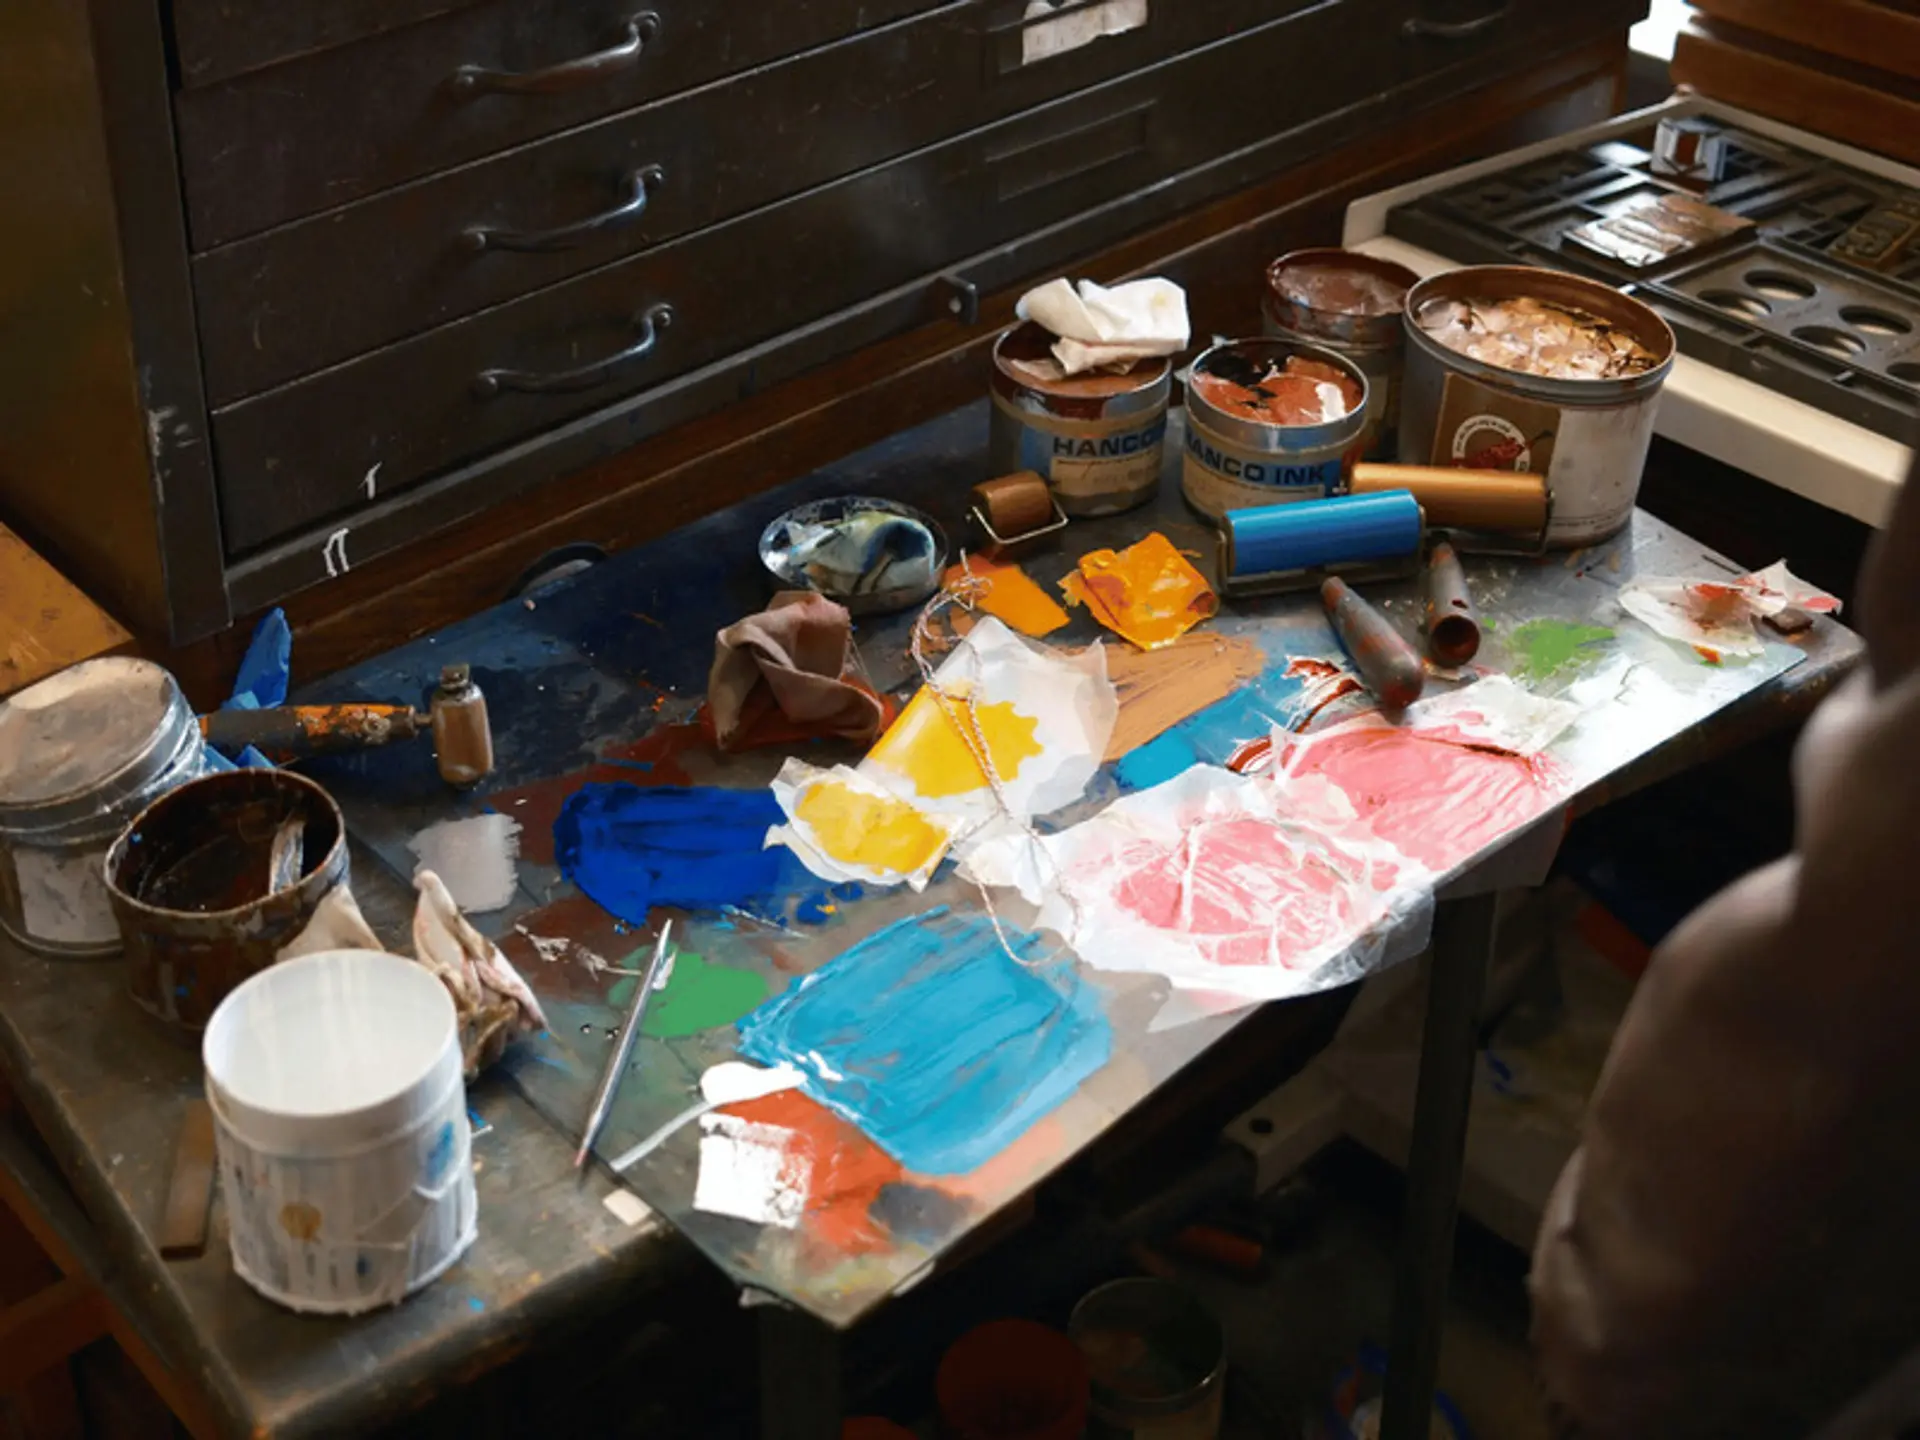
Keep screwdrivers or a drill, sanding paper or block, brushes, rollers, painter's tape, and drop cloths ready.
Step-By-Step Process: How to Paint Kitchen Cabinets
For anyone searching for how to paint kitchen cabinets correctly, preparation is the key starting point. Clean, repair, and sand surfaces before applying primer or paint.
Step 1: Remove Cabinet Doors and Hardware
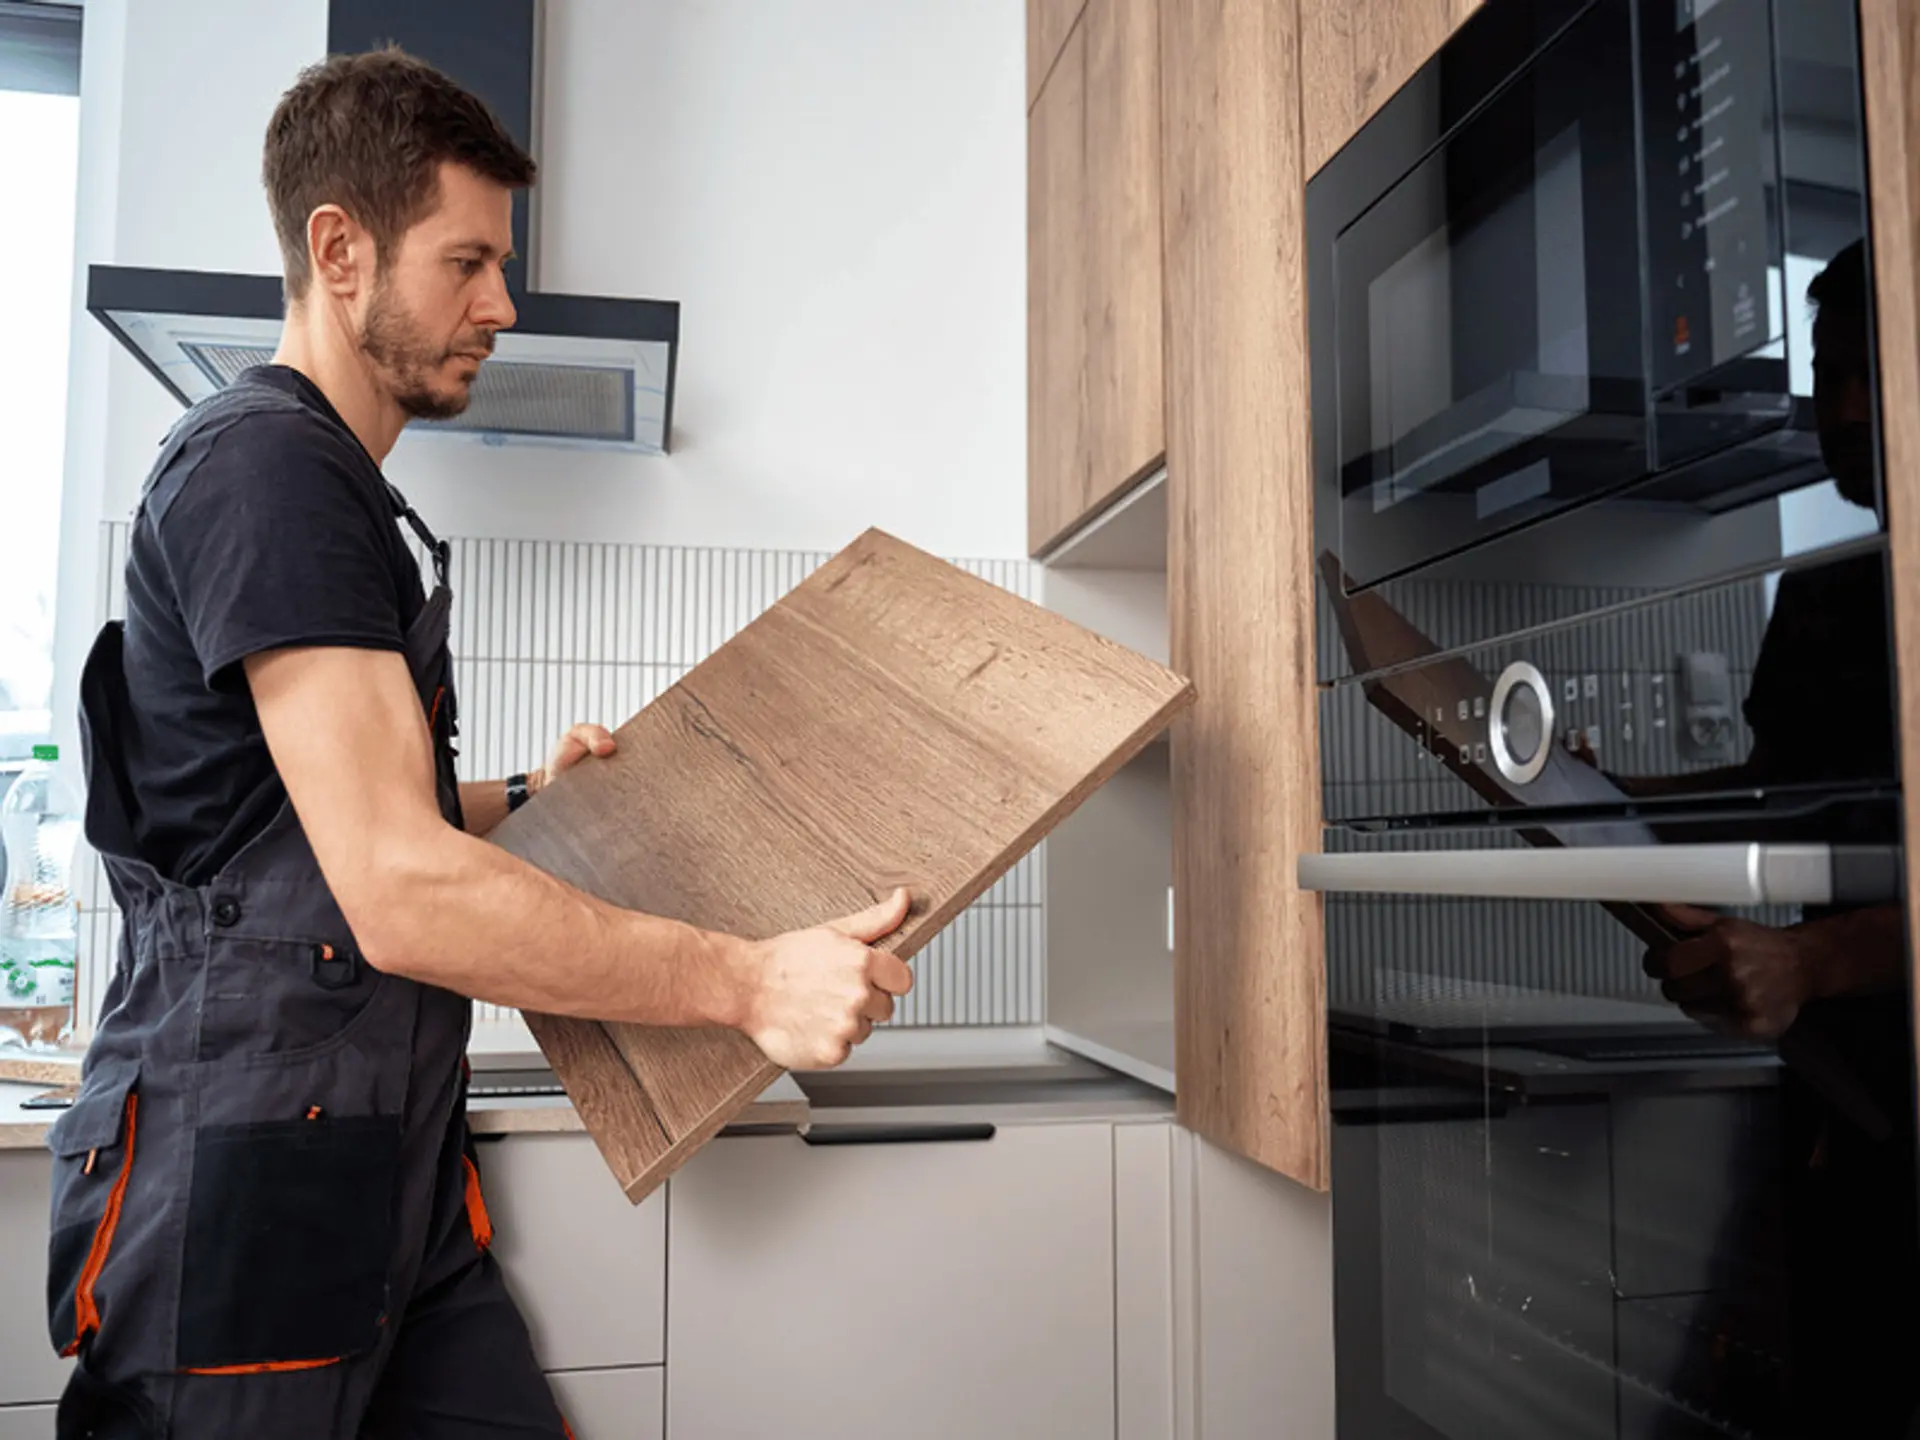
Start by removing cabinet doors, drawers, handles, and hinges carefully. Label each door and matching hardware before setting them aside. This helps return each piece to its original position.
Step 2: Clean and Degrease the Cabinets
Cabinets can collect grease, food residue, dust, and grime. Clean surfaces with an appropriate cabinet-safe cleaner or degreaser. Let them dry fully because primer and paint need a clean surface.
Step 3: Repair Any Damage

Check for dents, holes, cracks, and scratches. Fill damaged areas with suitable filler and let it dry completely. Sand repaired areas smooth.
Step 4: Sand the Cabinet Surfaces
Light sanding removes surface sheen and helps the primer adhere better. Sand evenly and avoid damaging the cabinet material. A smooth, well-prepared surface also creates a cleaner base for cabinet updates inspired by modern kitchen renovation ideas.
Step 5: Prepare the Kitchen for Painting
Cover countertops, floors, walls, and appliances with drop cloths. Use painter's tape to protect edges and areas that should remain unpainted. Keep the kitchen adequately ventilated during painting.
Step 6: Apply Primer
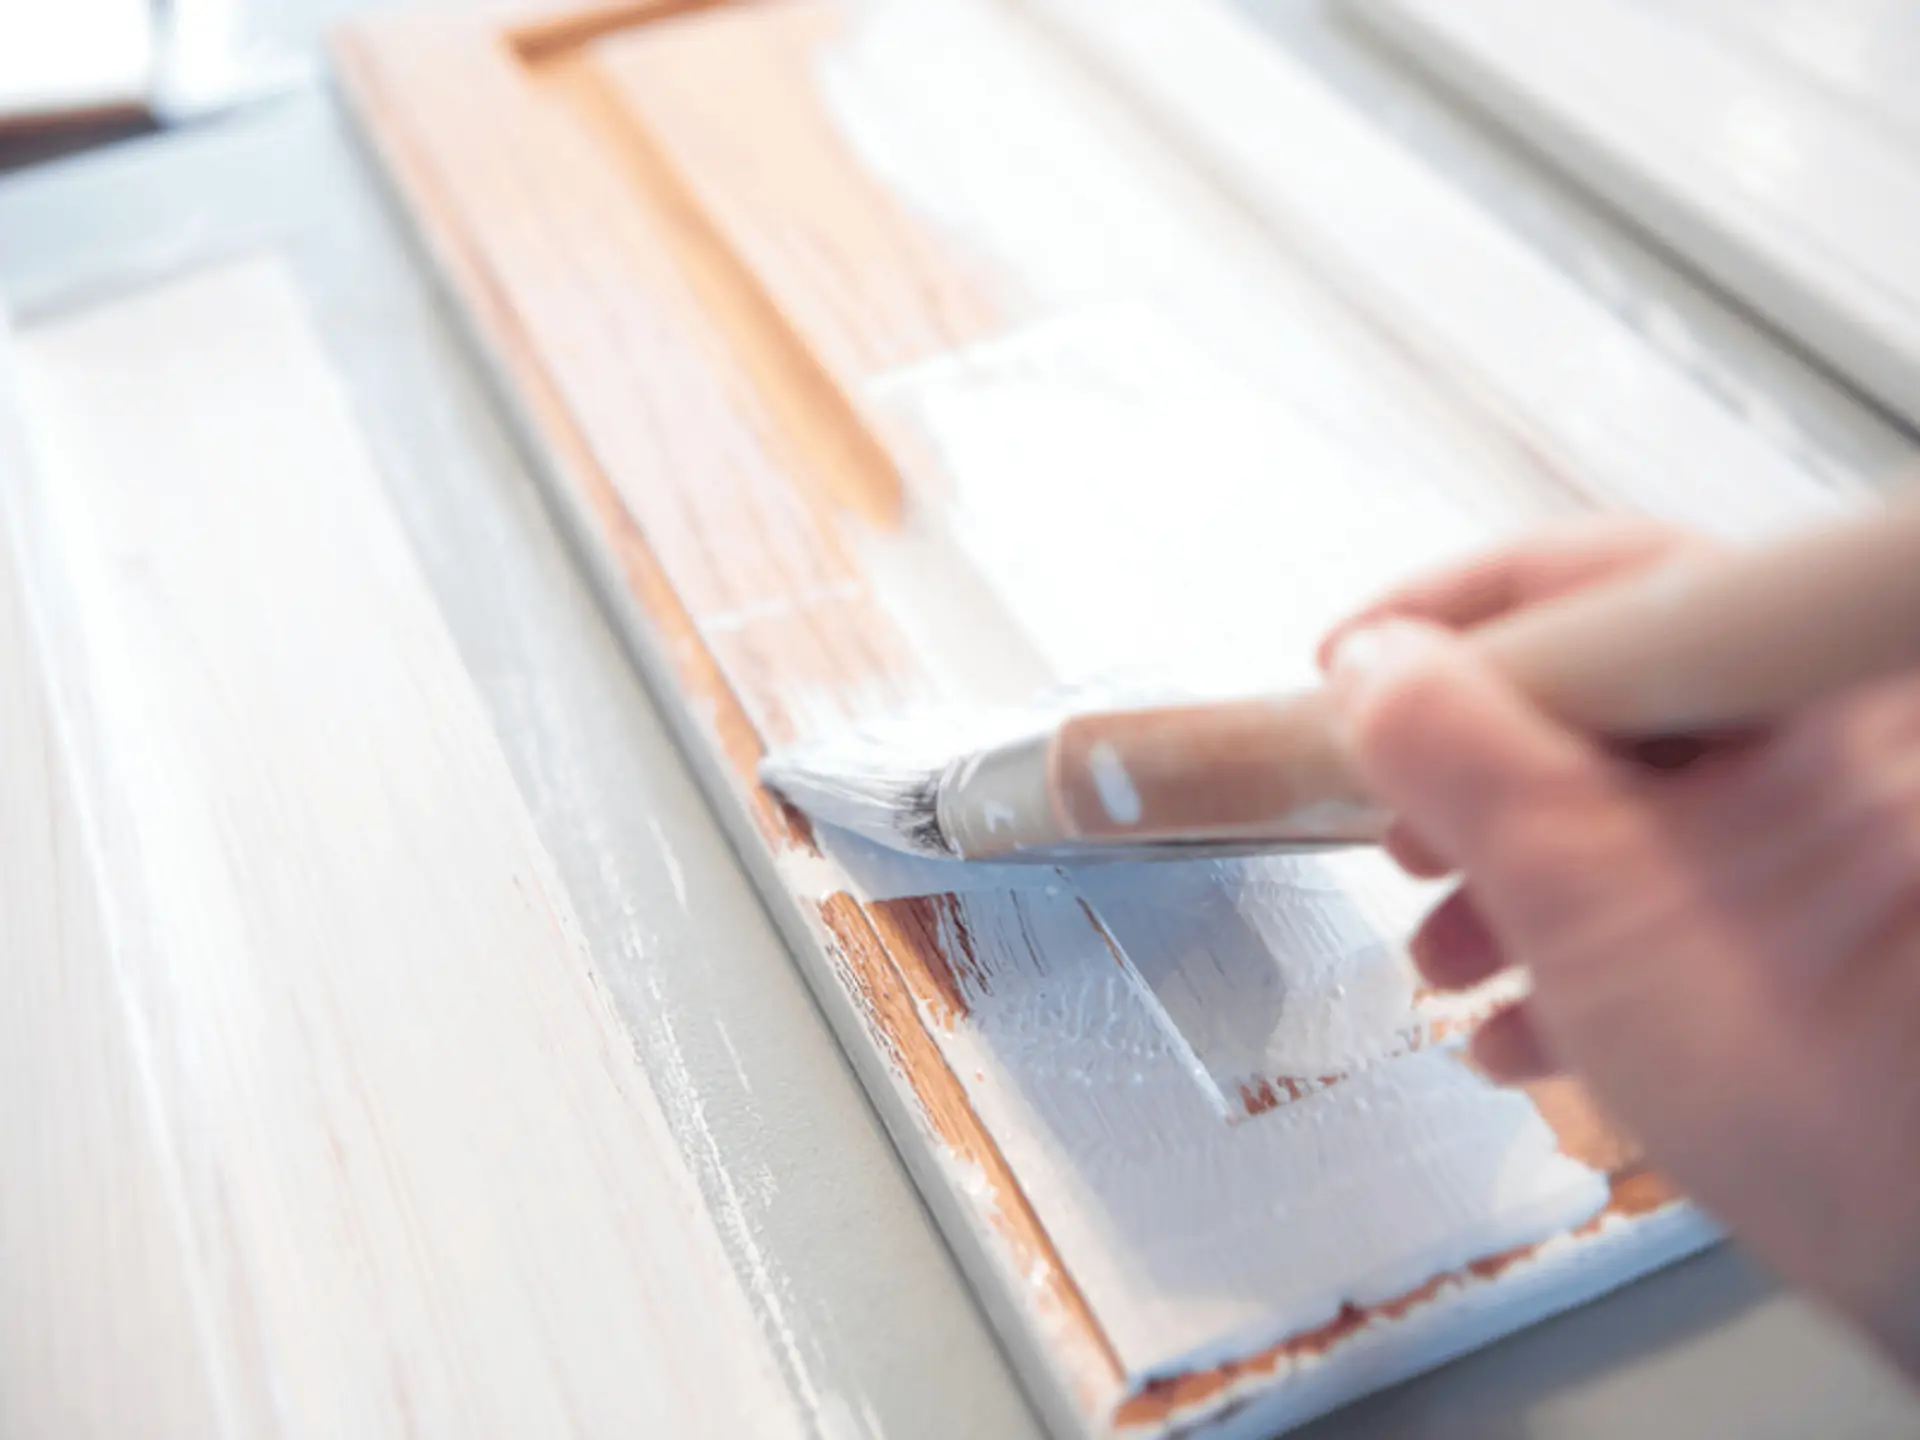
Primer is important when covering dark colours, glossy surfaces, or certain wood finishes. Apply an even coat and avoid heavy build-up. Let it dry according to the manufacturer's instructions.
Step 7: Sand the Primer Lightly
Once the primer has dried, sand it lightly to create a smoother base. Remove all sanding dust before applying paint.
Step 8: Apply the First Coat of Paint
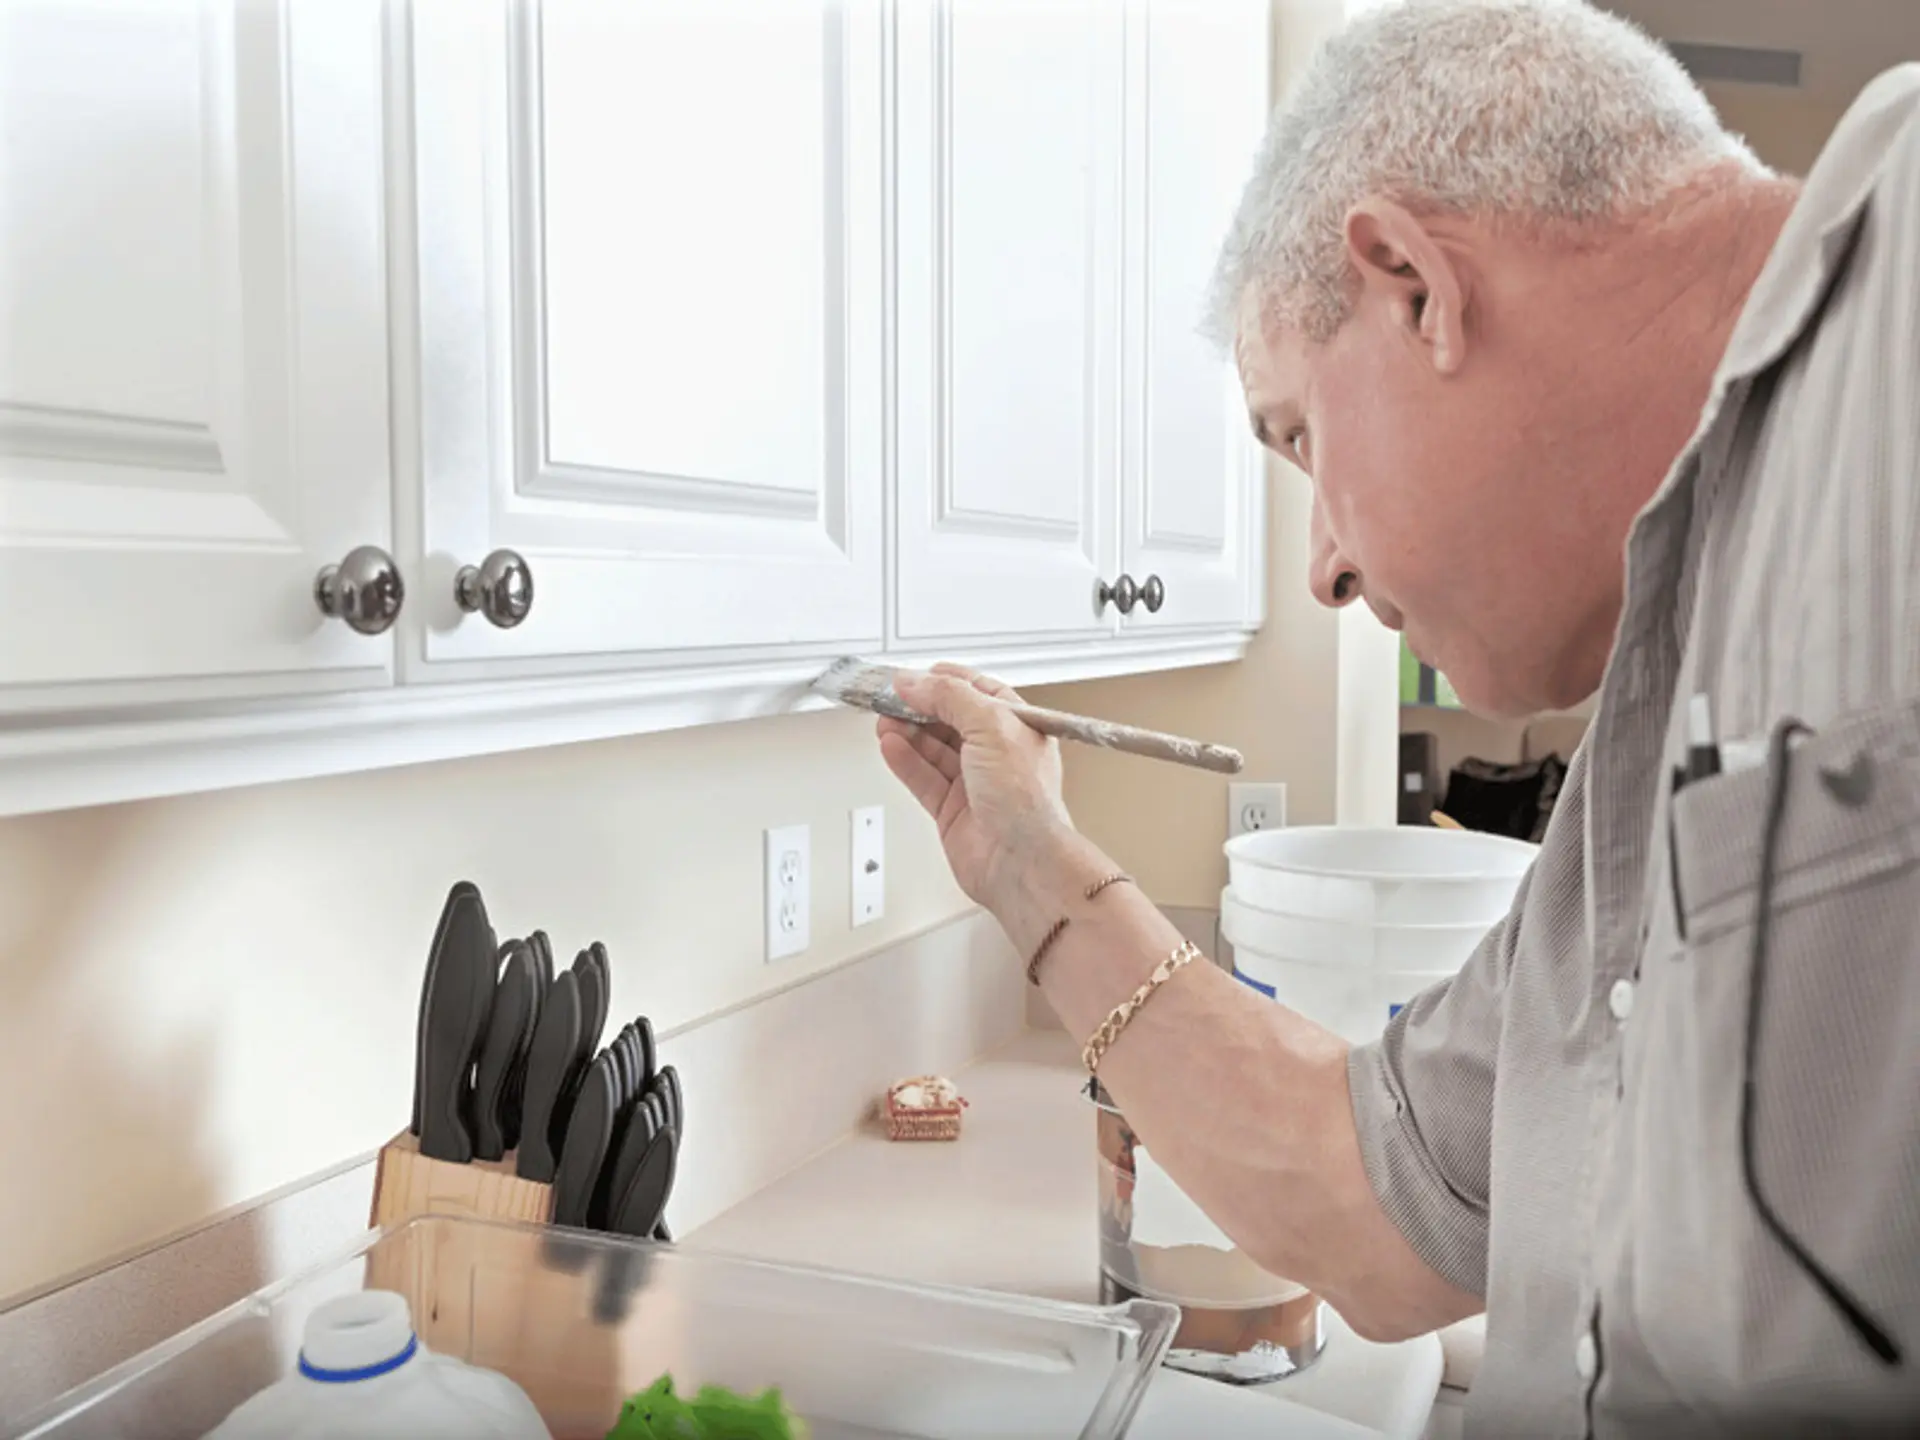
Apply a thin, even coat with a suitable brush or roller. Too much paint can cause drips, brush marks, and uneven drying. When learning how to paint kitchen cabinet surfaces, controlled coats give a neater result.
Step 9: Allow the Paint to Dry
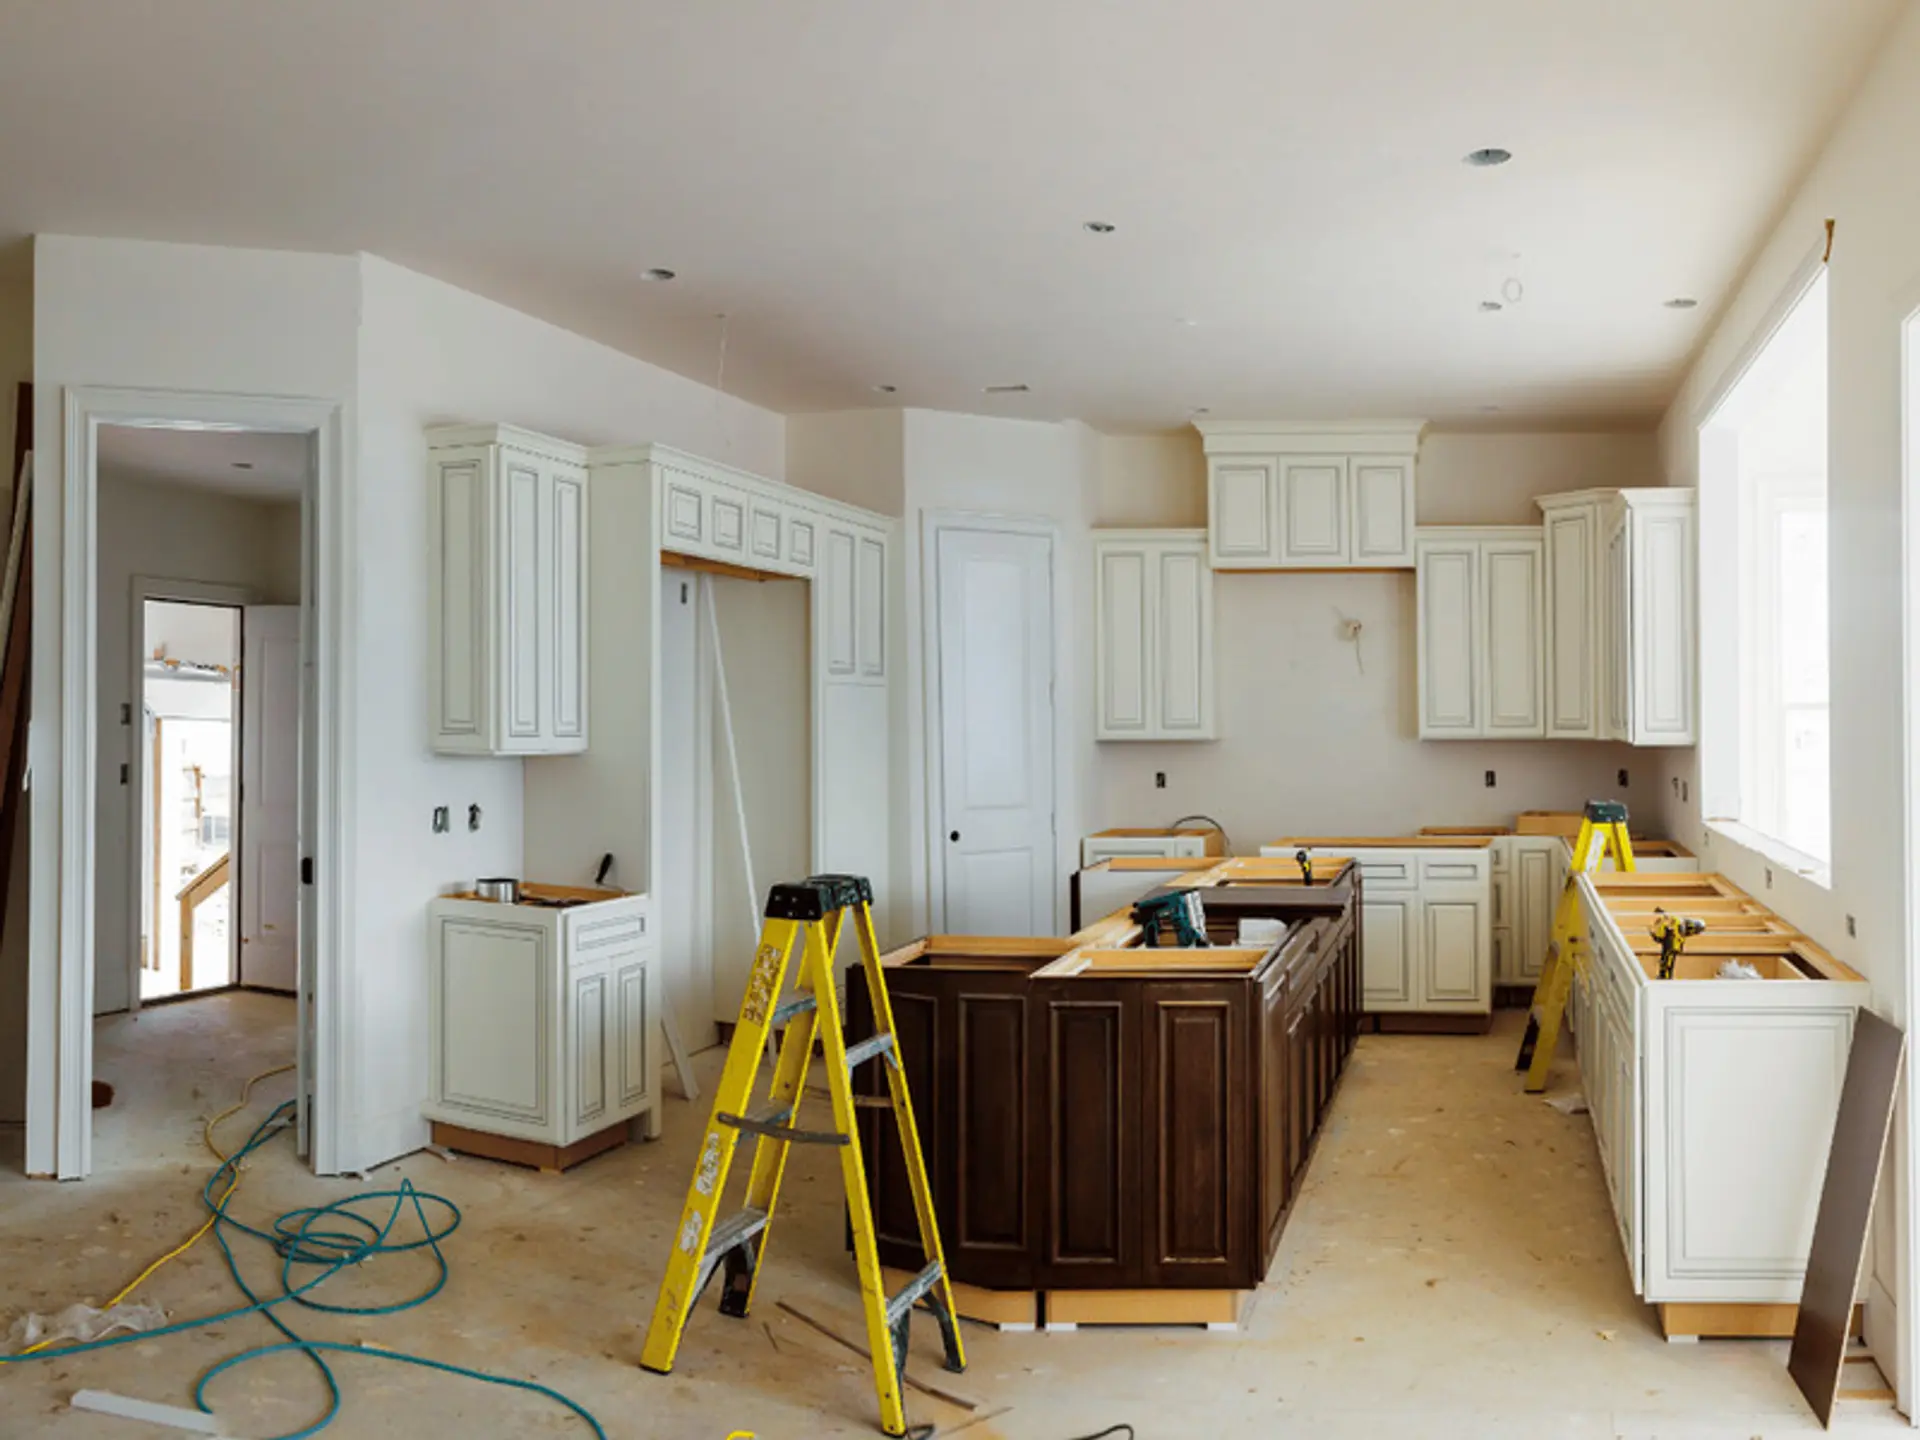
Follow the paint manufacturer's recommended drying time before applying another coat. Do not judge readiness only by touch, as paint may feel dry before it is ready for recoating.
Step 10: Apply the Second Coat
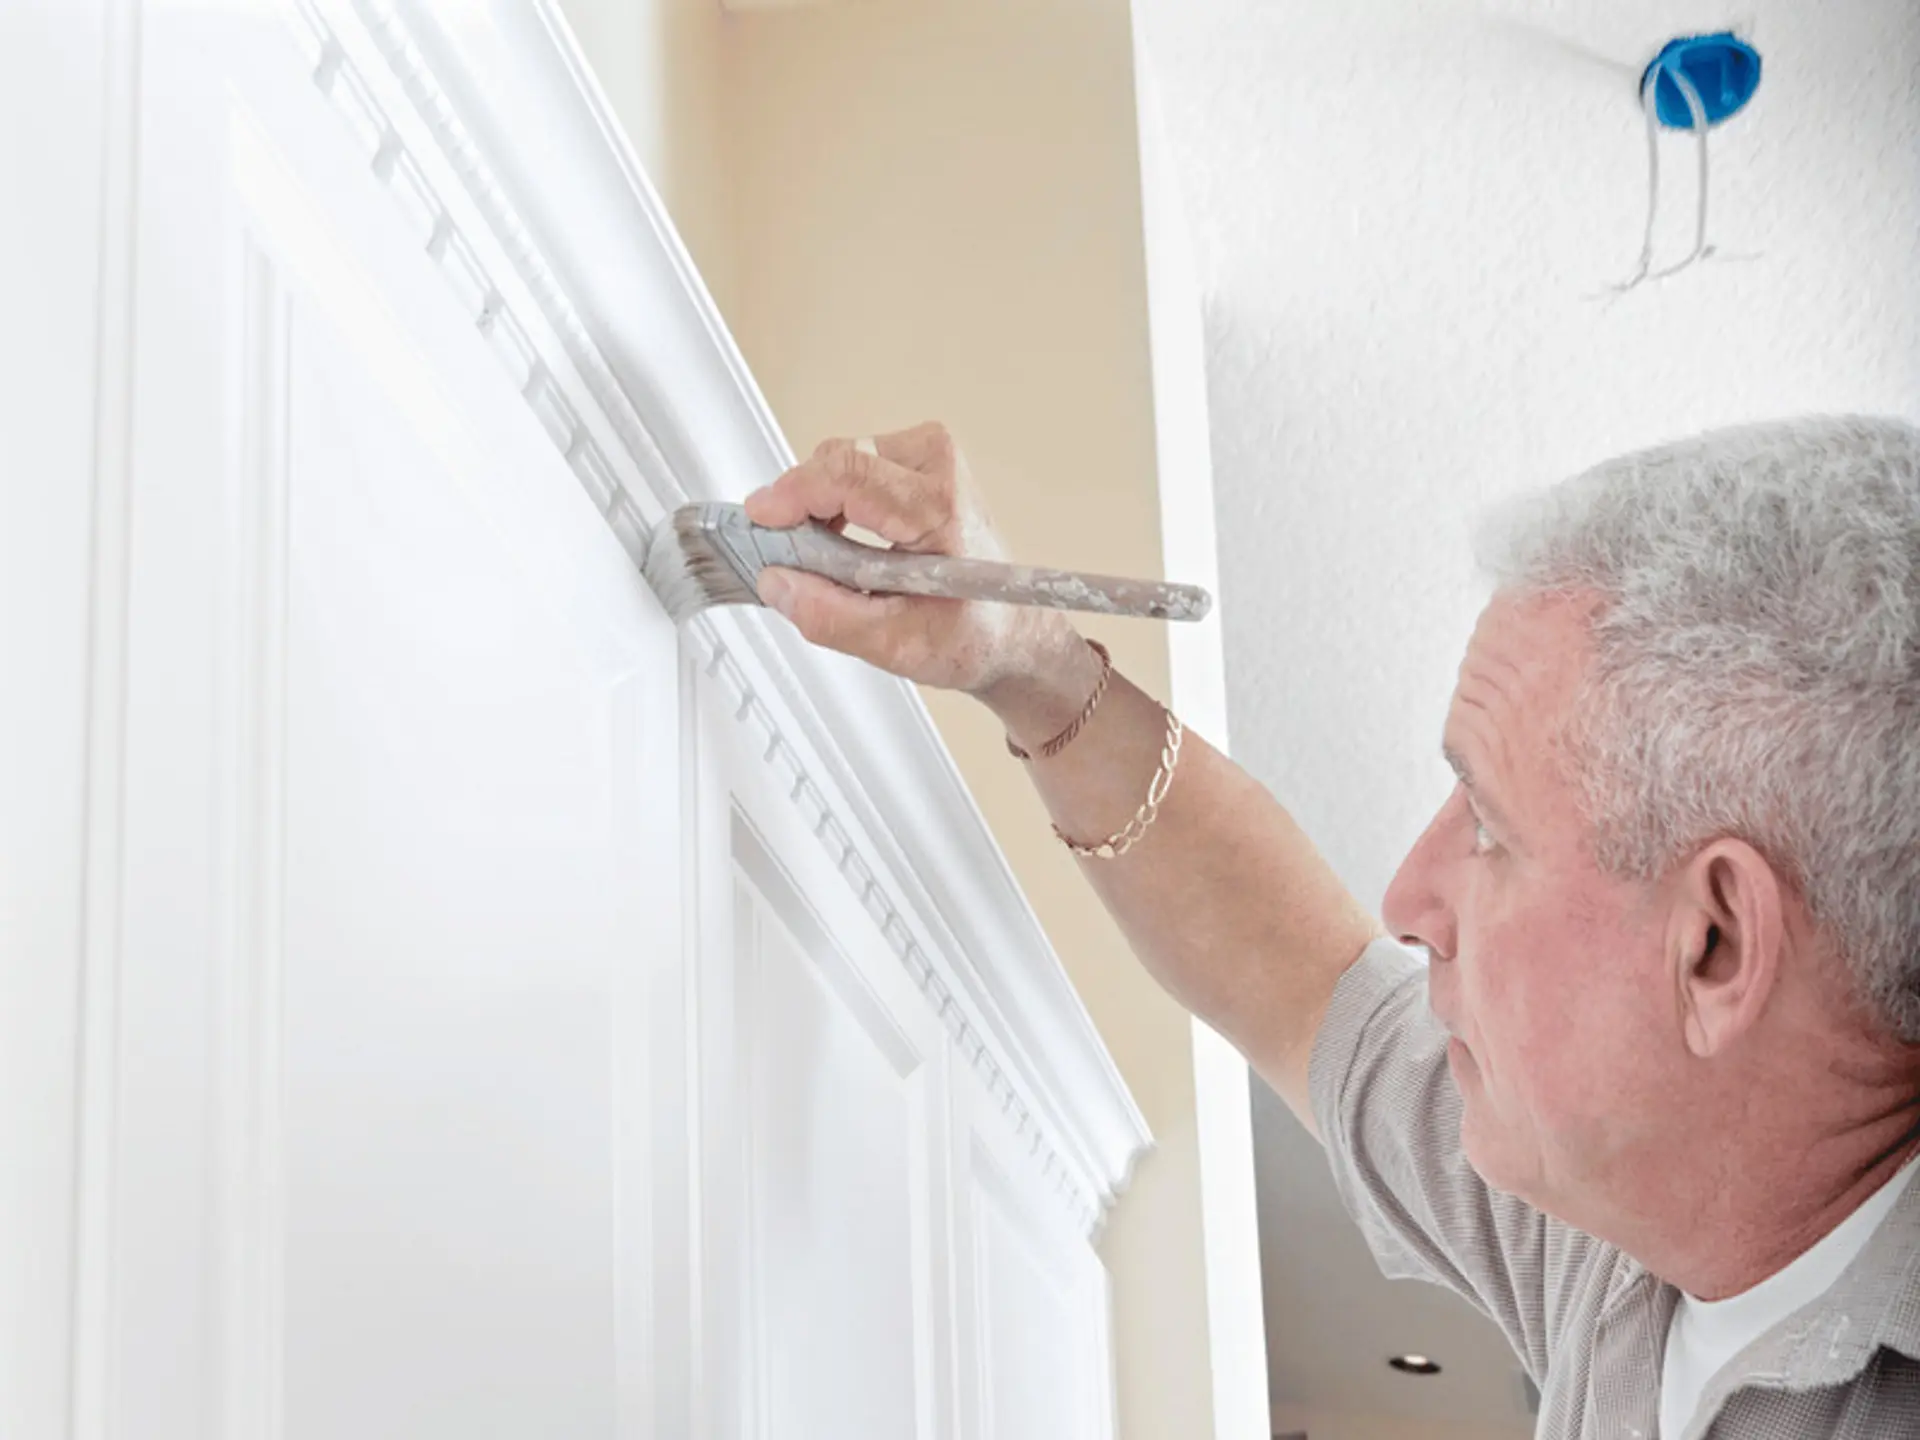
A second coat can improve coverage, colour consistency, and durability. Check the first coat, lightly sand if necessary, remove dust, and apply another thin, even coat.
Step 11: Reattach the Hardware and Cabinet Doors
Once the paint has sufficiently cured, reinstall hinges, handles, drawers, and doors carefully. Check every door and drawer to make sure it works correctly.
What Is the Best Paint for Kitchen Cabinets?
Cabinet paint should offer durability, washability, adhesion, moisture resistance, and a finish suitable for frequent cleaning. When reviewing options from Berger Paints, a colour catalogue can help compare shades with the look planned for the kitchen.
Best Paint Finishes for Kitchen Cabinets
Satin gives cabinets a softer sheen. Semi-gloss has more shine and is easier to wipe, while gloss gives a shinier appearance. Higher sheen can make imperfections more noticeable, making preparation important.
What Colour Should You Paint Your Kitchen Cabinets?
Kitchen size, lighting, wall colours, countertops and interior style influence how cabinet shades appear. Indian kitchen colour combinations can bring these elements together, helping cabinets and surrounding finishes create a balanced, coordinated kitchen.
White Kitchen Cabinets
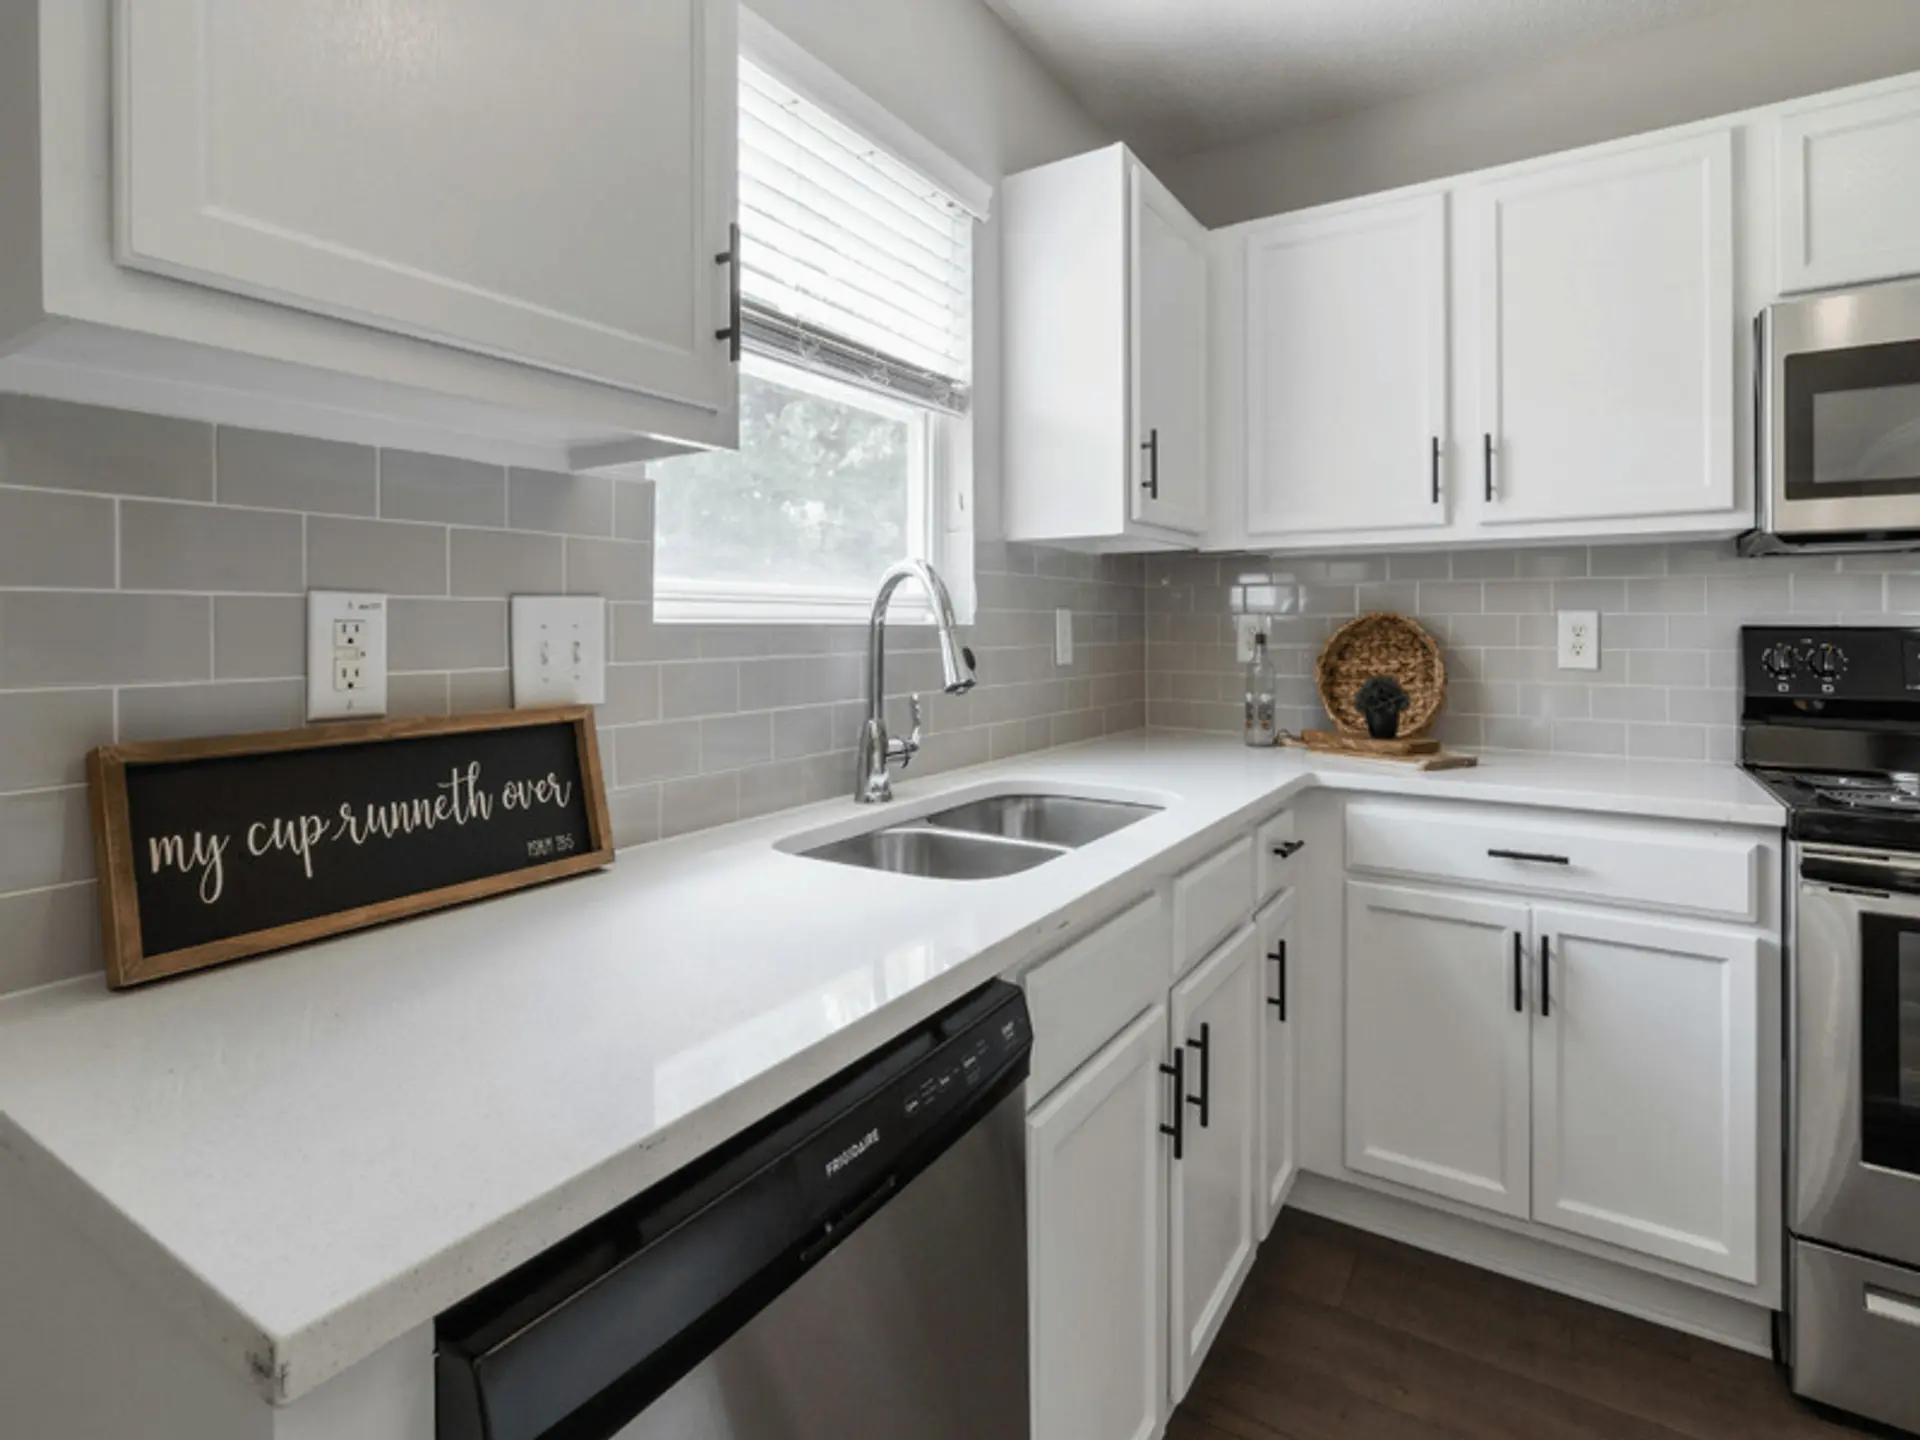
White is a timeless choice that can make a kitchen appear brighter and more spacious. It suits a clean, simple look and works with different wall and countertop shades.
Grey Kitchen Cabinets
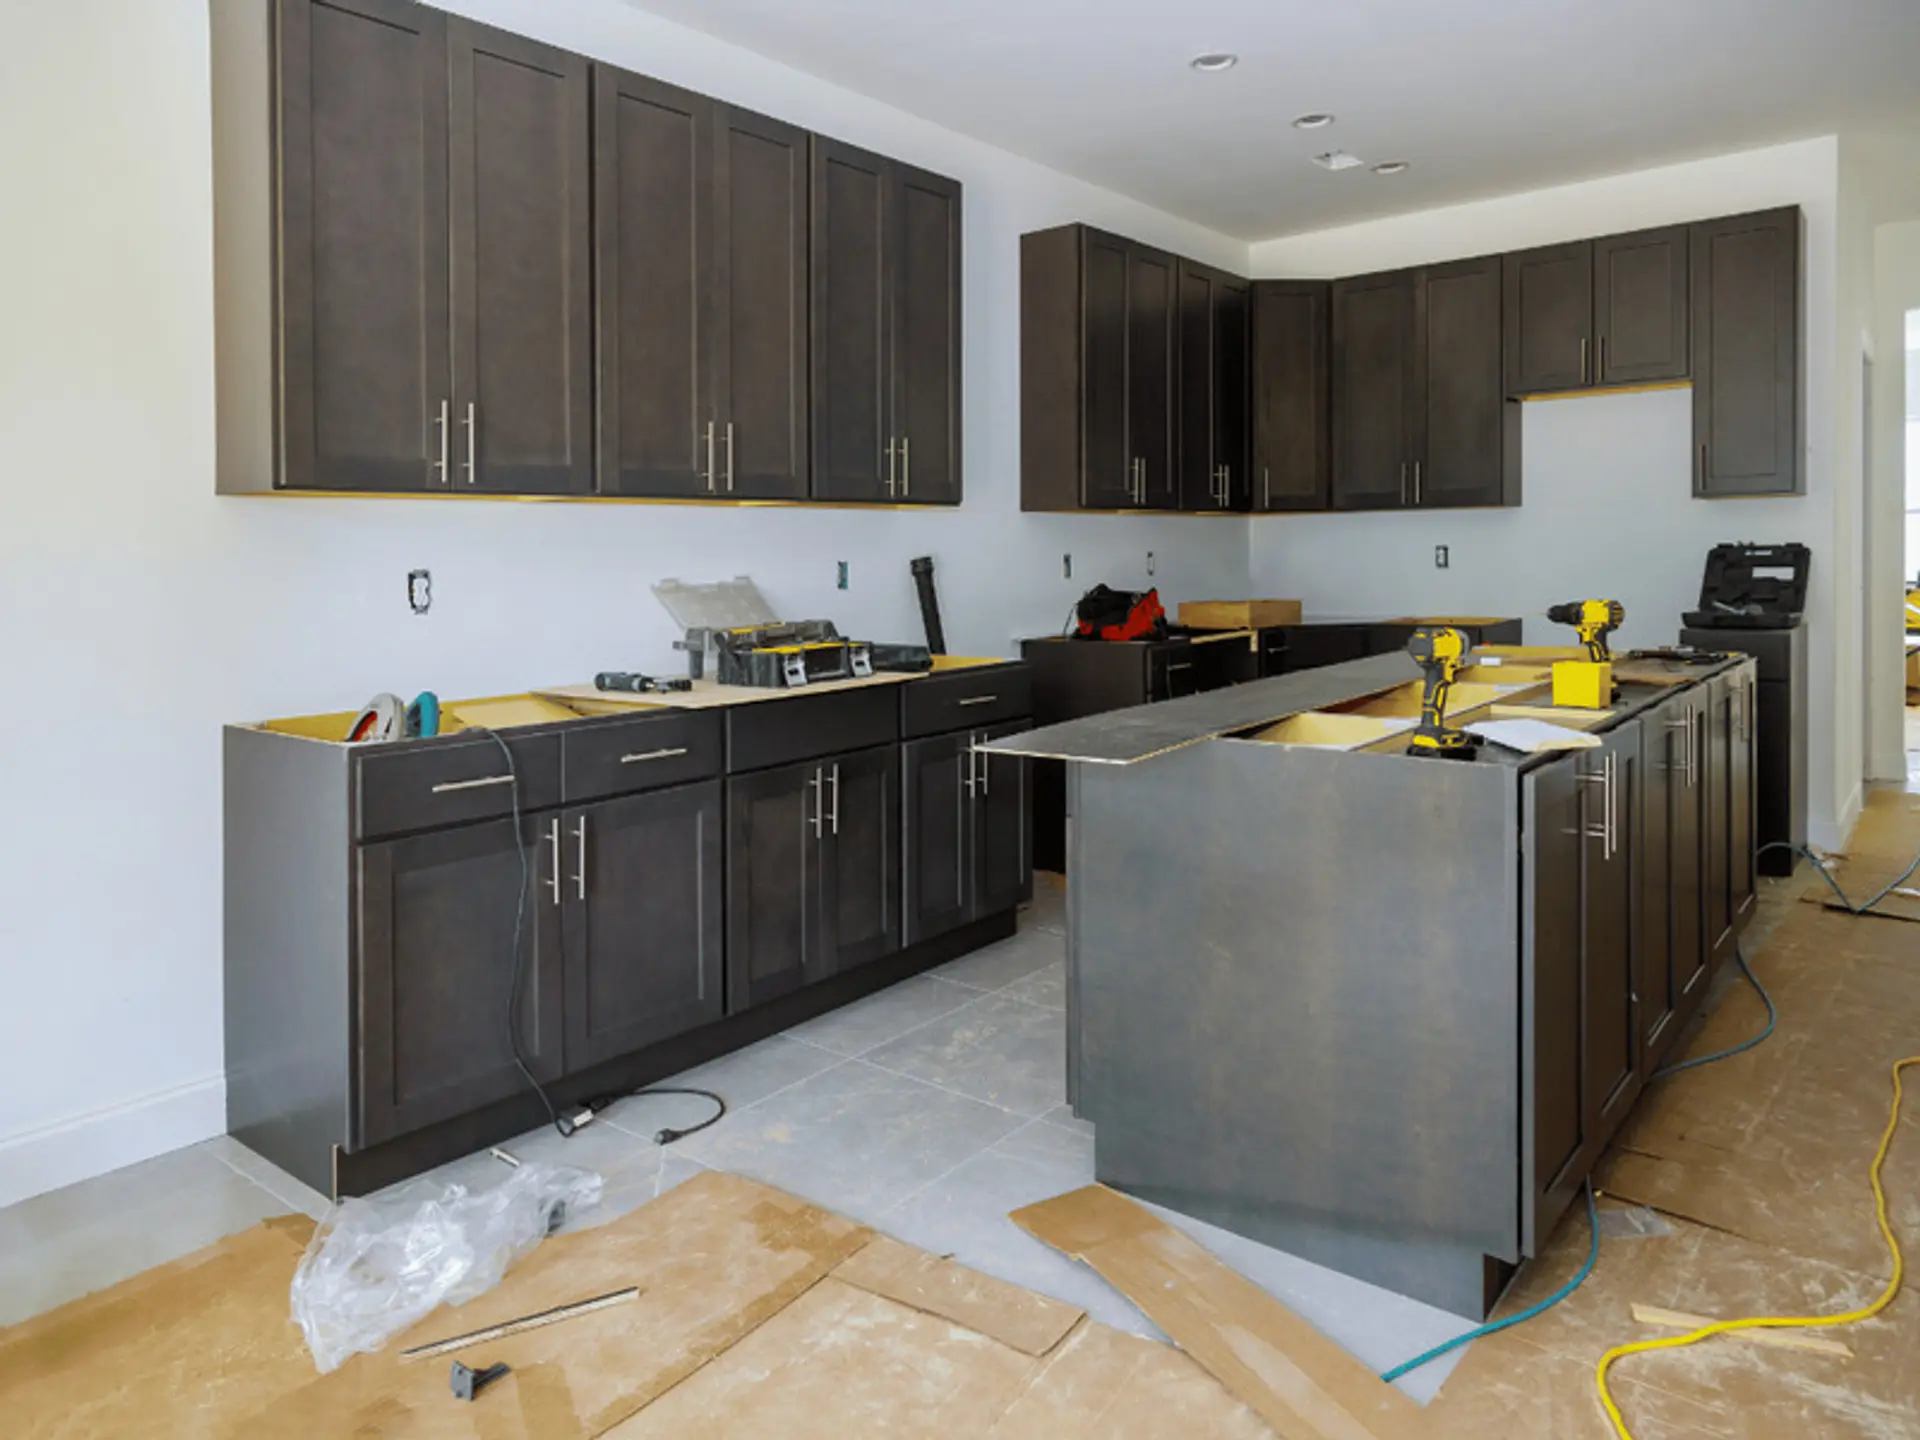
Grey works well in modern and contemporary kitchens. Depending on the shade, it can complement warm or cool interiors and provide a neutral background or stronger contrast.
Green Kitchen Cabinets
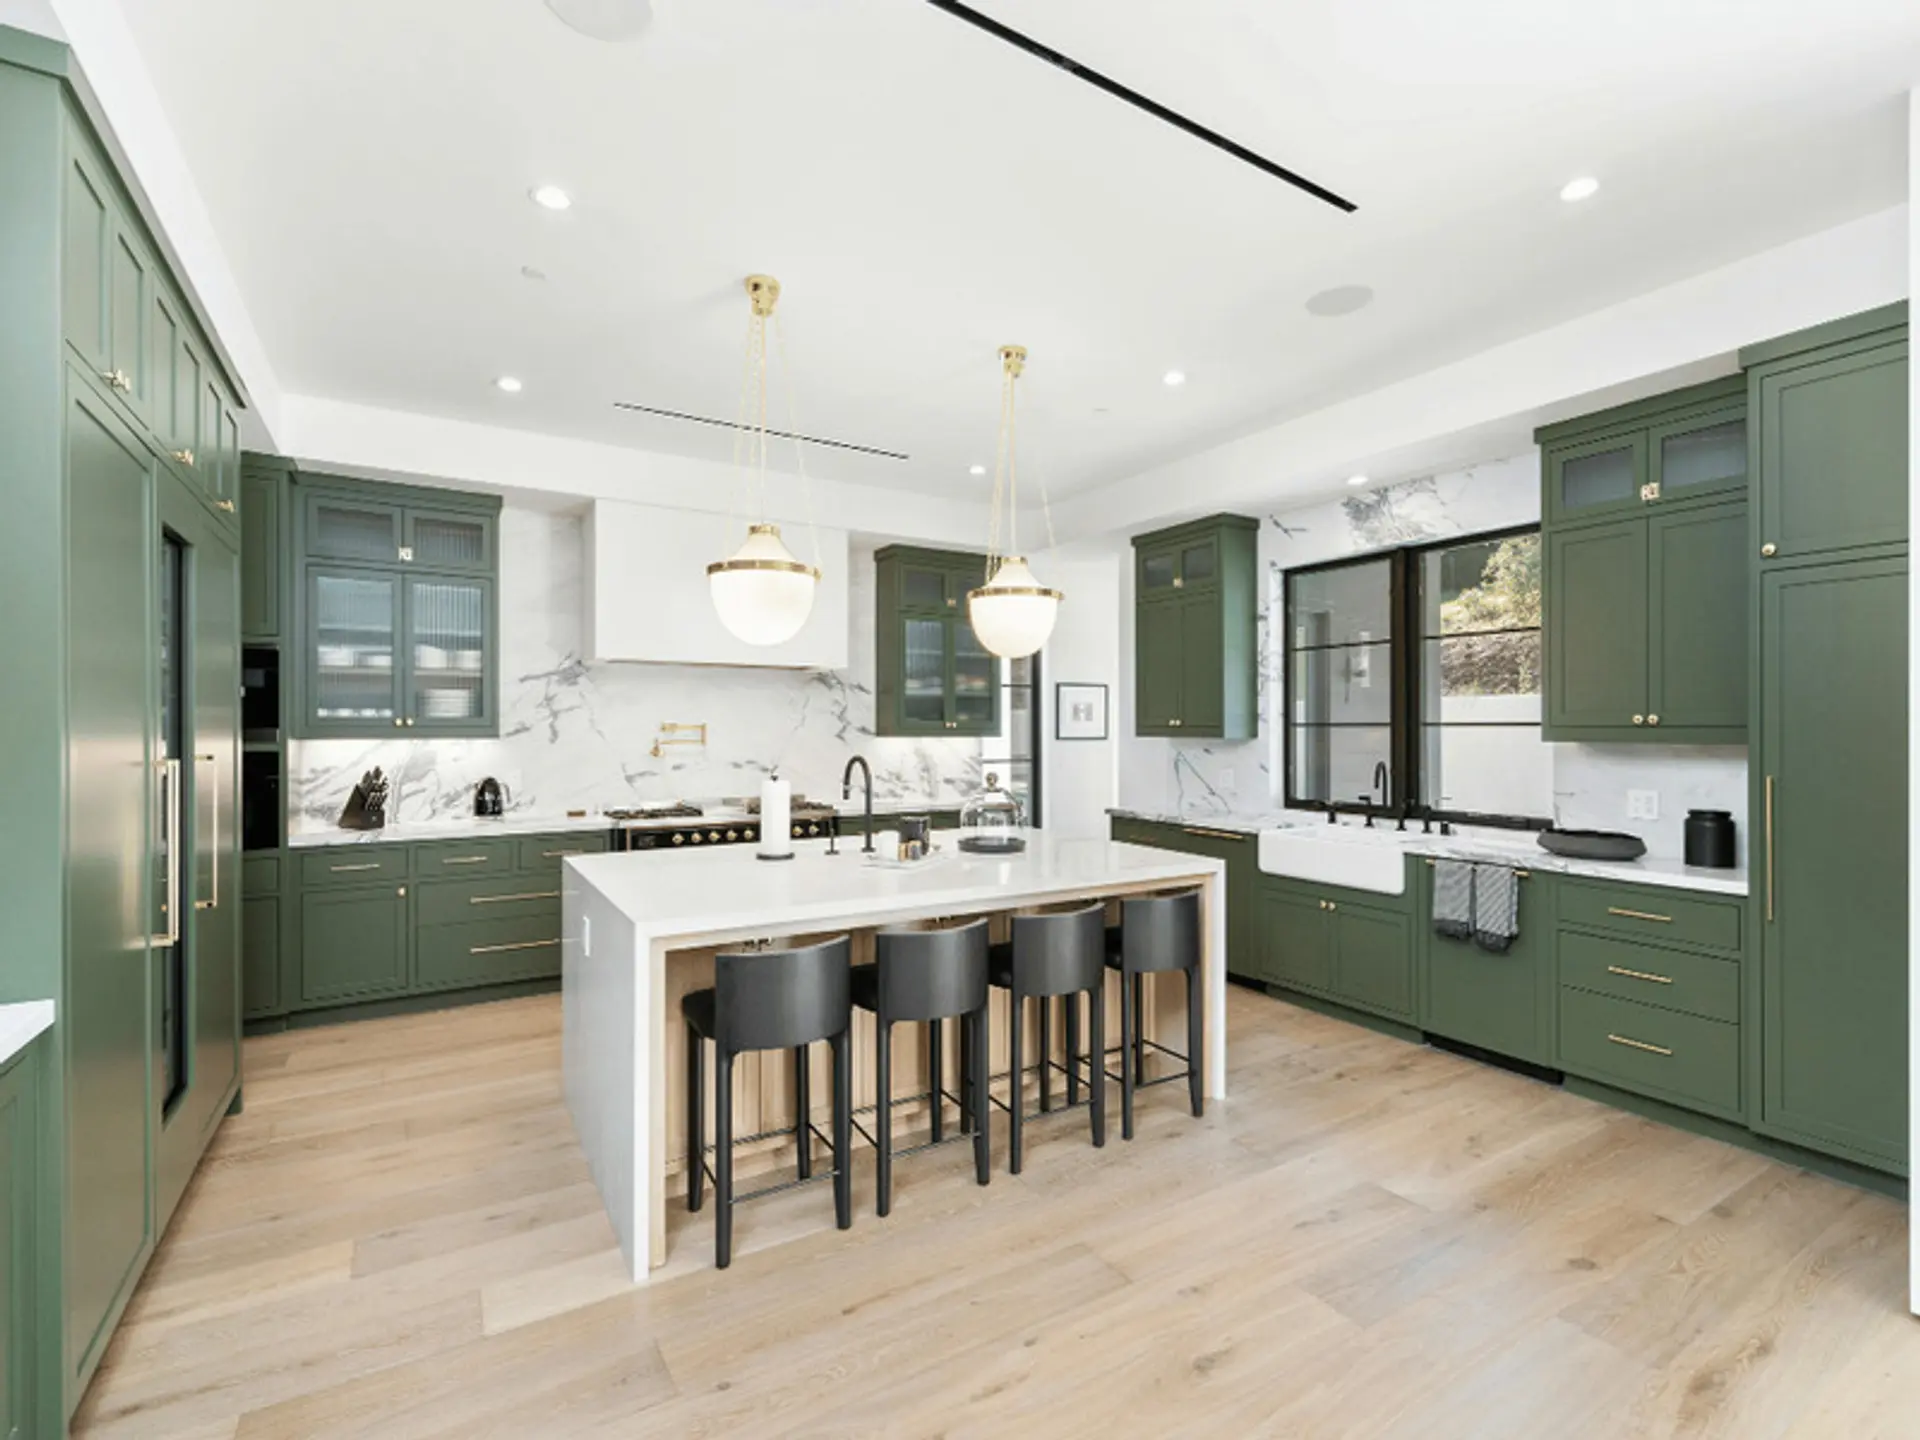
Green can give cabinetry a fresh, nature-inspired look with more character than traditional neutrals. It also works well with smart modular kitchen design ideas, especially when paired carefully with suitable lighting, finishes, and other kitchen surfaces.
Blue Kitchen Cabinets
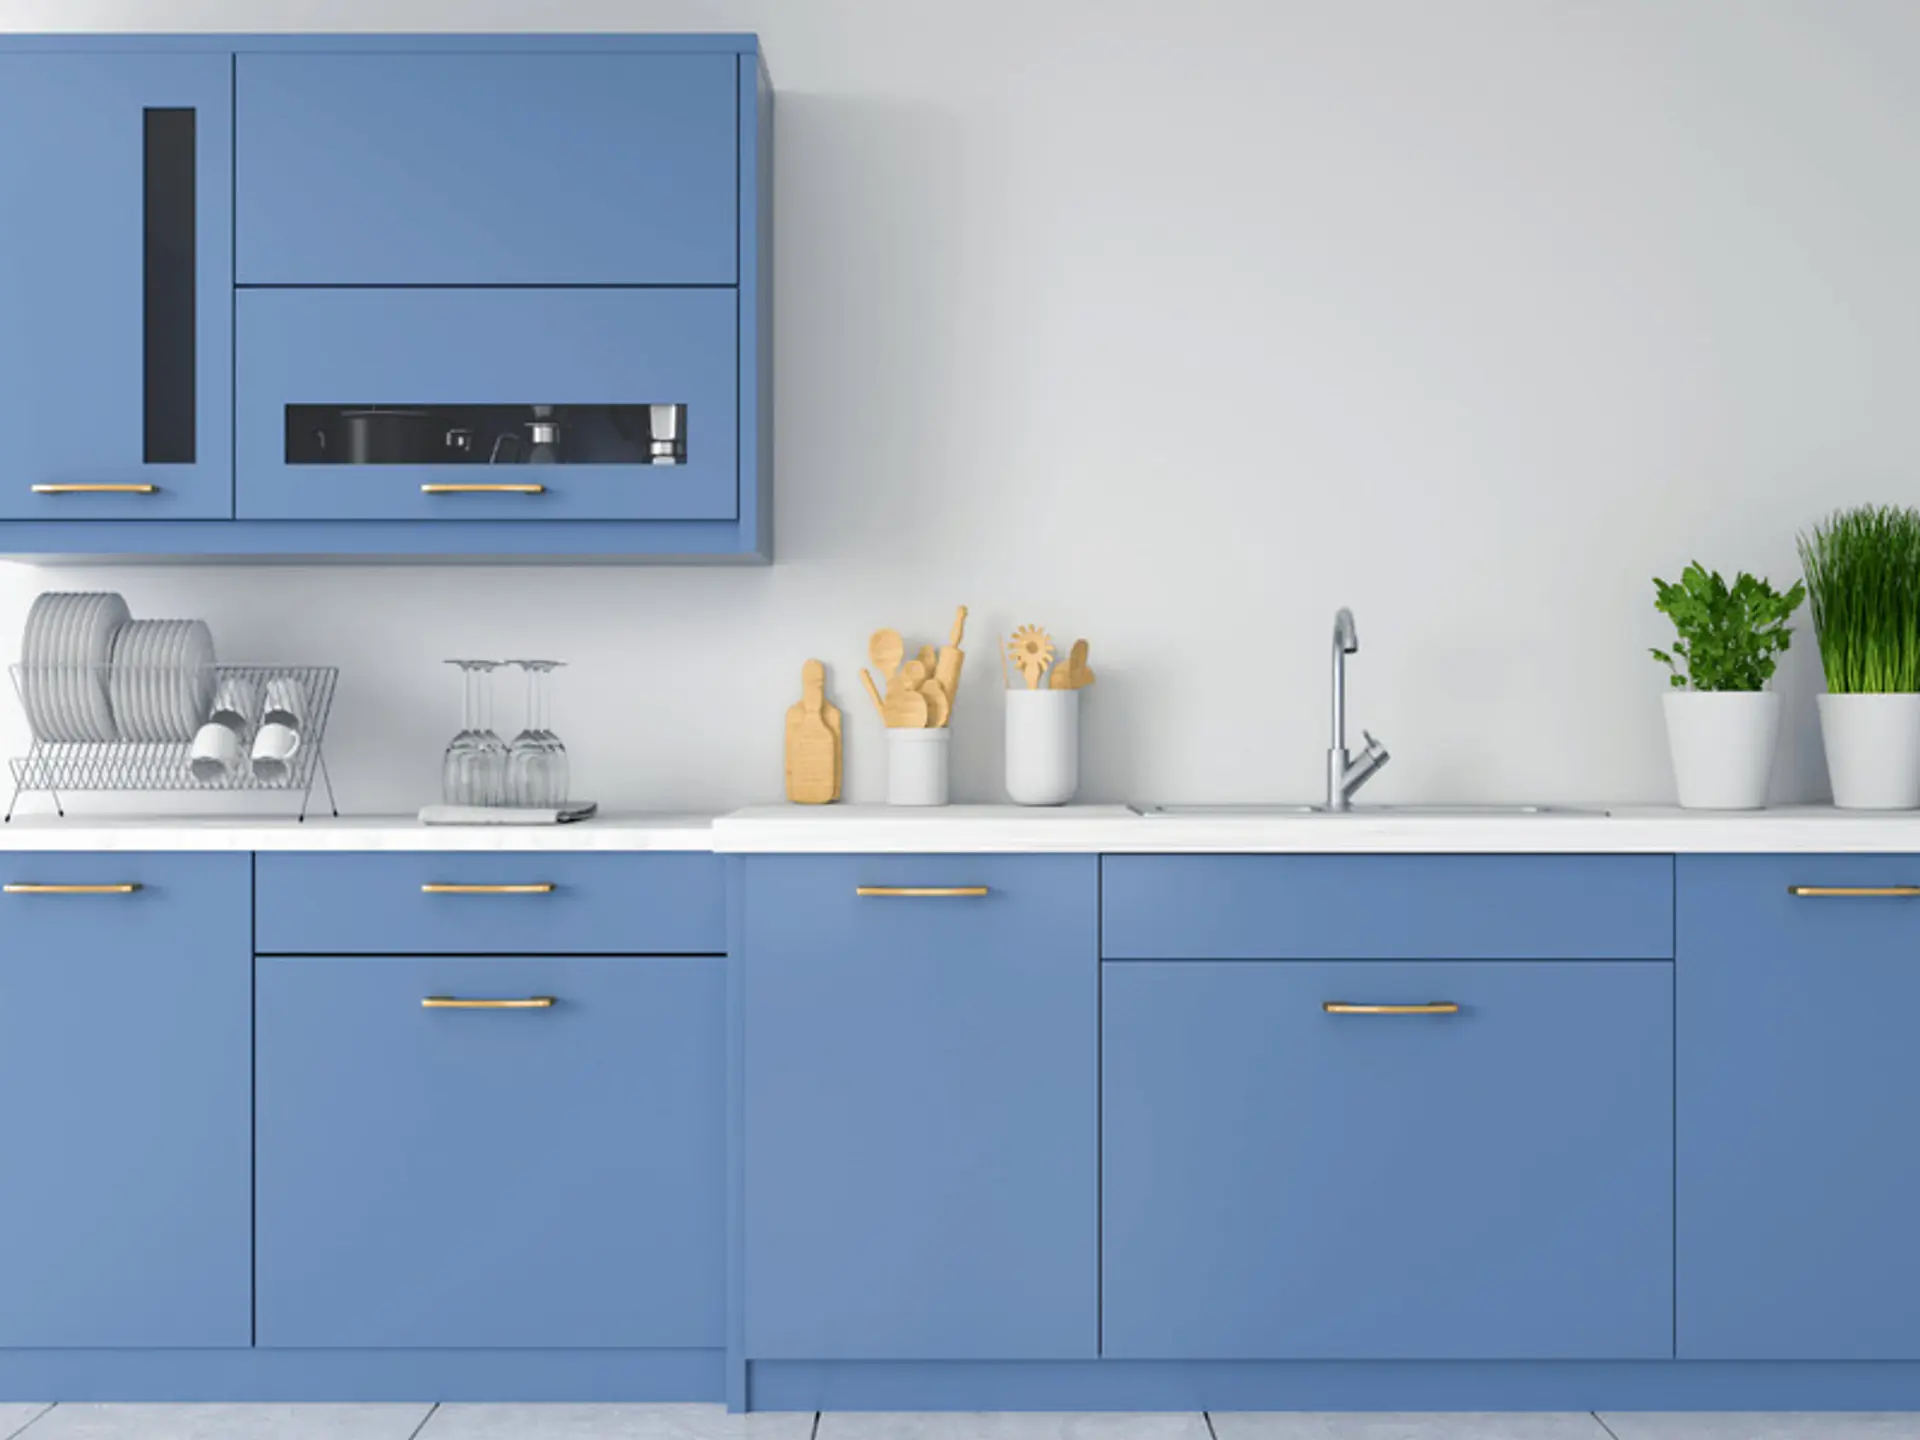
Blue can create a calm or sophisticated cabinet look depending on its depth. It can also work as an accent colour when selected cabinets need to stand out.
Neutral Kitchen Cabinet Colours
Beige, cream, taupe, and similar neutrals create an understated, versatile appearance. Small kitchen design ideas can help show how lighter cabinet shades work with space, lighting, and surrounding colours.
Common Mistakes to Avoid When Painting Kitchen Cabinets
Common mistakes include skipping cleaning or sanding, applying thick coats, rushing drying time, using unsuitable paint, and reinstalling hardware too soon. Avoiding these shortcuts supports a smoother finish.
Skipping Surface Preparation
Poor preparation can cause peeling, chipping, and uneven paint adhesion. Clean, repair, and sand cabinets as required before applying primer and paint so each coating has a suitable surface.
Applying Thick Coats of Paint
A heavy coat may drip or dry unevenly. Several thin coats generally create a smoother result. Allow each layer to dry as directed before adding another.
Not Allowing Enough Drying or Curing Time
Dry to the touch does not mean fully cured. Cabinets are frequently handled, so follow the manufacturer's drying and curing times before heavy use or reinstalling hardware.
Give Your Kitchen Cabinets a Professional Makeover
Choosing the right paint, colour, and finish is important for giving kitchen cabinets a clean, updated look. Berger Paints offers paint options that can be considered according to the cabinet surface and product guidance.
If Vastu is part of your kitchen planning, you can refer to kitchen colour as per Vastu while selecting shades that suit the décor. Choose a finish that supports a durable result.
check for any query you have about the blog
Frequently Asked Questions
Sanding may be needed to reduce sheen and improve preparation. Follow the chosen primer and paint manufacturer's instructions for the cabinet material and existing finish.
Yes, if the existing coating is cleaned, checked, and prepared. Sanding or primer may be required depending on its condition and the selected paint system.
The best colour depends on kitchen size, lighting, countertops, walls, and style. White, grey, green, blue, beige, cream, and taupe are practical options.
A second coat often improves coverage and colour consistency. Follow the manufacturer's instructions, check the surface between coats, and apply thin layers rather than one heavy coat.
Curing time depends on the chosen paint. Follow the manufacturer's guidance and avoid heavy use or reinstalling hardware until the coating has sufficiently cured.