Steps To Repaint A Wall - Simple Guide For A Perfect Finish

 Jan , 2026
- Berger Speaks
- 3 Min Read
Repainting a wall is one of the easiest ways to make a room feel cleaner, brighter, and better cared for. But good paintwork and a genuinely neat finish are usually separated by one thing: preparation. If you handle the surface properly and follow the right steps to repaint a wall, the paint merges evenly, the wall colour combination looks richer, and the wall stays presentable for longer.
This article walks you through how to repaint a wall without the usual patchiness, roller marks, and messy edges that many DIY projects leave behind.
Why Repainting A Wall Is Important
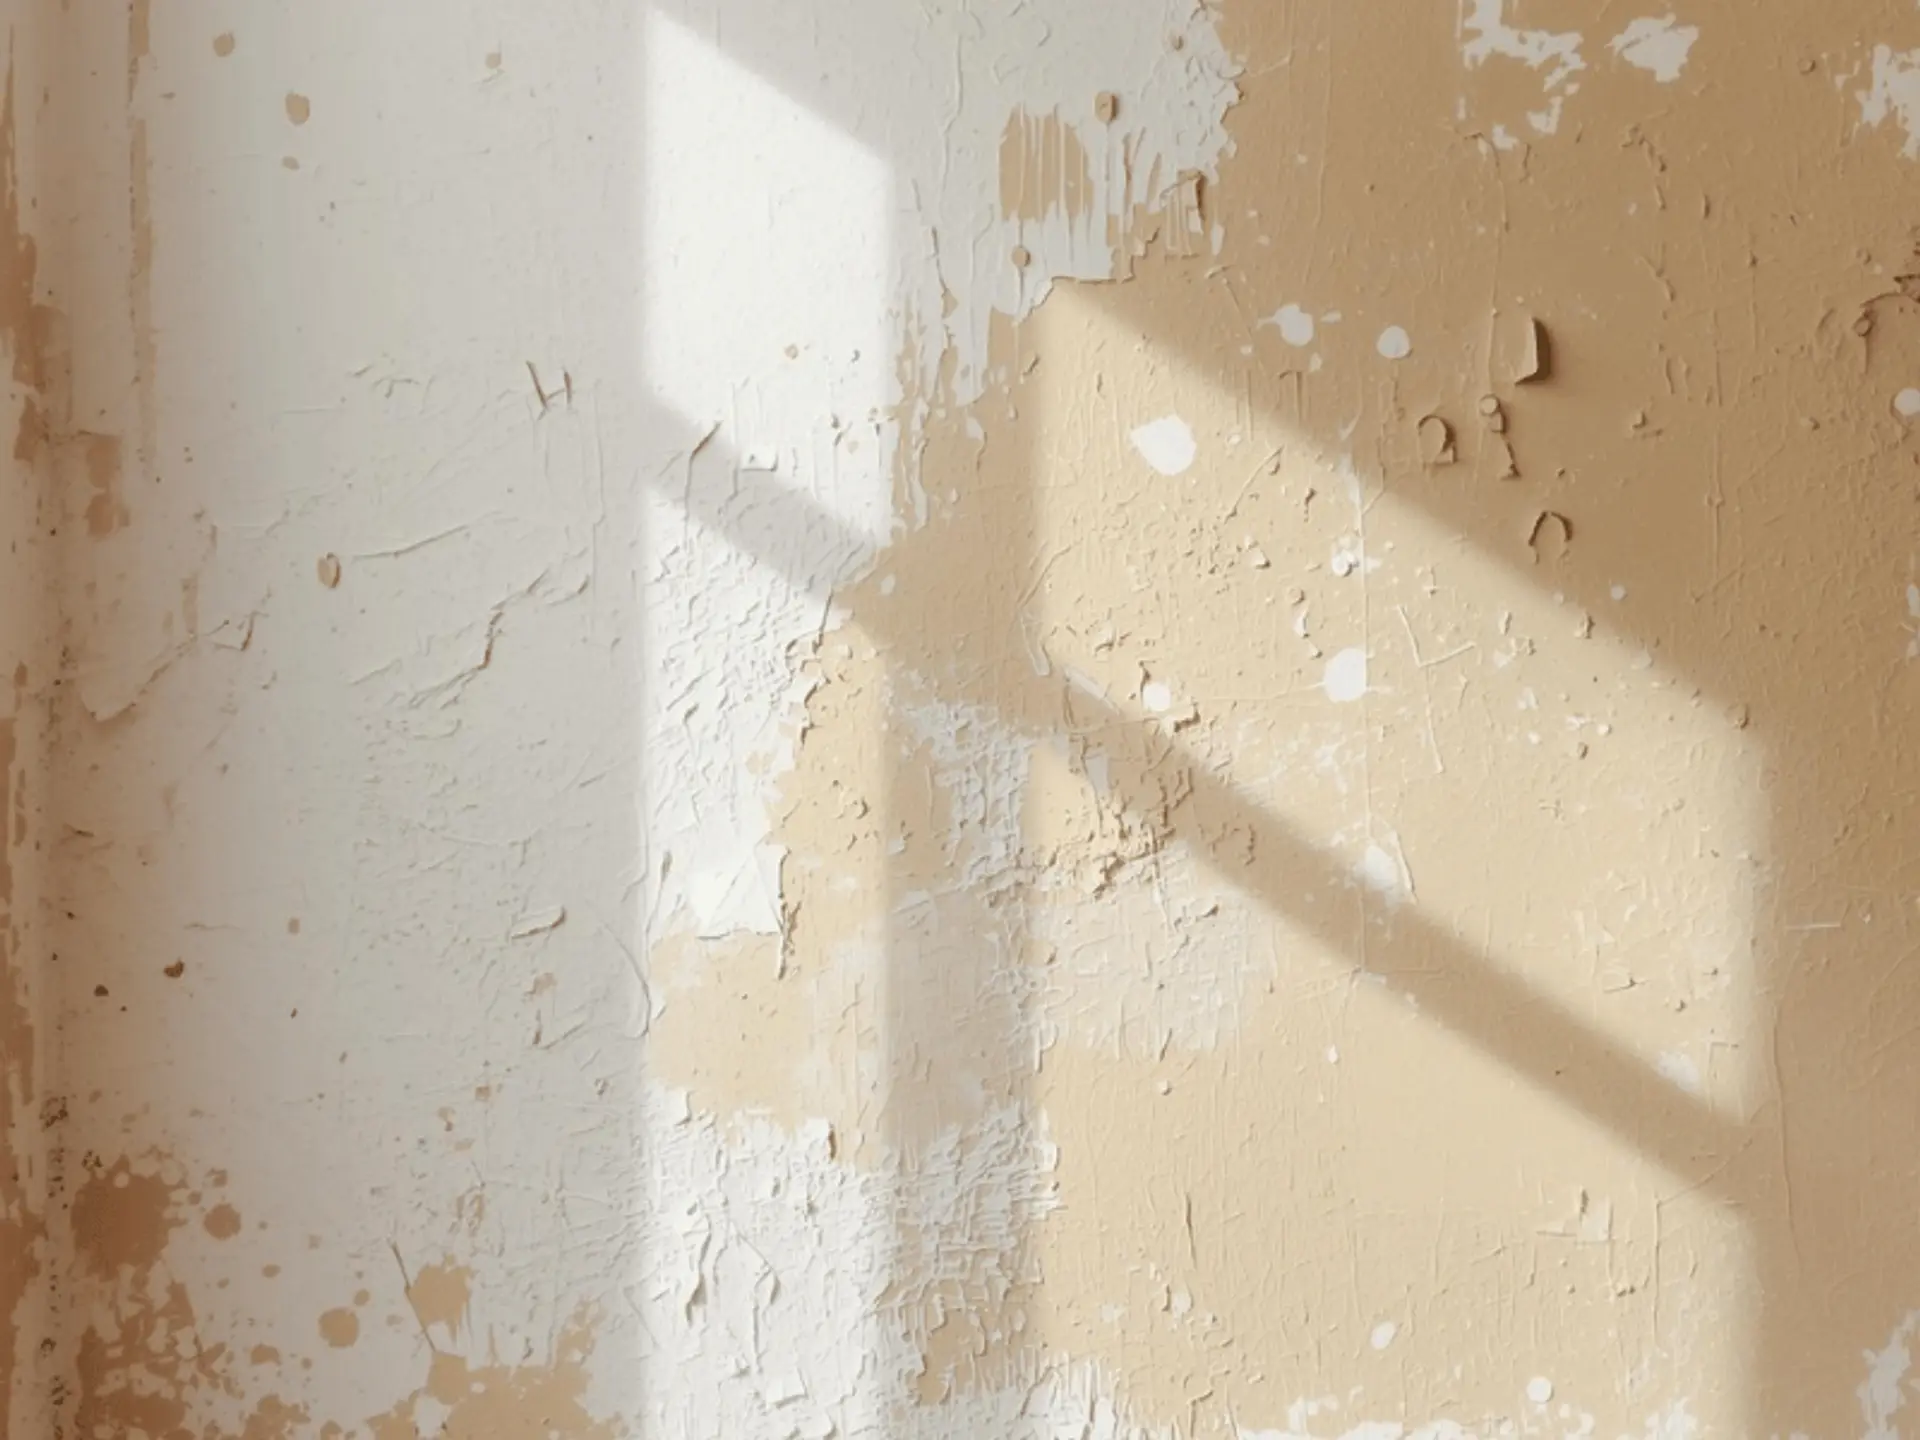
Walls in Indian homes take a beating. Dust settles fast, light switches gather fingerprints, furniture leaves scuffs, and kitchens and bathrooms deal with steam and humidity. Over time, even premium paint can start to look tired.
- Refreshes the look of a space without changing furniture or flooring
- Covers everyday marks and uneven fading from sunlight
- Adds a protective layer that reduces staining and surface wear
- Helps manage moisture-related issues when the right paint is used
If you plan to repaint bathroom walls, this becomes even more relevant. Bathroom surfaces often show early signs of peeling, fungal spots, or bubbling when moisture management is ignored.
Tools And Materials You Need
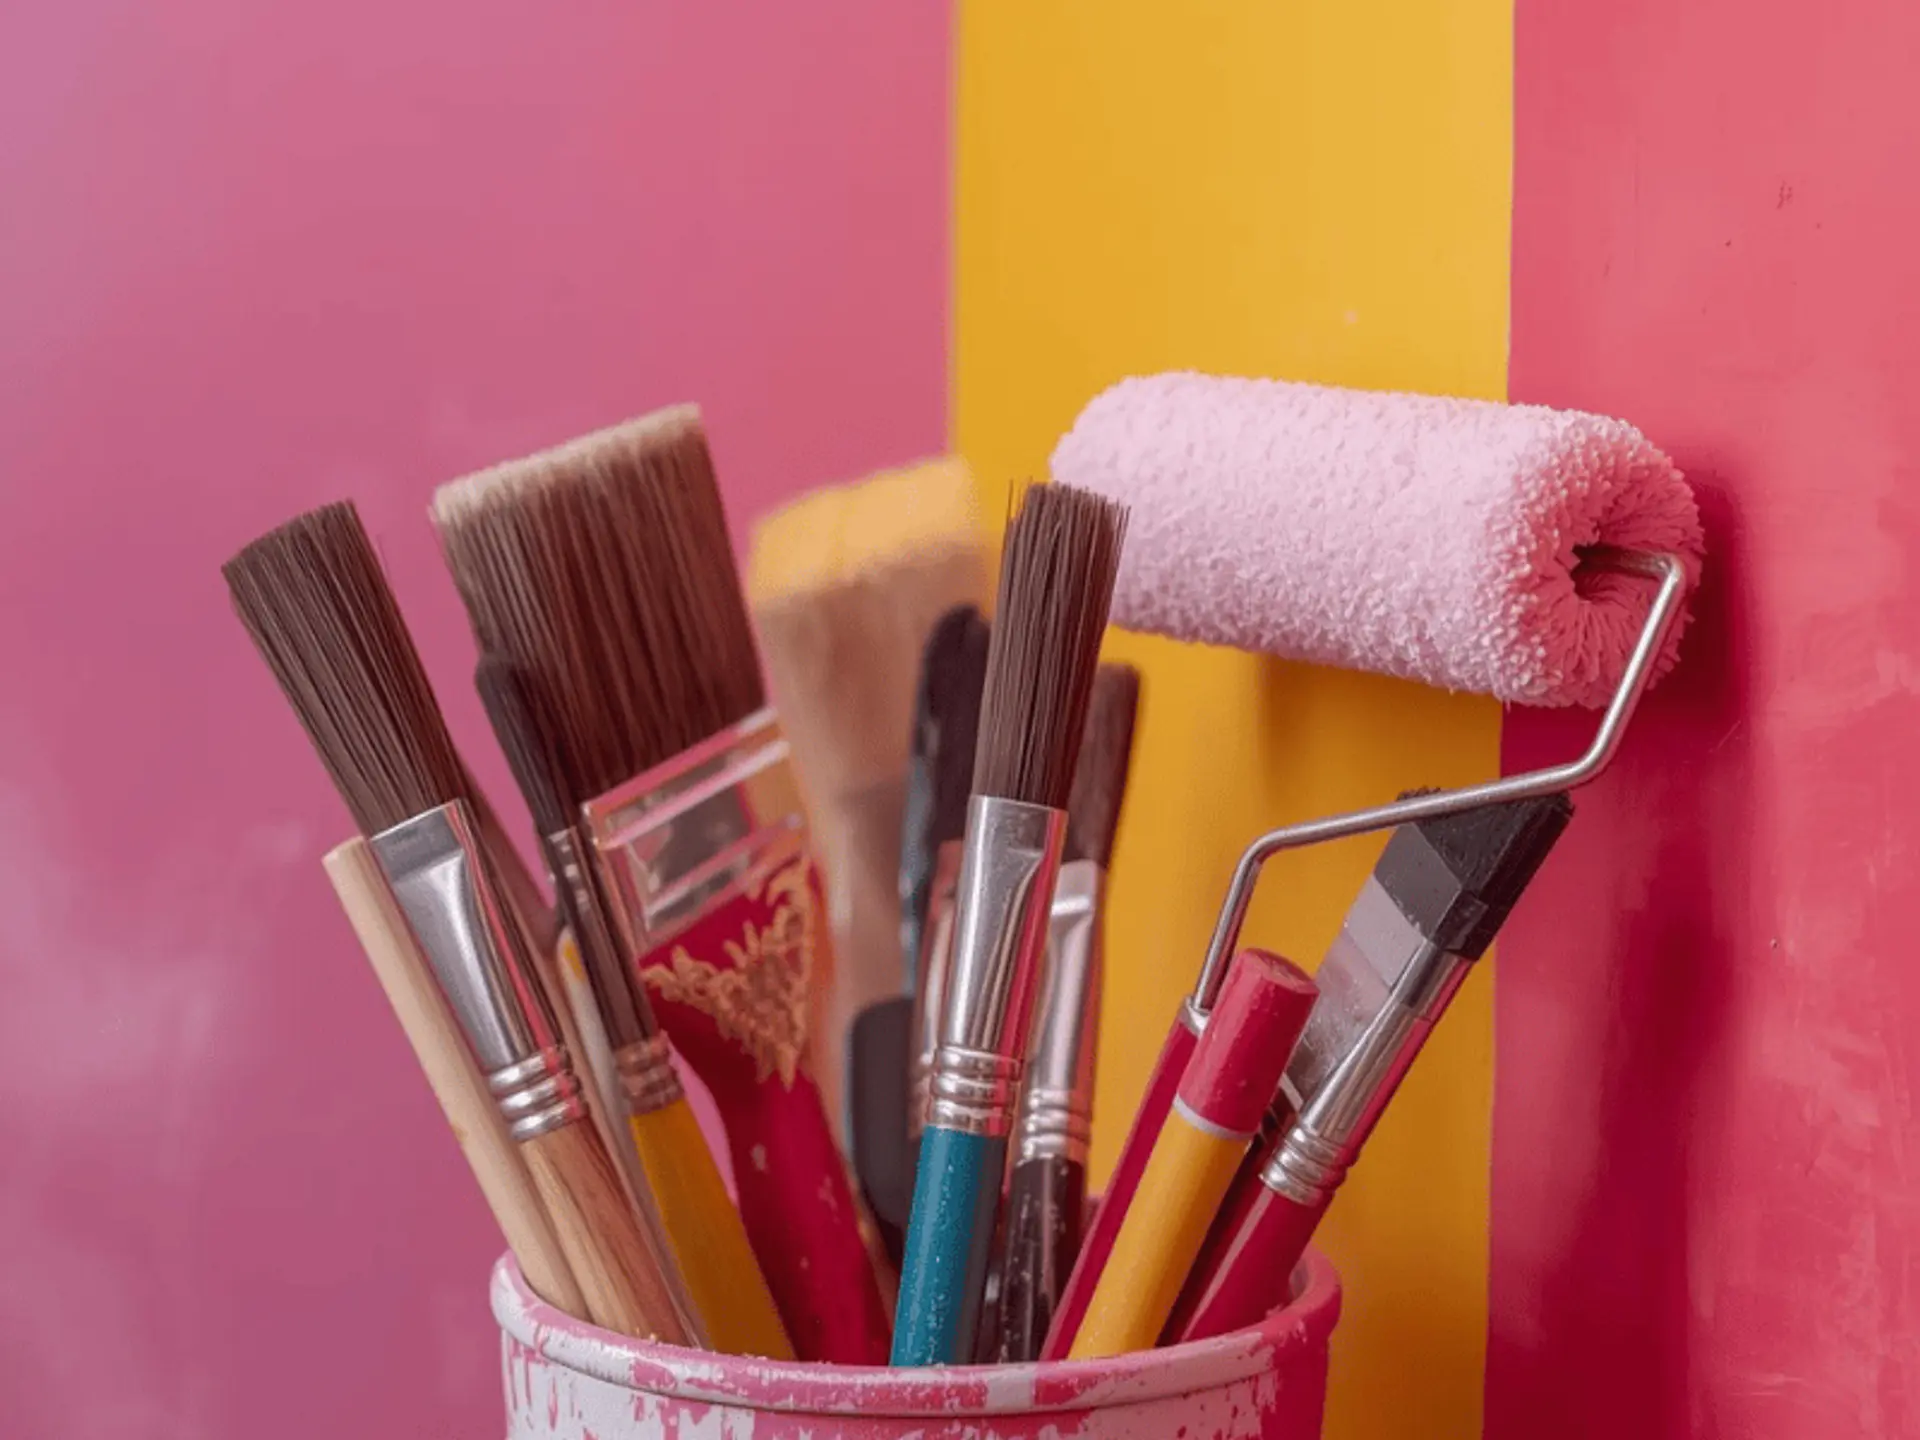
Before you start painting the walls, gather everything you will need. A smooth workflow keeps the finish cleaner.
- Paint roller and brushes
- Paint tray
- Sandpaper
- Putty or wall filler
- Primer
- Drop cloths or plastic sheets
- Masking tape
If you are planning to repaint textured walls, choose a roller sleeve that suits the texture so the paint reaches into dips and grooves rather than only coating the raised areas.
Step-By-Step Process To Repaint A Wall
These repaint wall steps are written in the order professionals typically follow. Keep the wall work steady and avoid jumping ahead. That is the simplest way to achieve a crisp finish when doing touch-ups on old wall paint or switching to a new shade.
Step 1 - Prepare The Wall
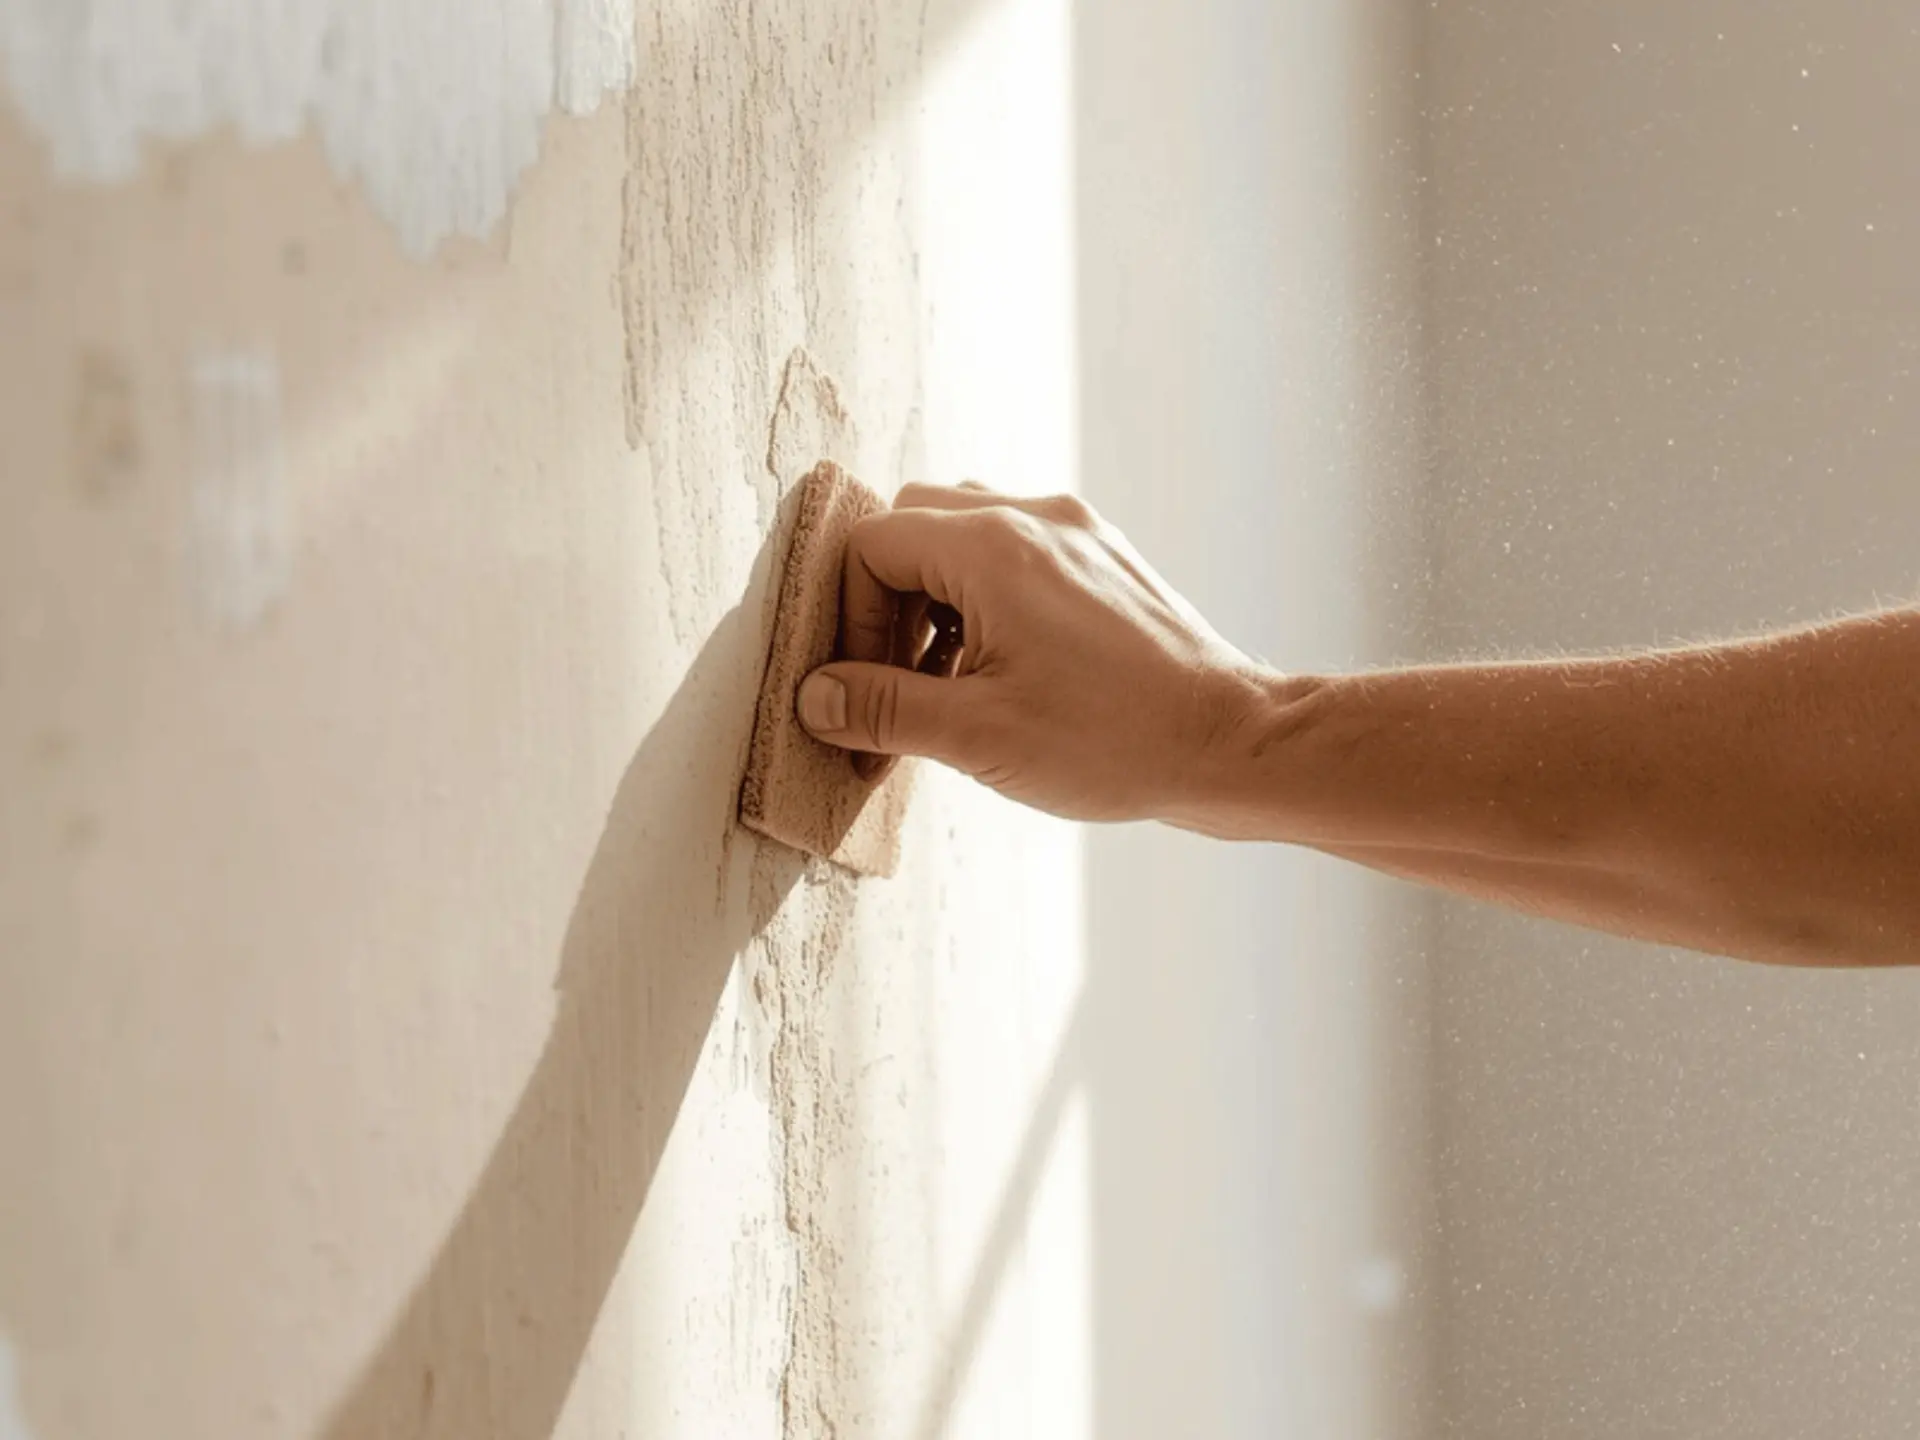
Run your palm lightly over the wall. If it feels gritty, chalky, or uneven, paint will only highlight it once it dries.
- Cleaning the surface to remove dust, cobwebs, grease, and stains
- Filling cracks, nail holes, and dents with putty or filler
- Sanding repaired areas until they feel level and smooth
- Wiping away sanding dust so it does not mix into wet paint
If you see damp patches, flaking plaster, or salt-like marks, fix the underlying seepage first.
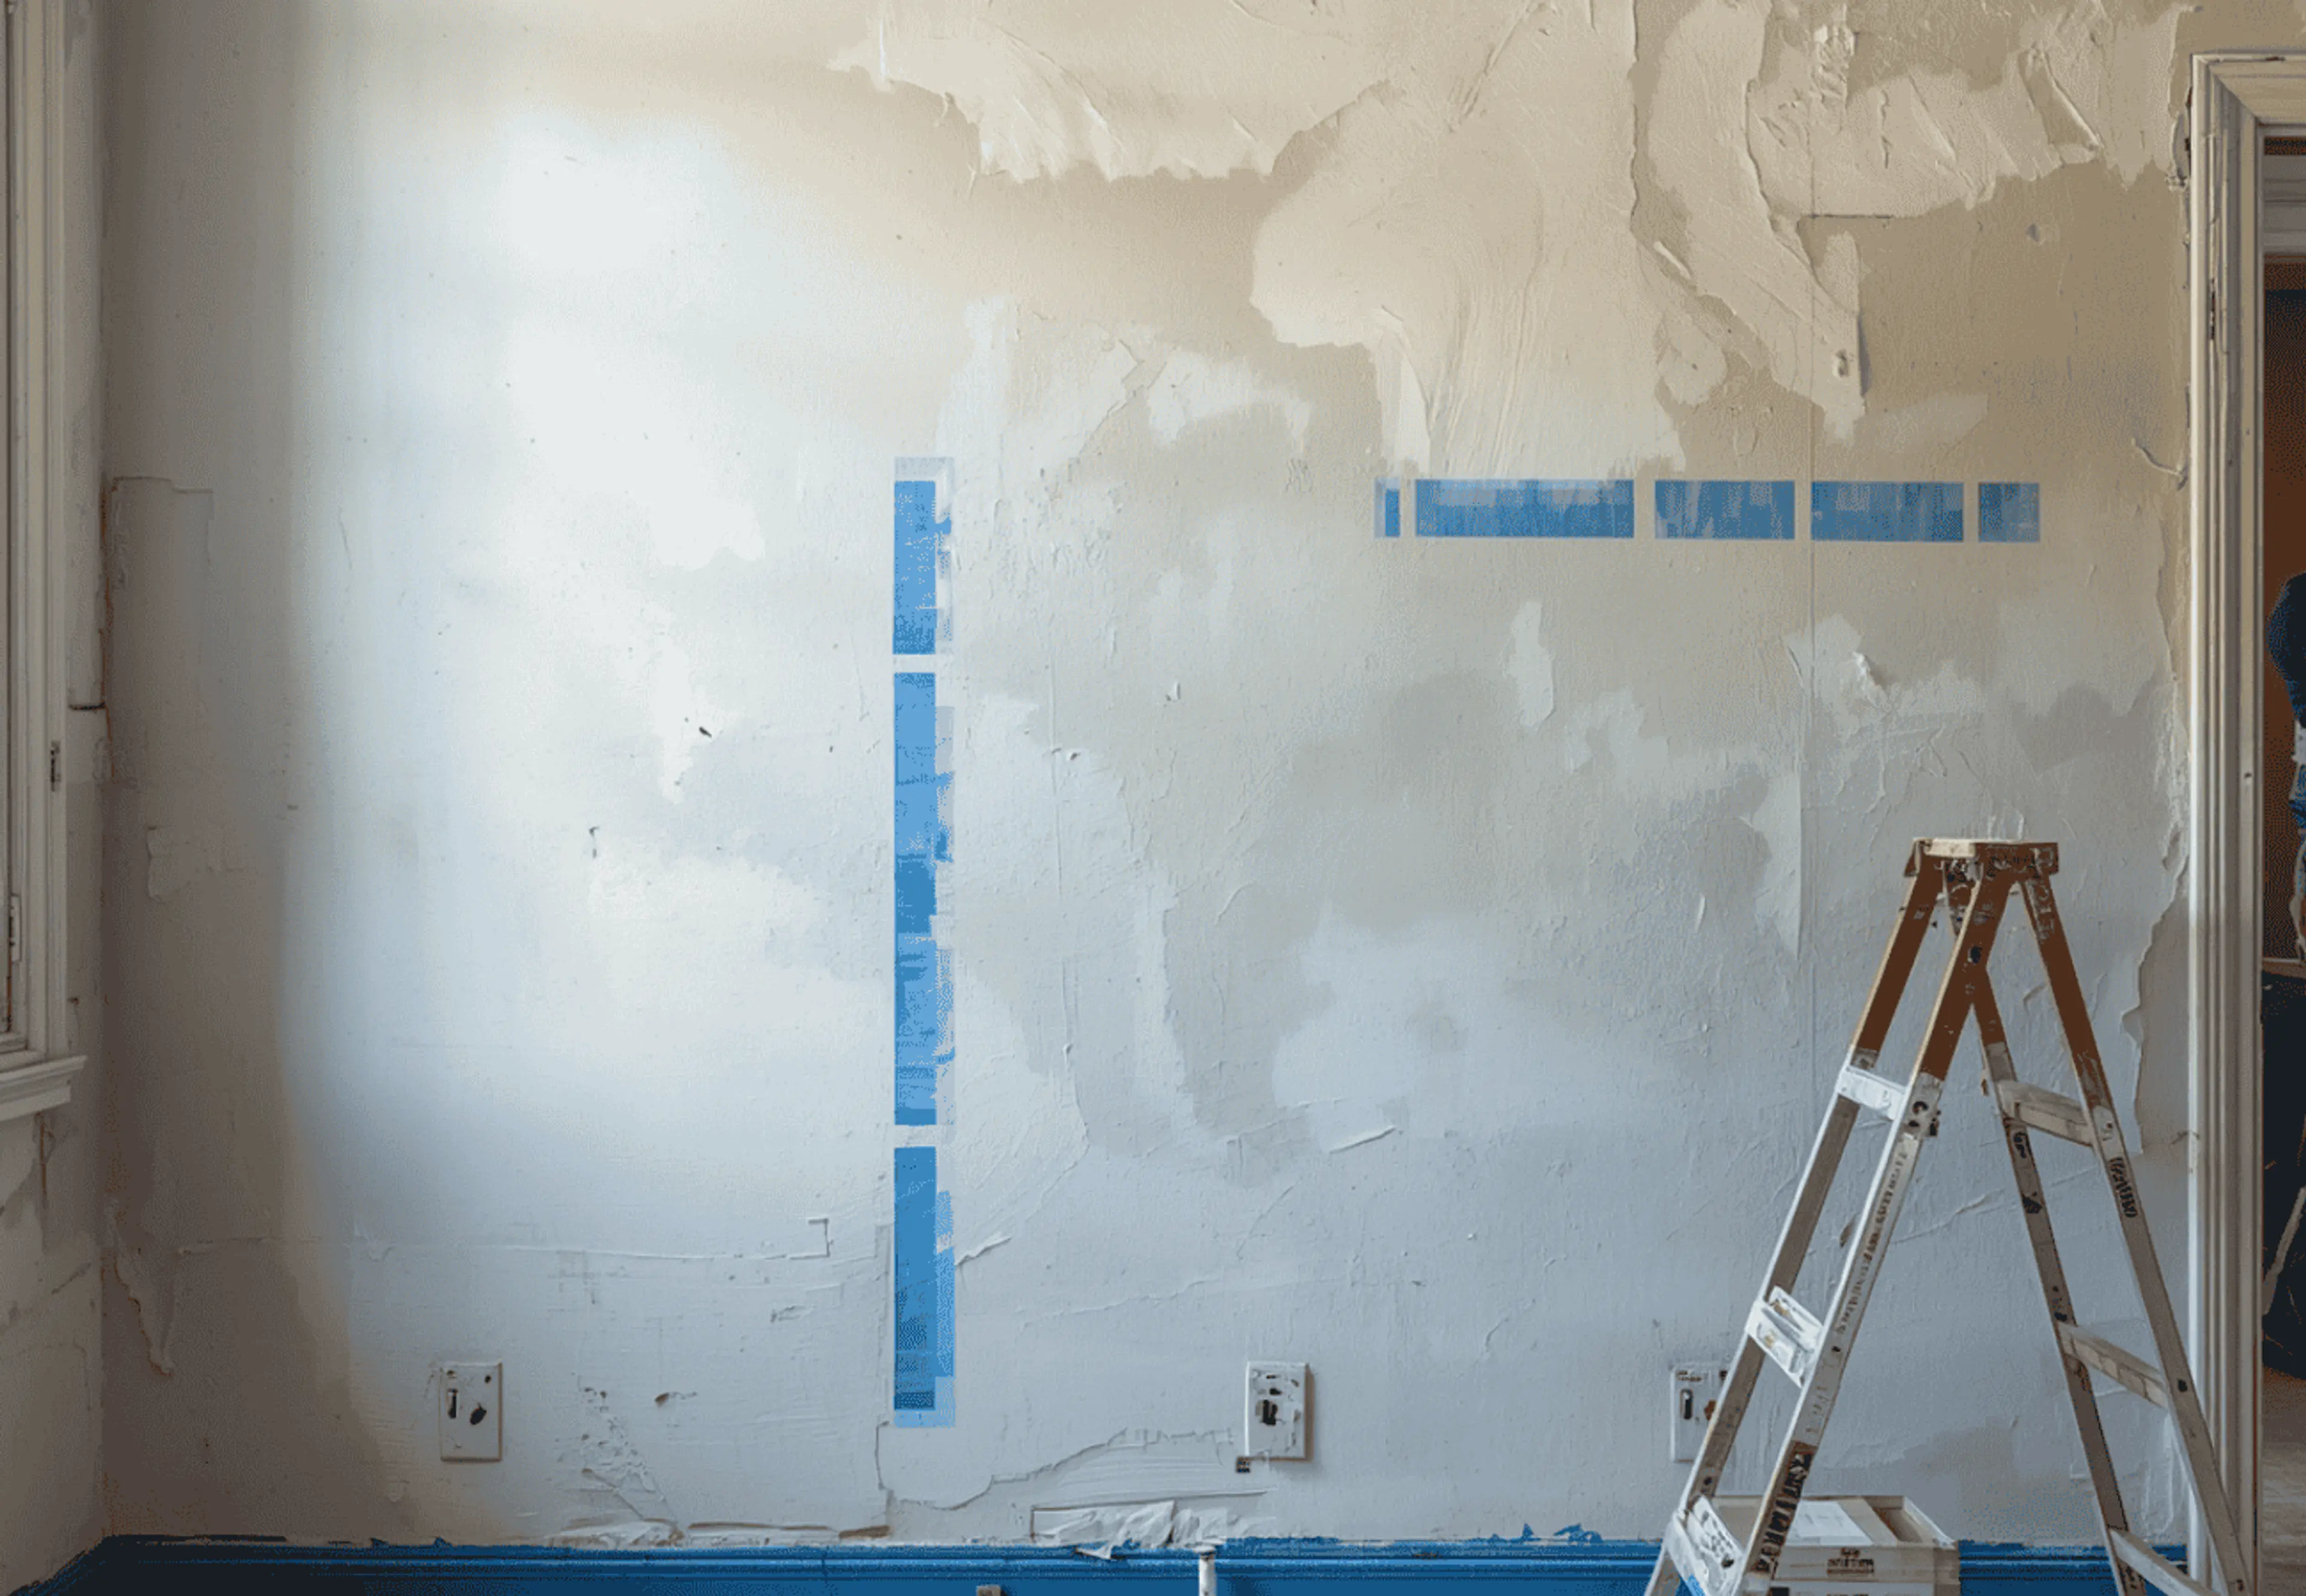
Step 2 - Protect Surrounding Areas

Clean edges are not luck. They come from taking protection seriously before you open the paint can.
- Cover floors with drop cloths or plastic sheets
- Move furniture away from the wall, or cover it fully
- Mask skirting, window frames, door trims, and switch plates with tape
- Keep a small cloth handy for quick wipe-ups while the paint is still wet
This step matters even more when you repaint the wall a different colour, because sloppy edges stand out sharply against the contrast.
Step 3 - Apply Primer
Primer helps paint grip better and prevents the wall from unevenly absorbing paint. It also improves colour uniformity, which is useful when moving from a strong shade to a lighter one.
- The wall has repairs and patched areas
- There are stains or uneven discolouration
- The previous paint looks dull and powdery, even after cleaning
Apply primer evenly and let it dry fully as per the product instructions.
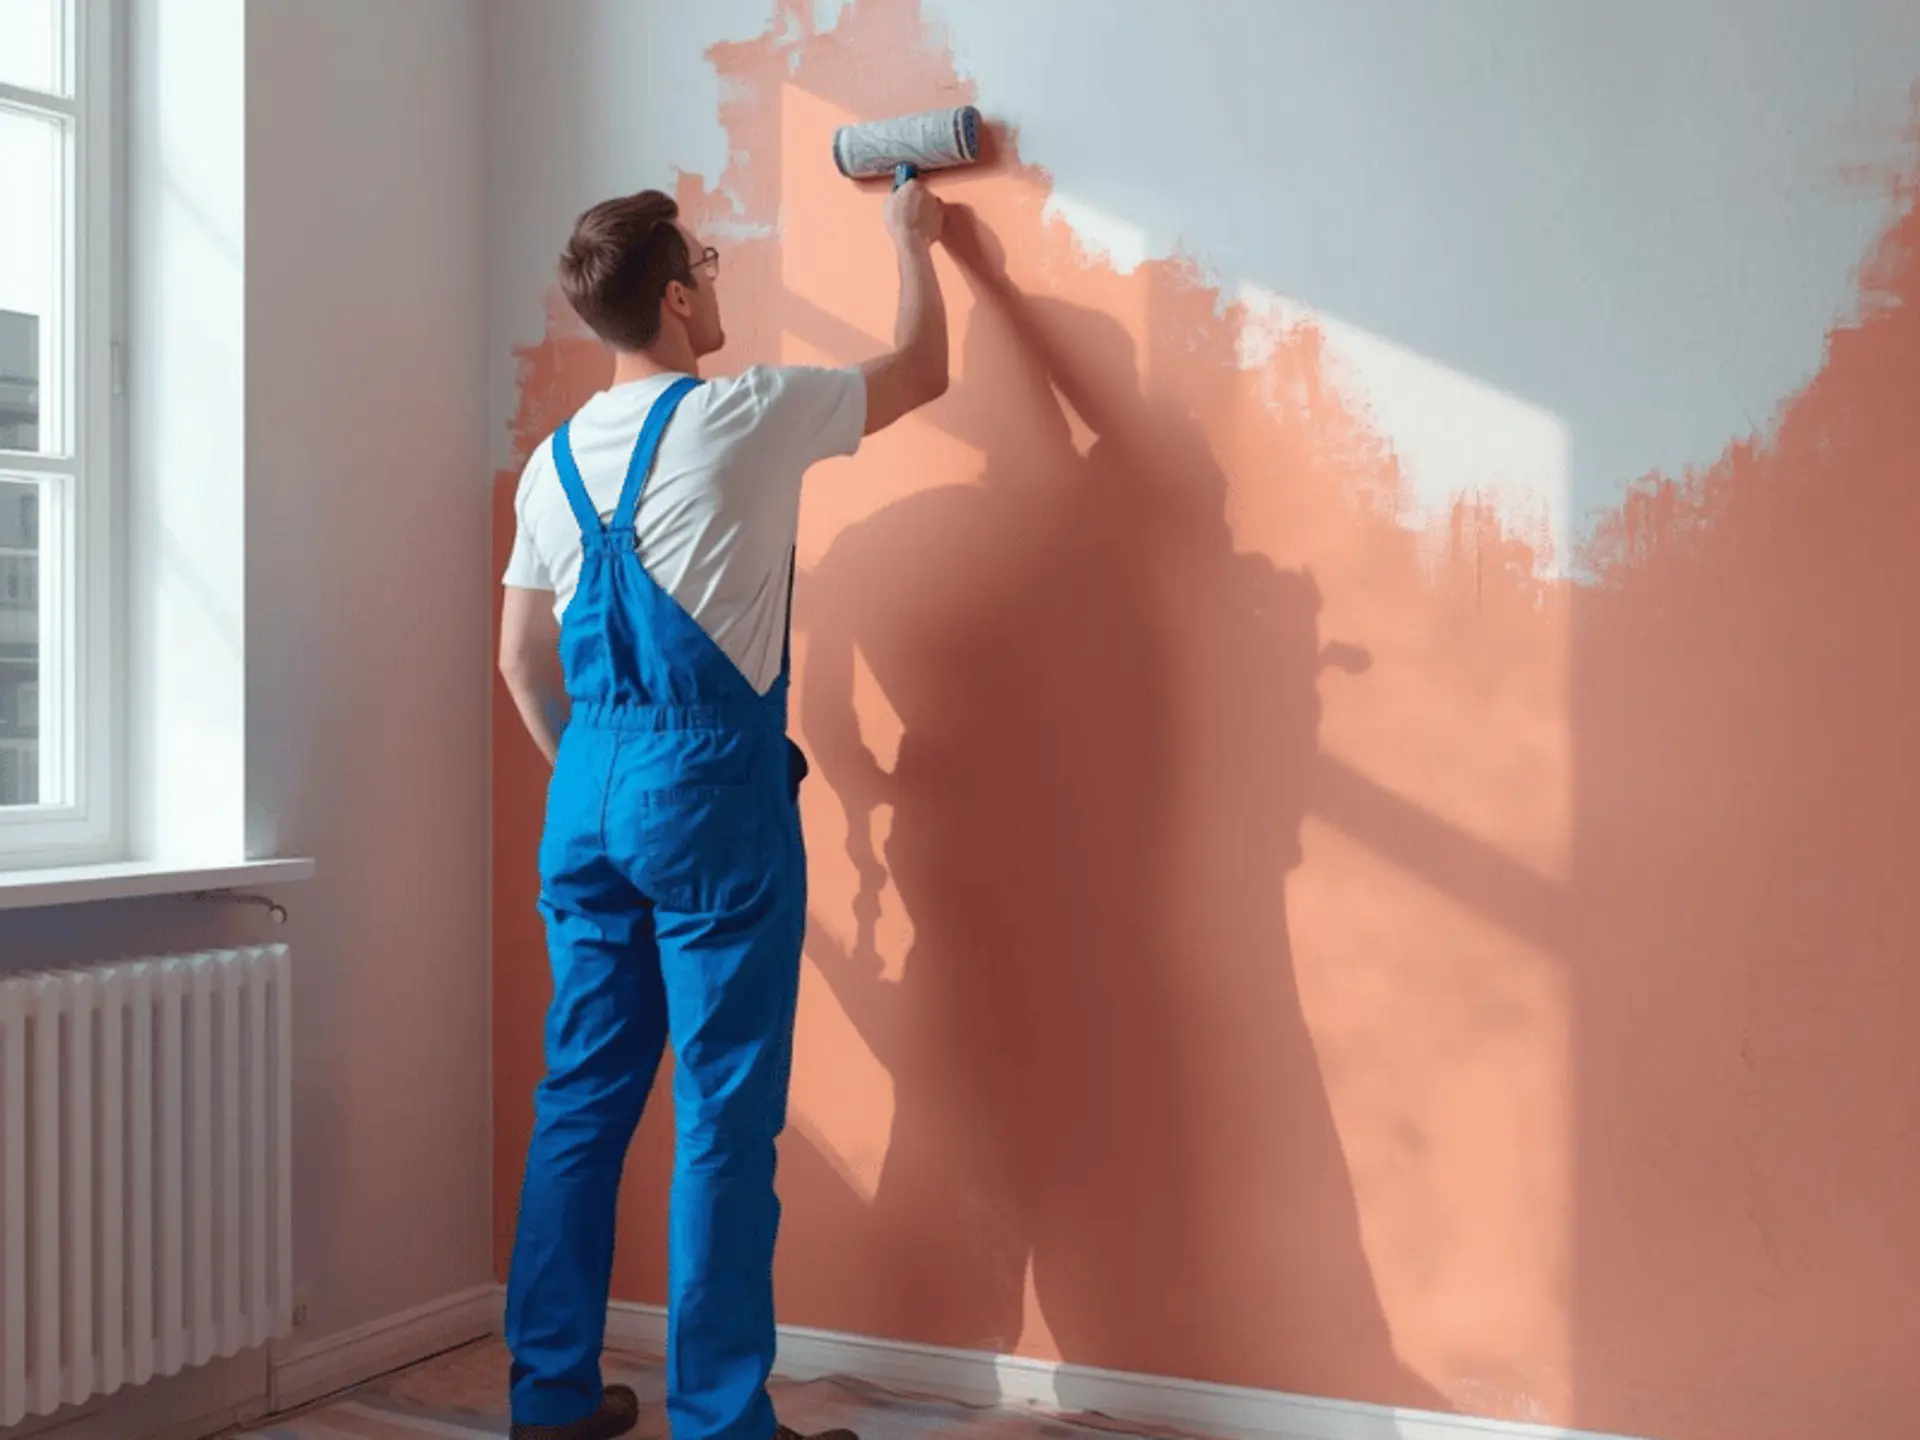
Step 4 - Start Painting
If you have wondered how to paint a wall neatly, focus on two habits: keep a wet edge and do not overload the roller.
- Use a brush first around corners, edges, and near fittings
- Roll the main wall in manageable sections rather than random spots
- Maintain even pressure so the roller does not leave heavy bands
- Smooth out overlaps while the paint is still wet
For repainting textured walls, avoid pushing hard. Let the roller gradually carry paint into the texture.
Step 5 - Apply the Second Coat
Most walls look better with a second coat because it improves coverage, deepens colour, and makes the surface more durable.
- Check that the first coat is fully dry
- Inspect for thin patches and missed edges in natural light
- Lightly sand any rough bits and wipe clean before painting again
This is the step that usually turns an average work into a clean finish, especially when handling an old type of wall paint where earlier layers were uneven.
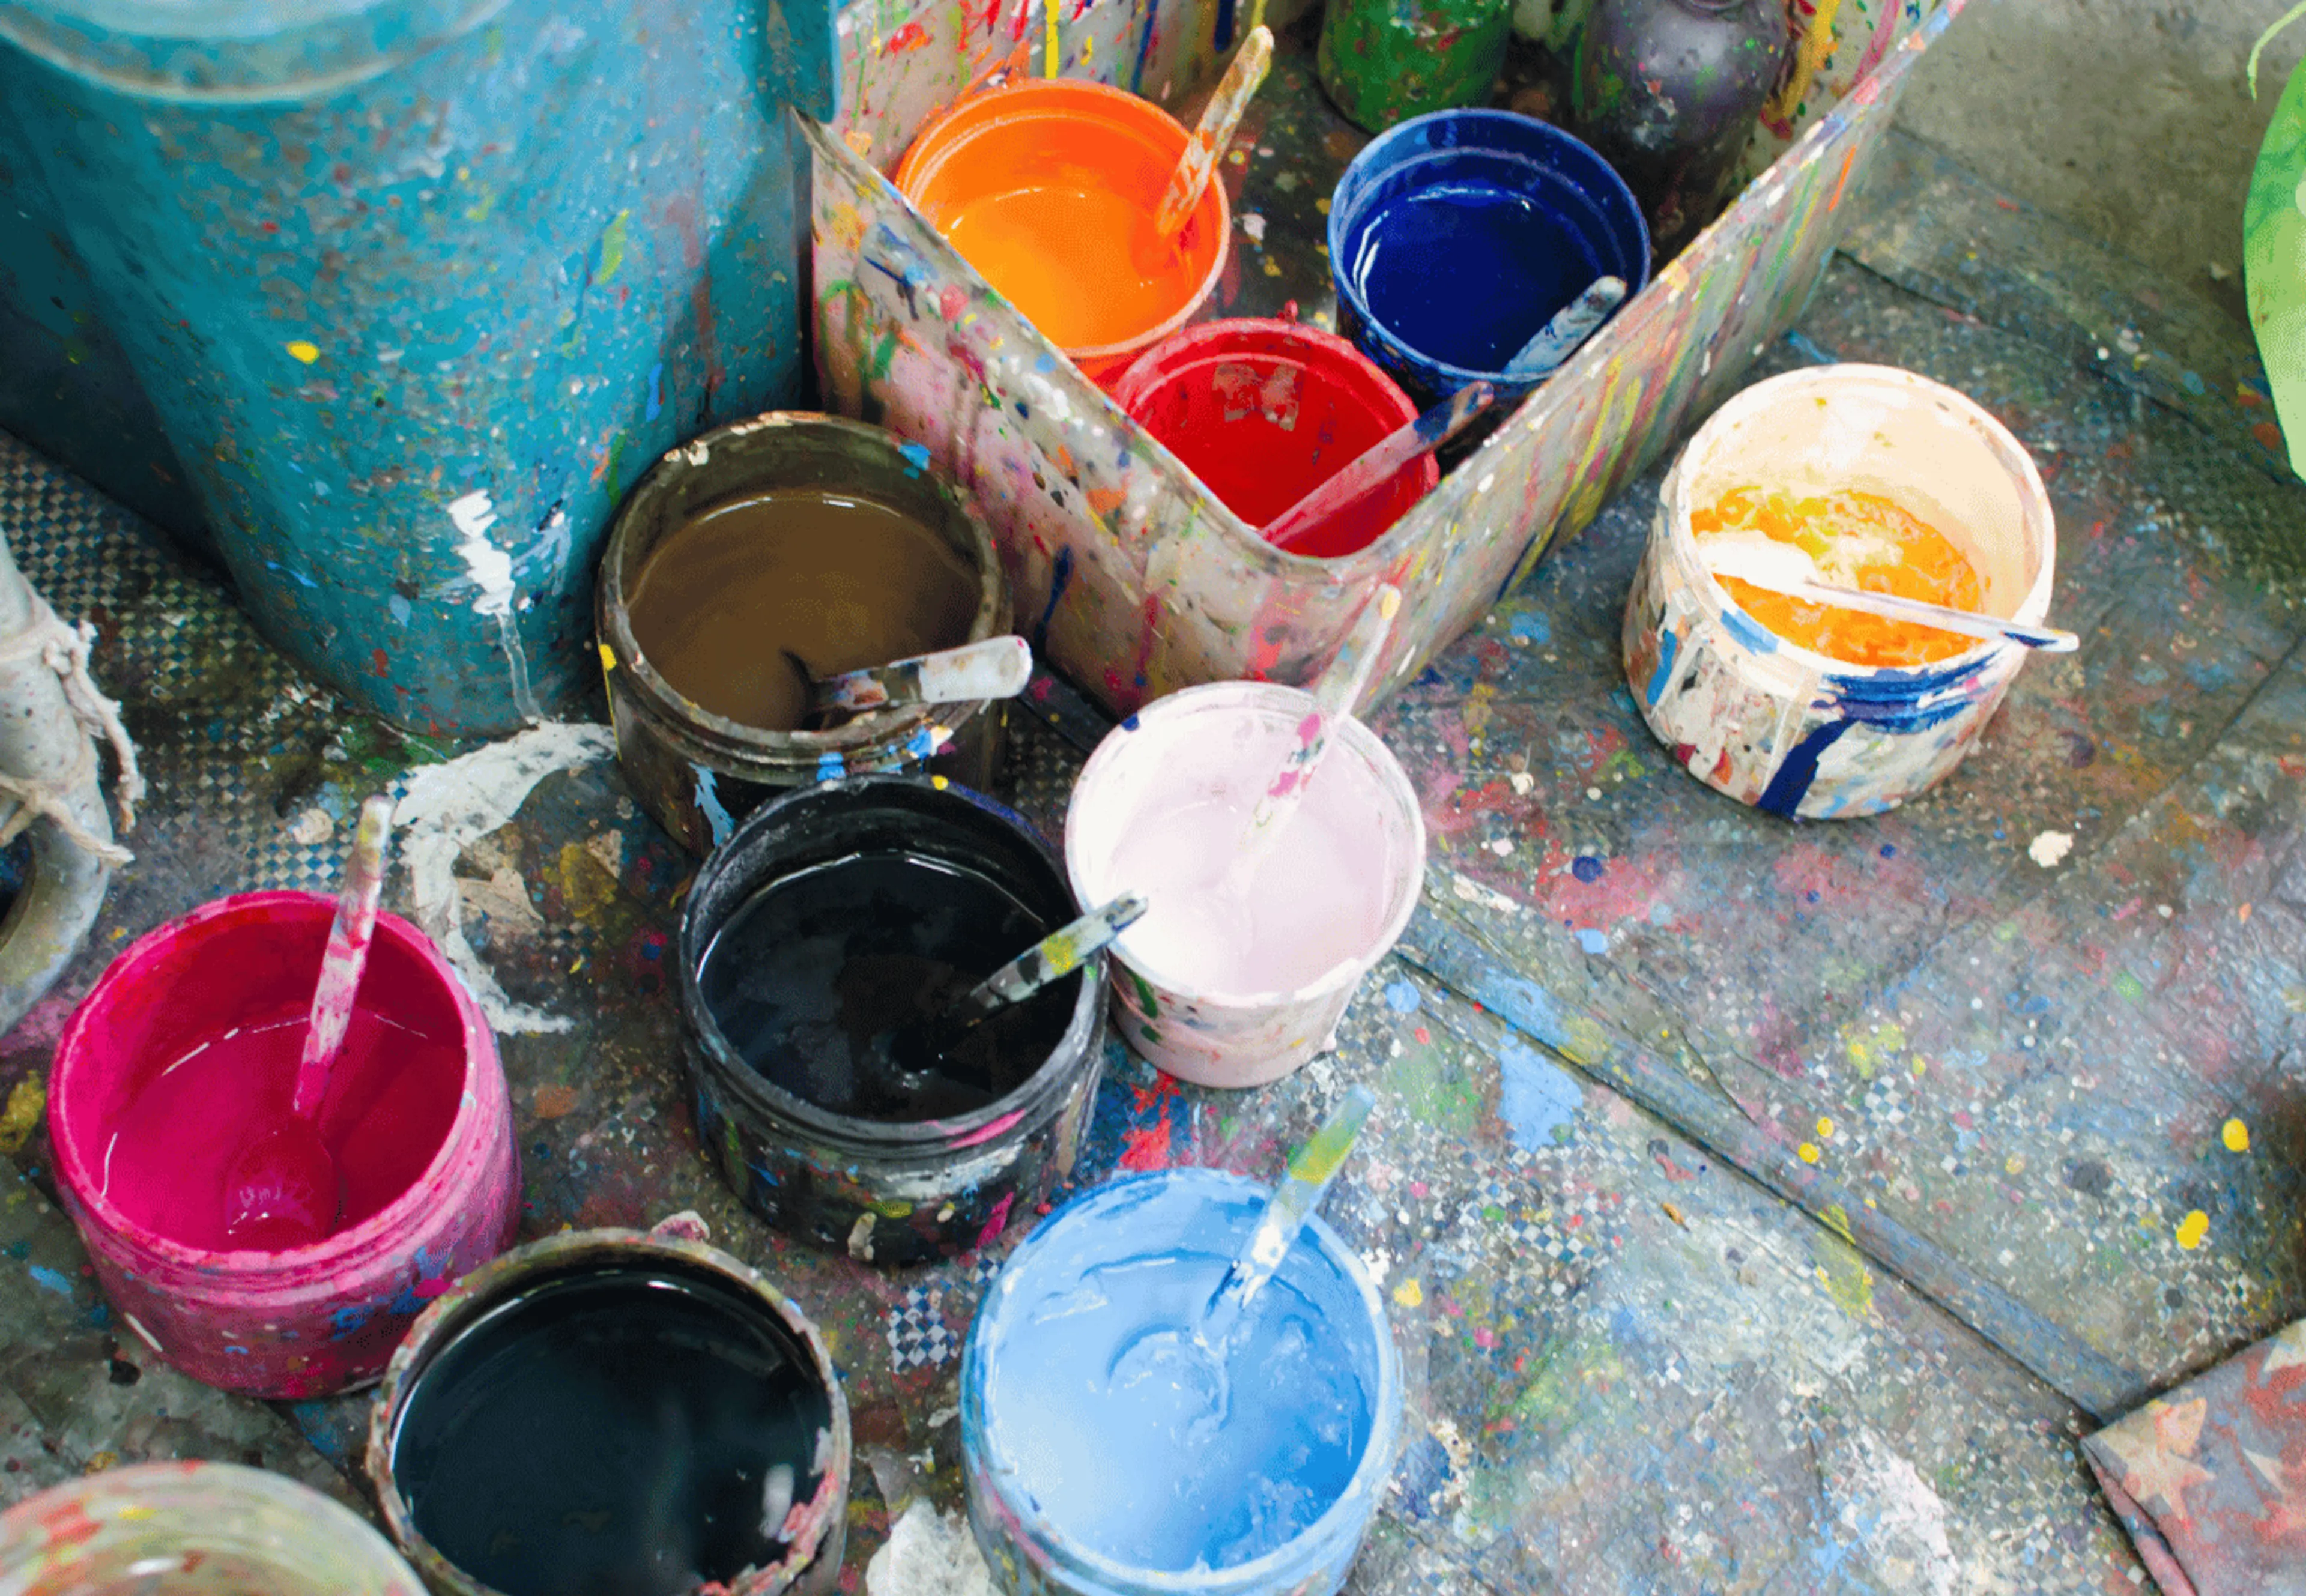
Choosing the Right Paint for Your Wall
Different rooms need different paint types because they face different levels of steam, stains, and cleaning.
- Living rooms and bedrooms: Emulsion paint
- Kitchens: Washable, stain-resistant paint
- Bathrooms: Anti-fungal, moisture-resistant paint
- Exterior walls: Weatherproof, UV-resistant paint
When you repaint bathroom walls, also pay attention to ventilation.
Common Mistakes To Avoid
A few missteps can ruin the finish, even with good paint:
- Skipping wall preparation and painting over loose or dusty surfaces
- Using cheap rollers that shed fibres or leave an uneven texture
- Rushing between coats and trapping moisture under fresh paint
- Painting over active dampness and expecting it to hold
- Ignoring edge work, then trying to fix it after the paint dries
Tips For A Long-Lasting Paint Finish
Small choices add up when you want the finish to last:
- Pick paint based on room conditions, not only colour preference
- Paint during drier weather, where possible
- Keep windows open for ventilation and better drying
- Clean marks gently to avoid dulling the finish
Maintenance After Repainting
A little care keeps walls looking fresh:
- Clean gently with a soft cloth
- Avoid harsh chemicals that can damage the paint film
- Fix cracks or seepage early to protect the surface
- Touch up minor scuffs before they become obvious patches
Conclusion
Repainting a wall is a simple project that delivers big results. With careful surface preparation, the right materials, and a steady technique, you can achieve a clean, durable finish that lifts the look of your home and protects the wall underneath. If you prefer to avoid the mess and time involved, painting services like Berger Express Painting can handle preparation, neat cutting-in, and uniform coats so the final finish looks sharp and lasts longer.
check for any query you have about the blog
Frequently Asked Questions
Yes, you can, if the wall is clean and matte. Still, quick sanding improves grip on glossy patches every time overall.
Wait 24 hours before moving back in lightly. For full curing and cleaning, give it two days in humid homes.
Late morning to afternoon works best when the light is strong and the humidity is lower. Avoid evenings and nights in the monsoon.