Do-It-Yourself: How to Paint Your Wooden Furniture

 Jul , 2026
- Berger Speaks
- 4 Min Read
Painting wooden furniture is a practical way to refresh an old piece, protect its surface and keep it useful for longer. A new colour can also help a chair, table, cabinet or shelf suit updated home décor.
Good results come from cleaning, sanding, priming and applying paint carefully. This guide explains the benefits of furniture painting, the tools and finishes to consider, correct wood preparation and every stage of the painting process at home with confidence.
Why Paint Your Wooden Furniture?
Old furniture may remain strong even when its finish looks scratched, faded or uneven. Painting allows you to restore such pieces instead of replacing them. It can also bring mismatched furniture into one colour scheme after a room makeover.
Suitable furniture wood paint creates a fresh layer that helps protect the surface from regular handling, marks and moisture exposure. Repainting is often more economical than buying new items and lets you select colours from a colour catalogue according to the room.
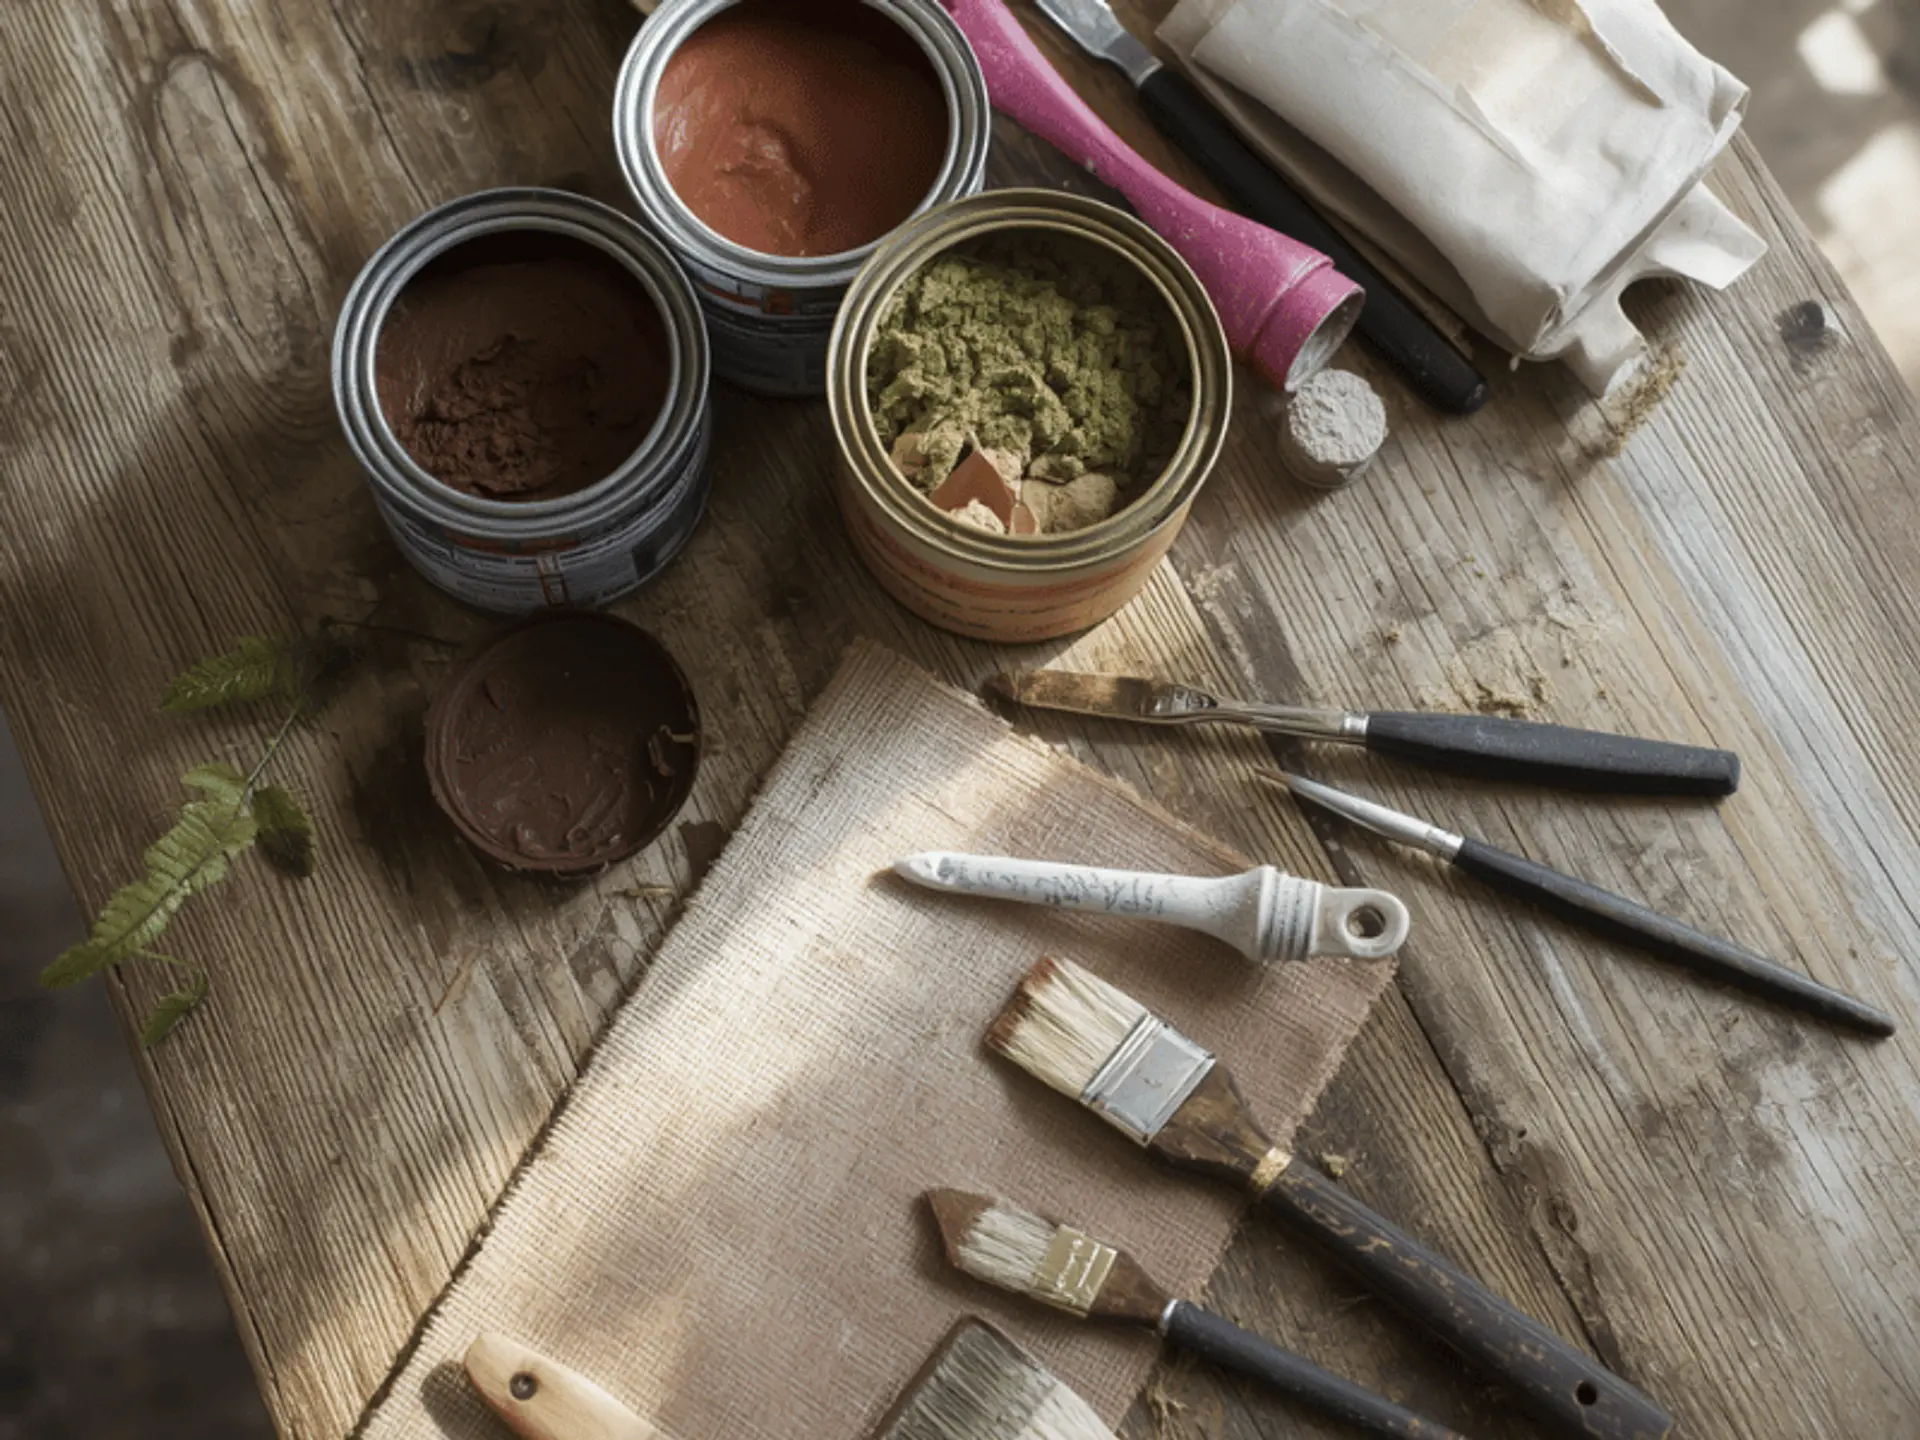
Tools and Materials You’ll Need
Keep everything ready before starting:
- Sandpaper smooths rough areas and removes loose paint.
- Wood filler closes small dents, holes and surface cracks.
- Primer creates an even base and supports paint adhesion.
- Paint provides the chosen colour and final appearance.
- Brushes reach edges, joints, corners and carved details.
- A small roller covers broad, flat surfaces evenly.
- Masking tape protects hinges, glass and adjoining sections.
- A tack cloth removes fine sanding dust before coating.
- Drop cloths protect floors from dust, primer and paint.
- Gloves, a mask and eye protection support safer working.
A paint kit for wooden and metal surfaces may combine basic tools but check that the included coating is suitable for wood.
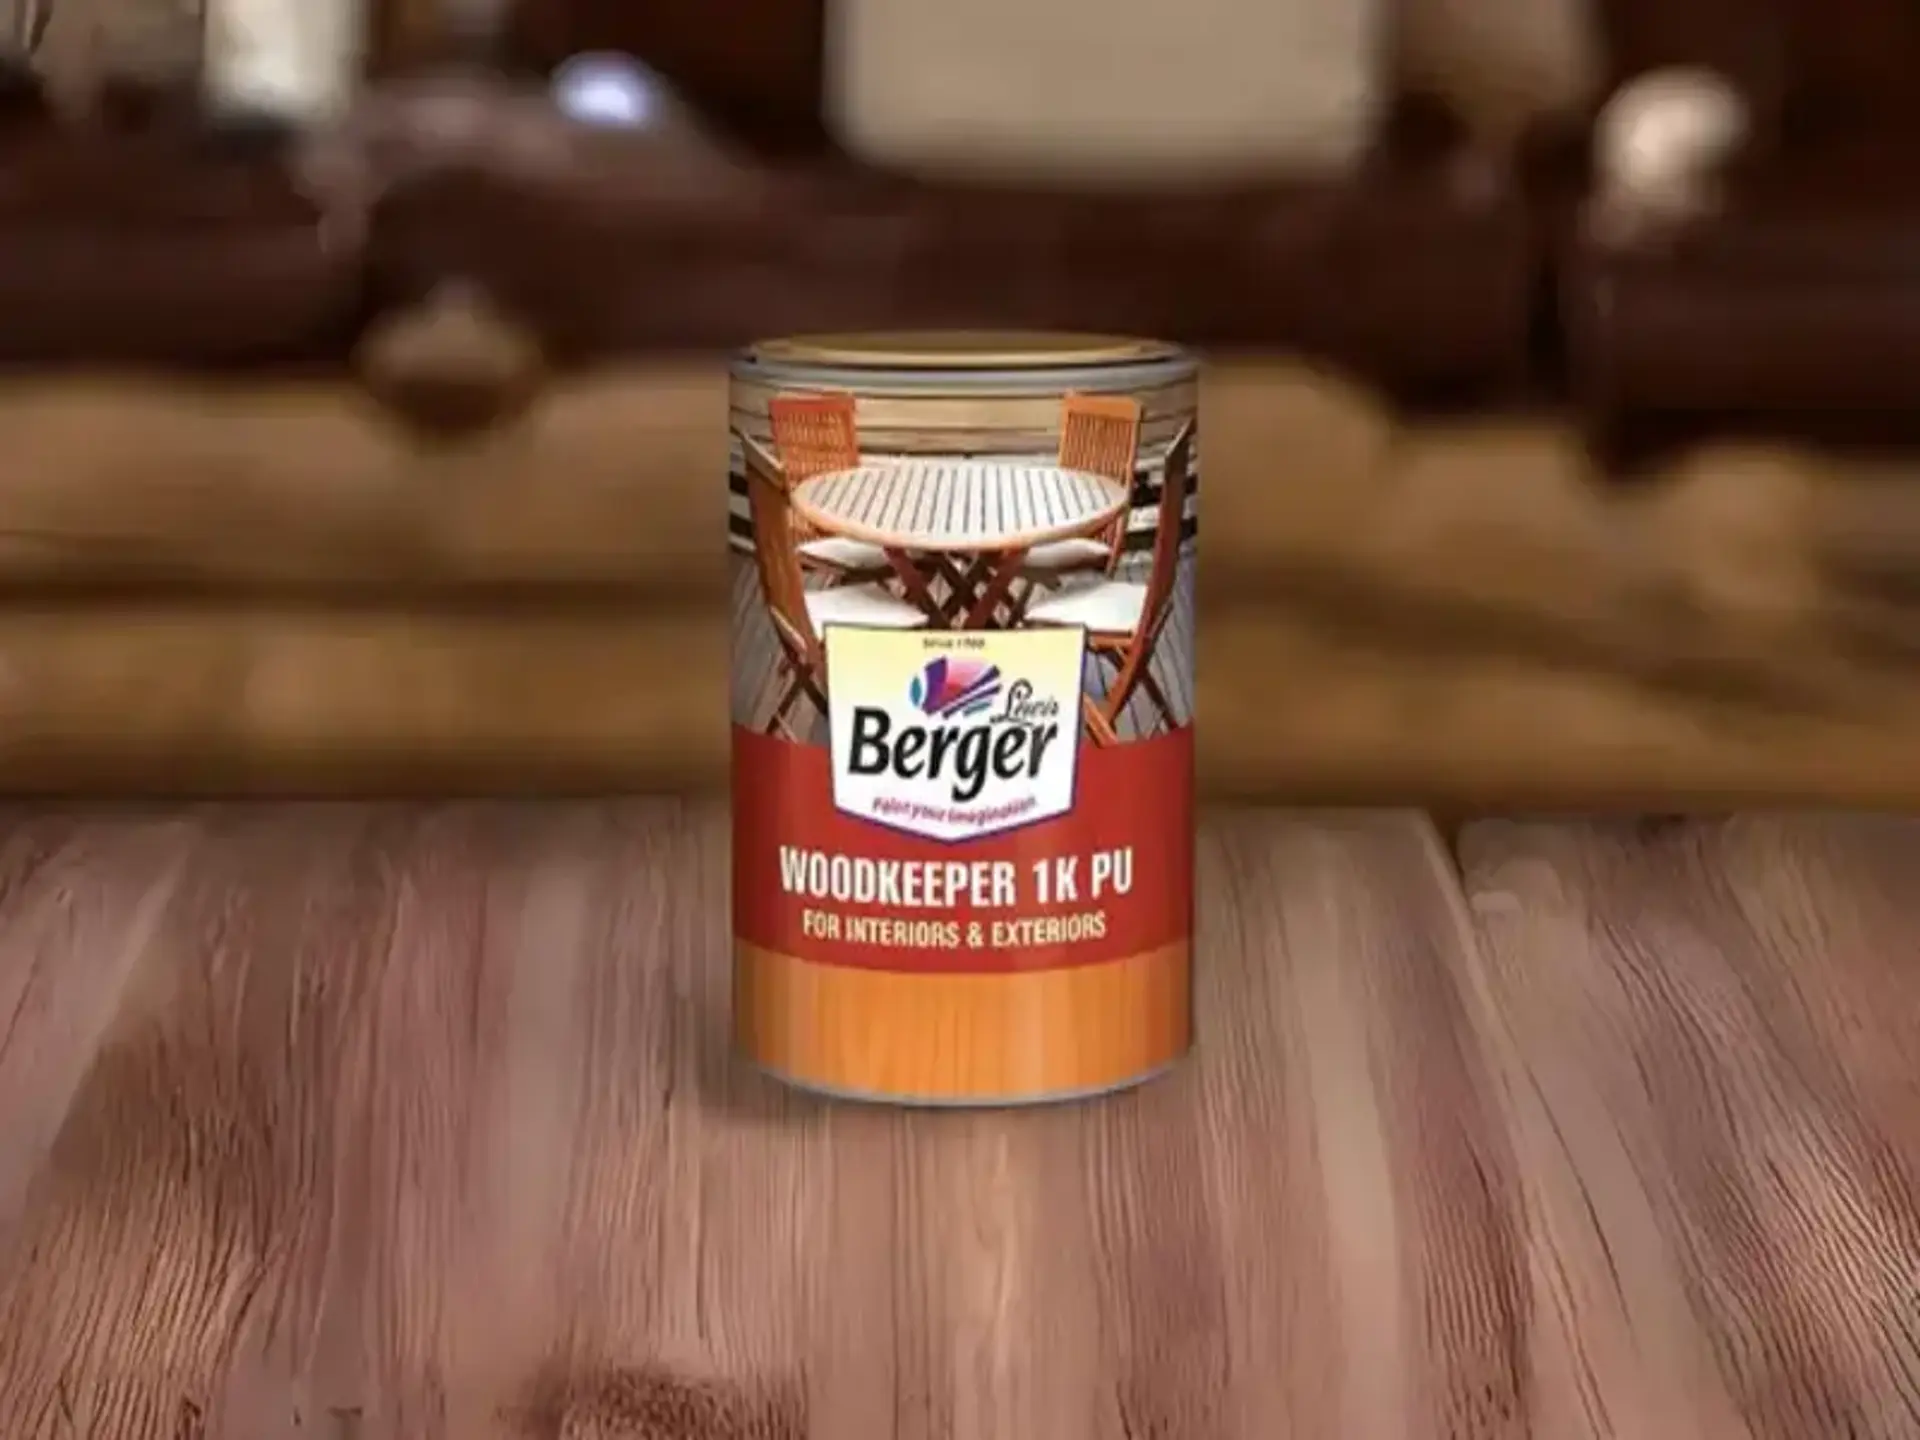
Choosing the Right Paint for Wooden Furniture
Choose the paint according to how the furniture will be used and where it will be placed. Acrylic paint may suit decorative indoor pieces that need a simple coloured finish. Enamel paint is often suitable for frequently handled furniture because it creates a firm, smooth coating. Chalk paint can provide a soft, matte or aged appearance, while spray paint may help cover knobs, hooks, narrow sections and smaller objects evenly.
Always select a coating designed for wooden surfaces. For balconies, verandas or gardens, choose paint for outdoor wooden furniture only after confirming that it can withstand exterior exposure. The final product should suit the surface condition, location and expected level of use.
Matte, Satin or Gloss: Which Finish Should You Choose?
Matte gives furniture a quiet, low sheen appearance and suits decorative cabinets, side tables and relaxed interiors. It may show marks more easily and needs gentle cleaning. Satin offers a soft sheen and practical surface for frequently used indoor furniture.
Gloss reflects more light and creates a bright, polished look. It is easier to wipe but may highlight dents, brush marks or poor preparation. Choose after considering appearance, maintenance and use.
How to Prepare Wooden Furniture before Painting
Proper preparation helps paint spread evenly and remain attached. Remove dust, grease, wax, grime and any dried wall paint splashes from the surface. Take off knobs or fittings where possible.
Fill holes and dents, then allow the filler to dry. Scrape away loose coating carefully without damaging the wood. Sand the surface gently and clear all dust before applying primer. Paint adheres best when the wooden base is clean, smooth and stable.
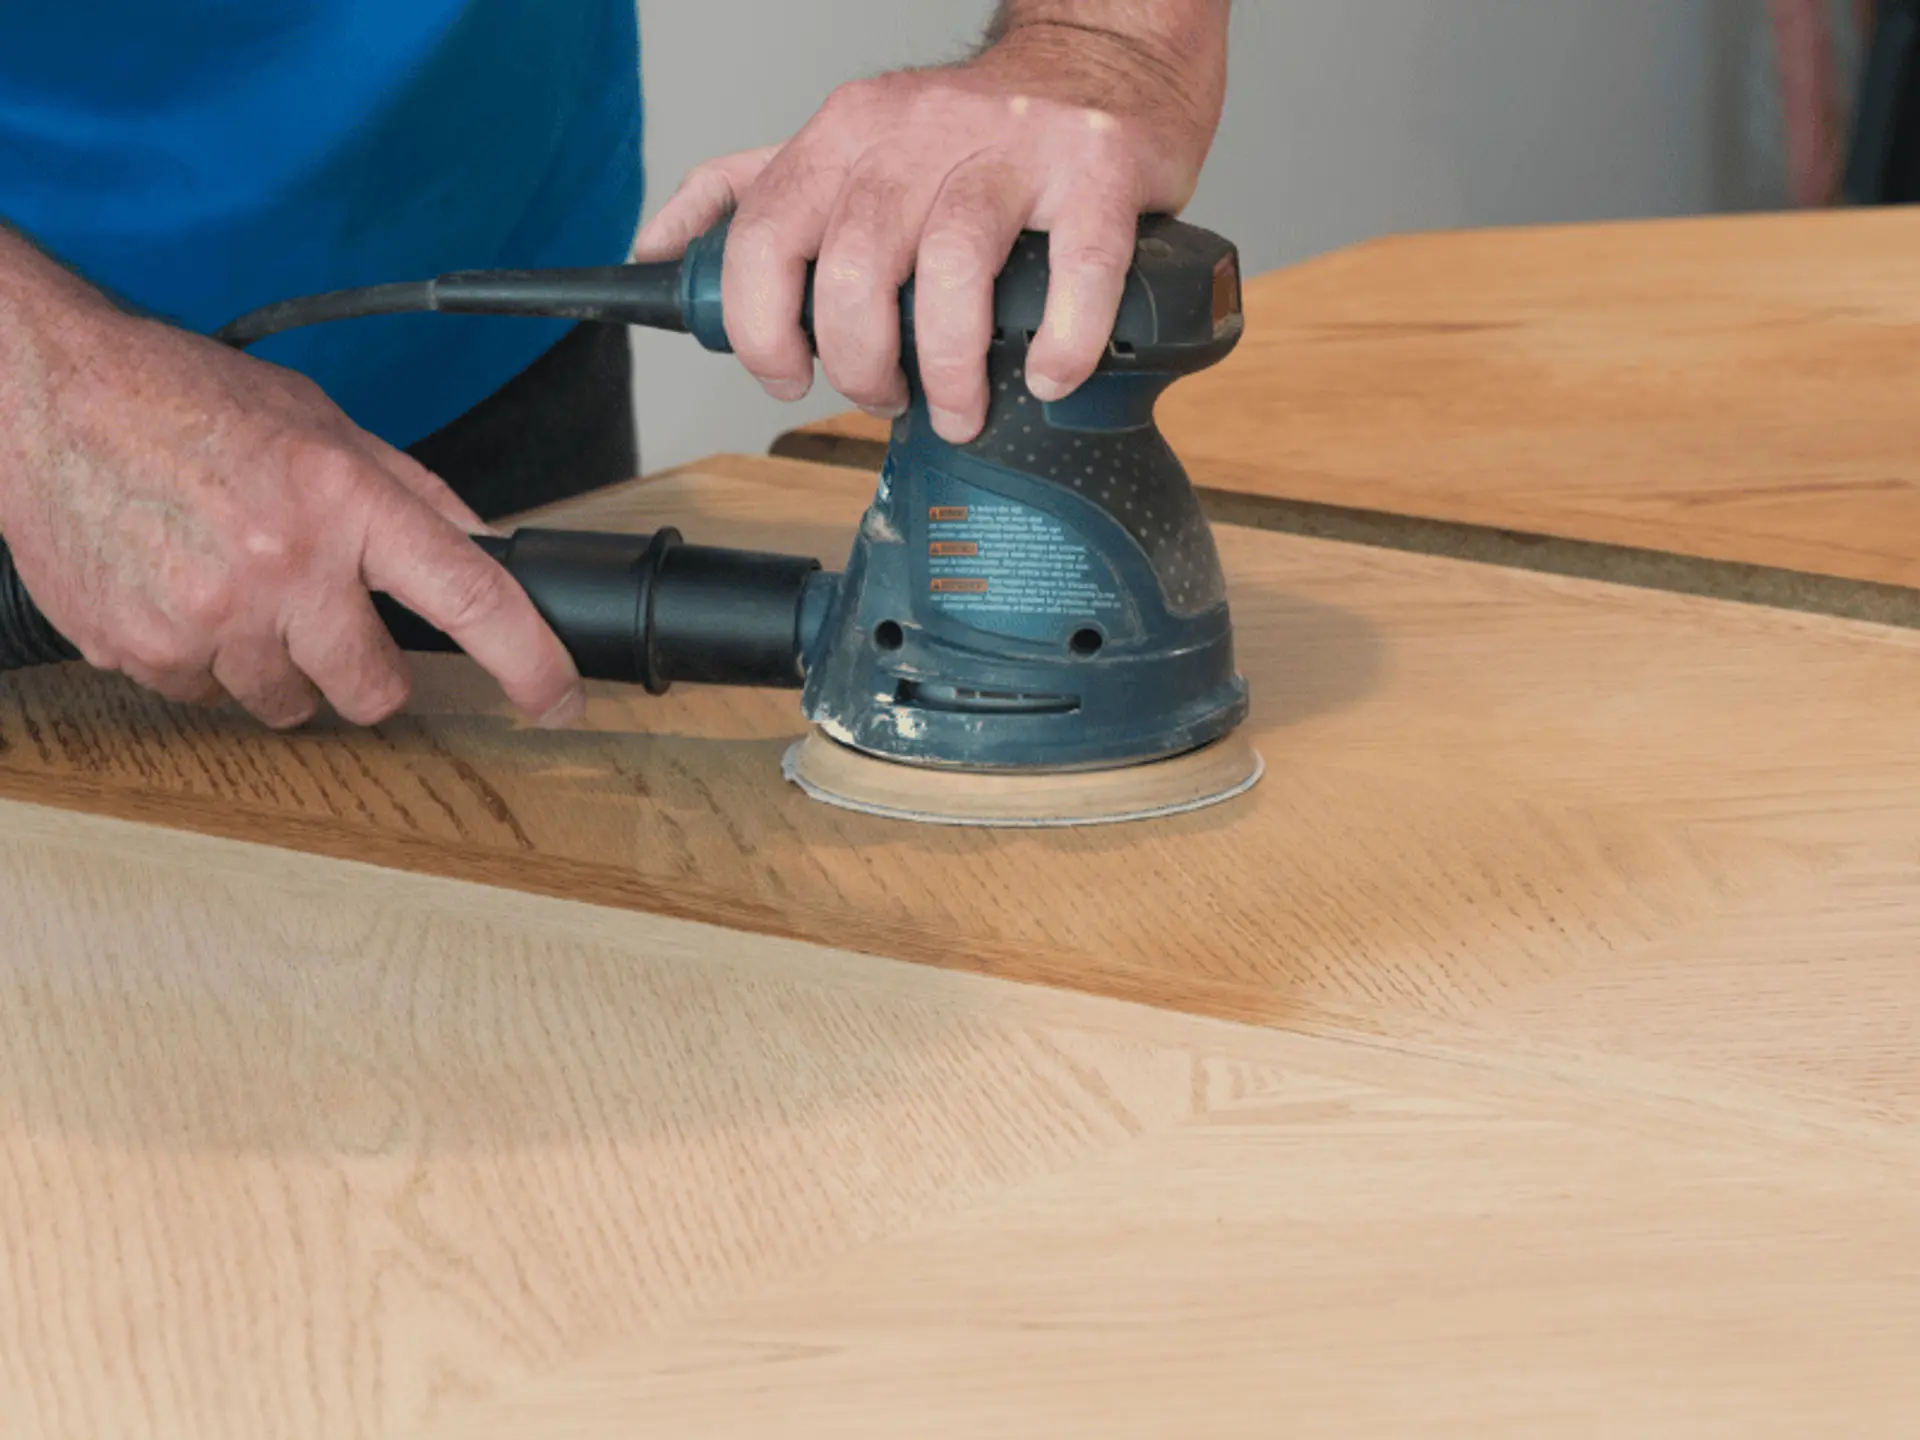
Do You Need to Sand Wooden Furniture?
Yes, sanding is usually needed when wooden furniture feels rough, looks scratched or glossy, or has loose paint. Use medium-grit sandpaper on uneven areas, followed by finer grit for a smoother finish. Always sand along the grain with light, steady pressure.
Furniture in good condition may need only light sanding to reduce surface shine. Sanding can be skipped when the selected coating permits it, but the surface must remain clean and stable. Remove all wood dust before applying primer, paint or polish.
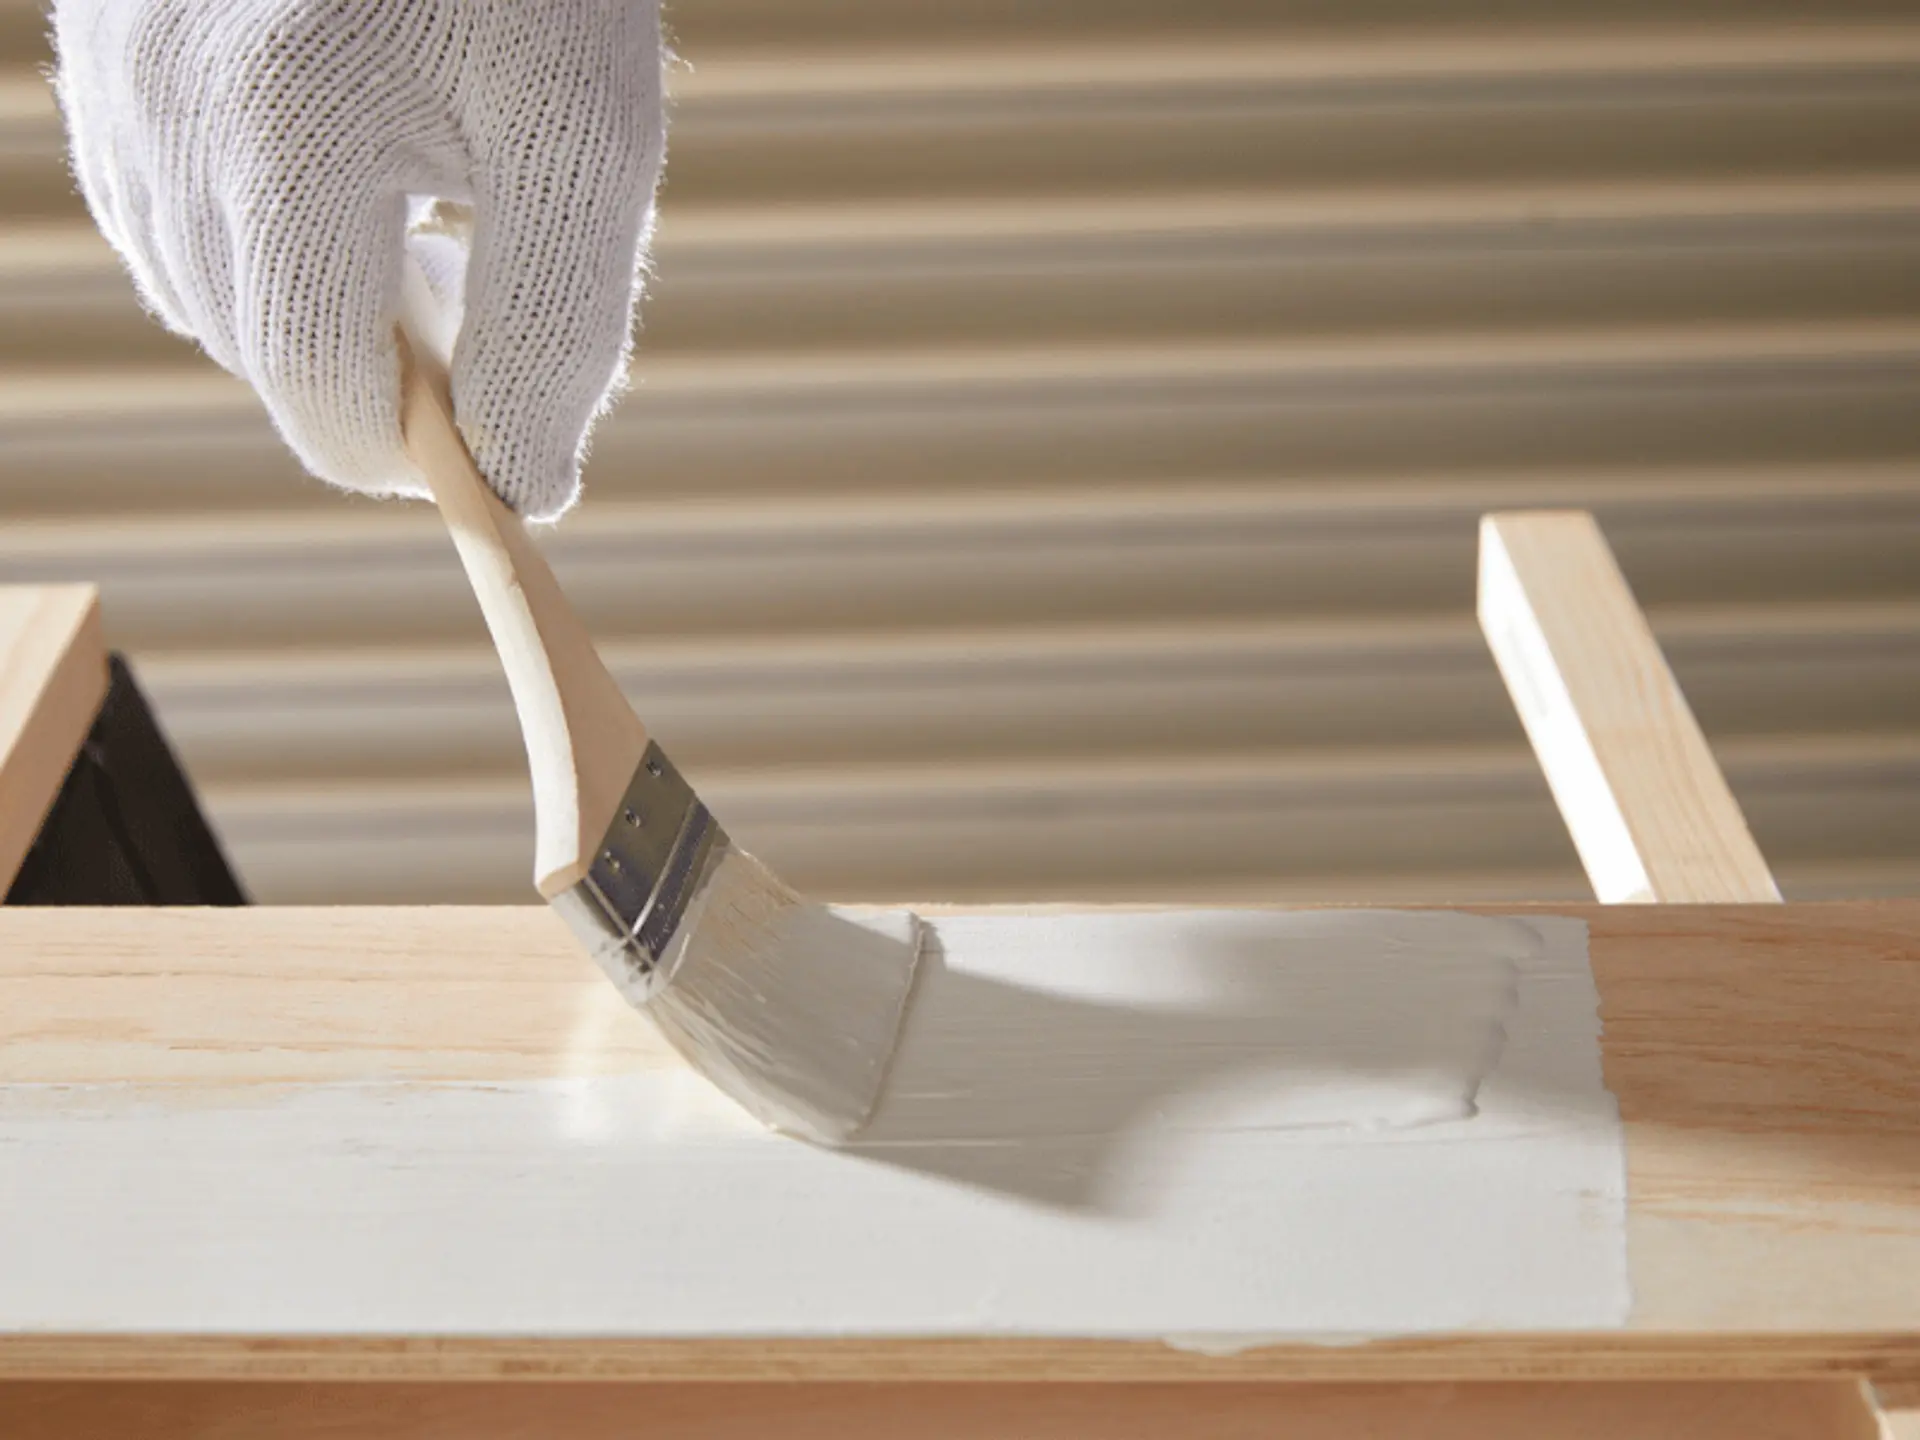
Should You Apply a Primer?
Yes, applying a primer is recommended before painting most wooden surfaces. It helps the paint adhere properly and creates an even base, reducing patchiness caused by uneven absorption across the wood grain. It can also cover minor stains, repaired areas and old colours.
Use primer on bare wood, porous surfaces, filled sections or furniture undergoing a major colour change. Apply a thin, even coat, including corners and edges, and allow it to dry fully. Choose Professional wood polishing instead when the natural grain needs to remain visible.
Step-By-Step Guide: How to Paint Wooden Furniture
Prepare a ventilated workspace away from dust, strong sunlight, fan airflow and heater vents. Cover the floor, raise the furniture where possible and complete each stage without rushing.
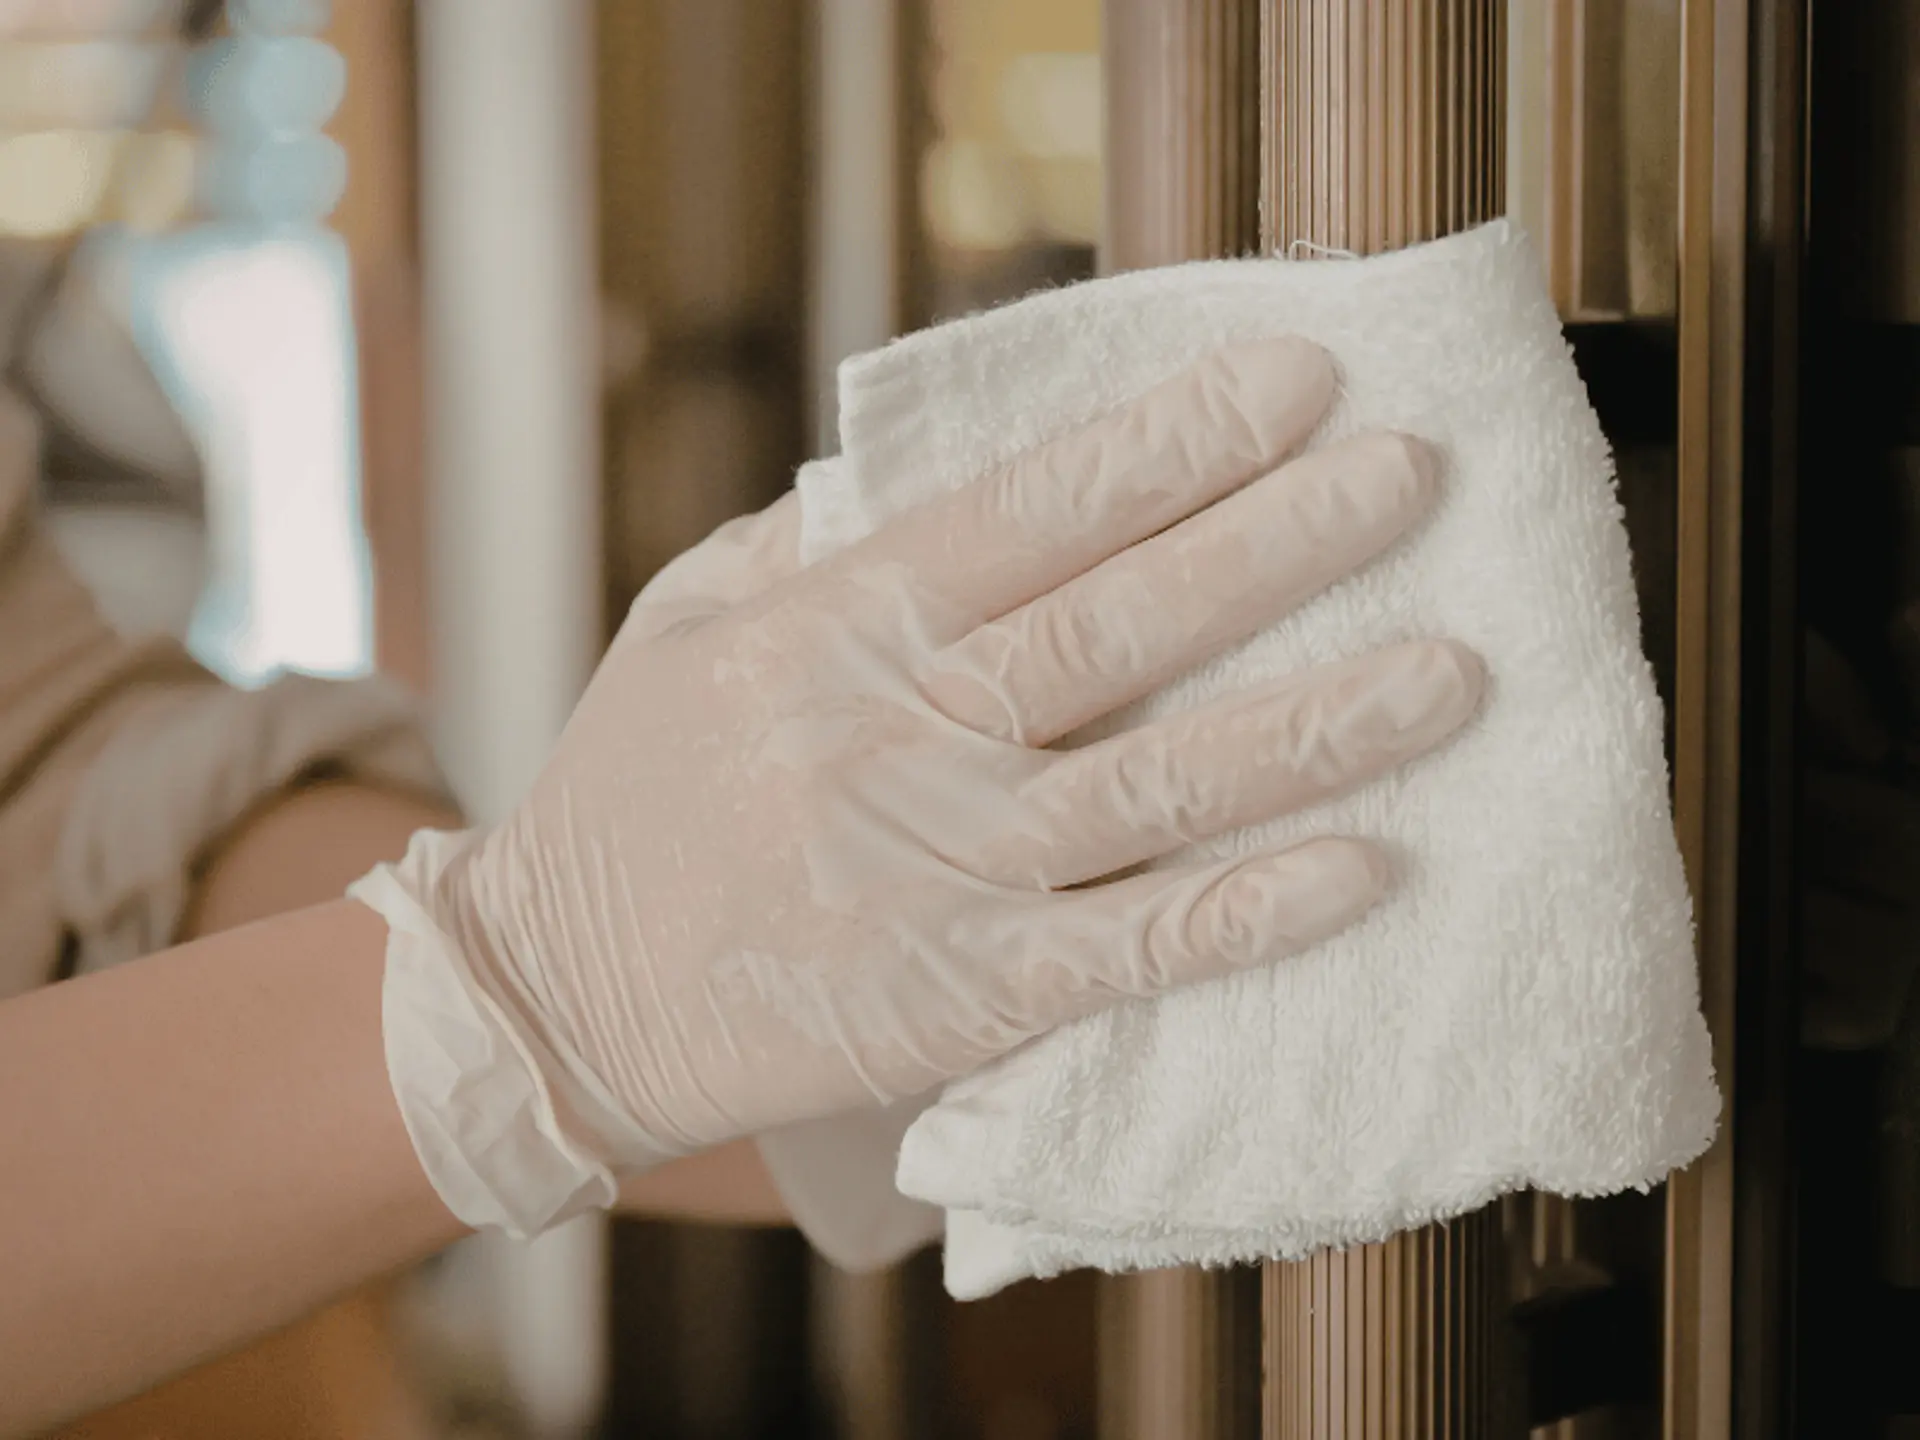
Step 1: Clean the Furniture
Wipe away loose dust. Remove grease, wax and grime using an appropriate cleaning method, then let the wood dry. Residue can prevent primer and paint from adhering evenly.
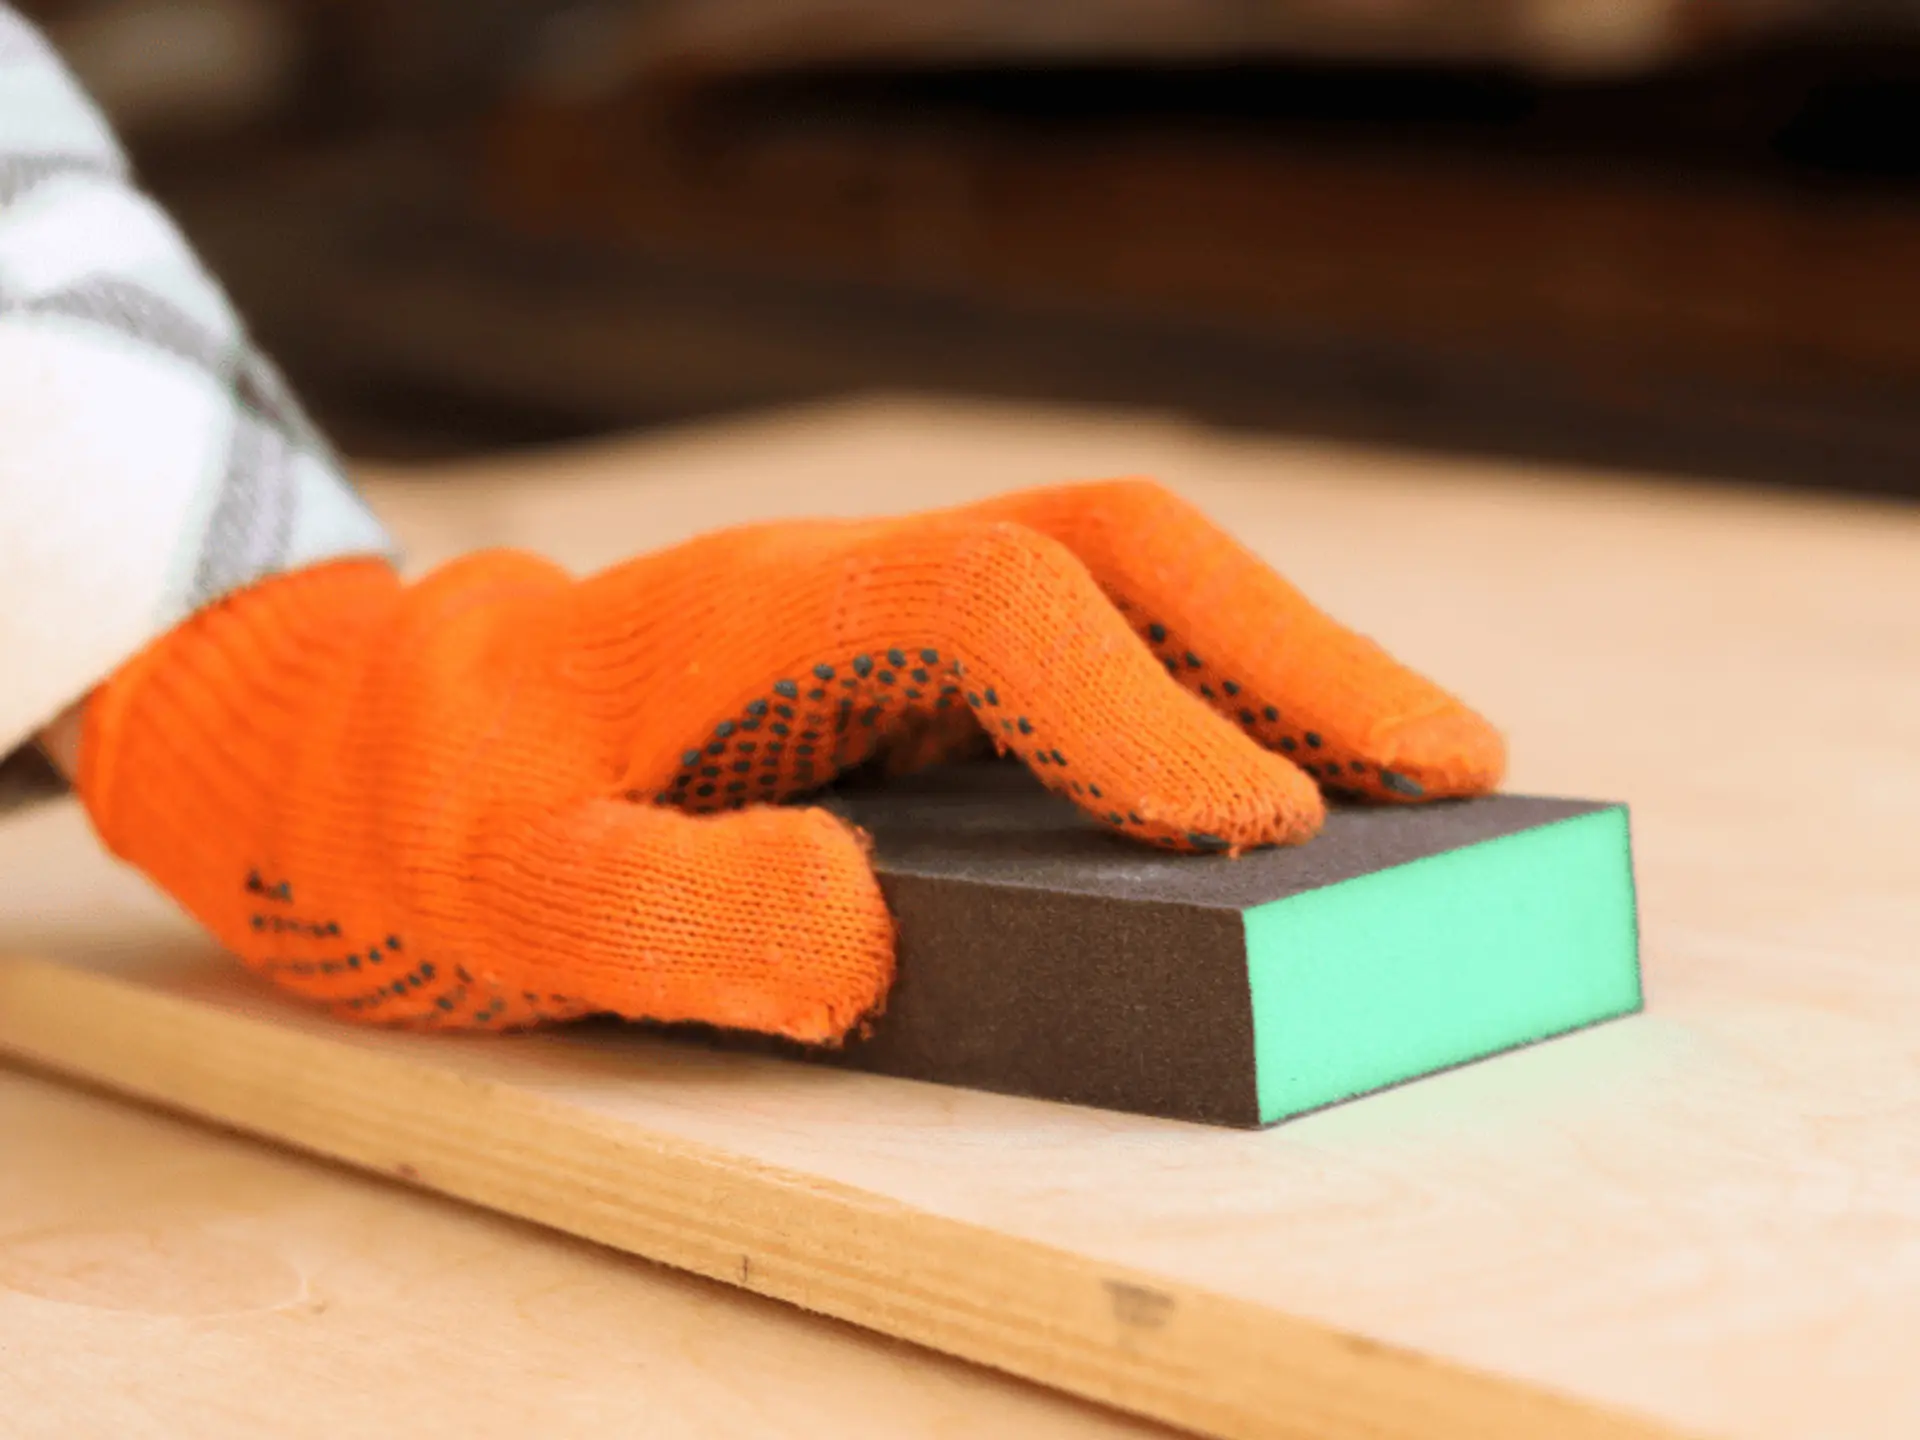
Step 2: Sand the Surface
Sand rough or glossy sections gently, following the grain. Use medium grit paper where correction is needed and fine grit paper for final smoothing. Remove all dust with a tack cloth.
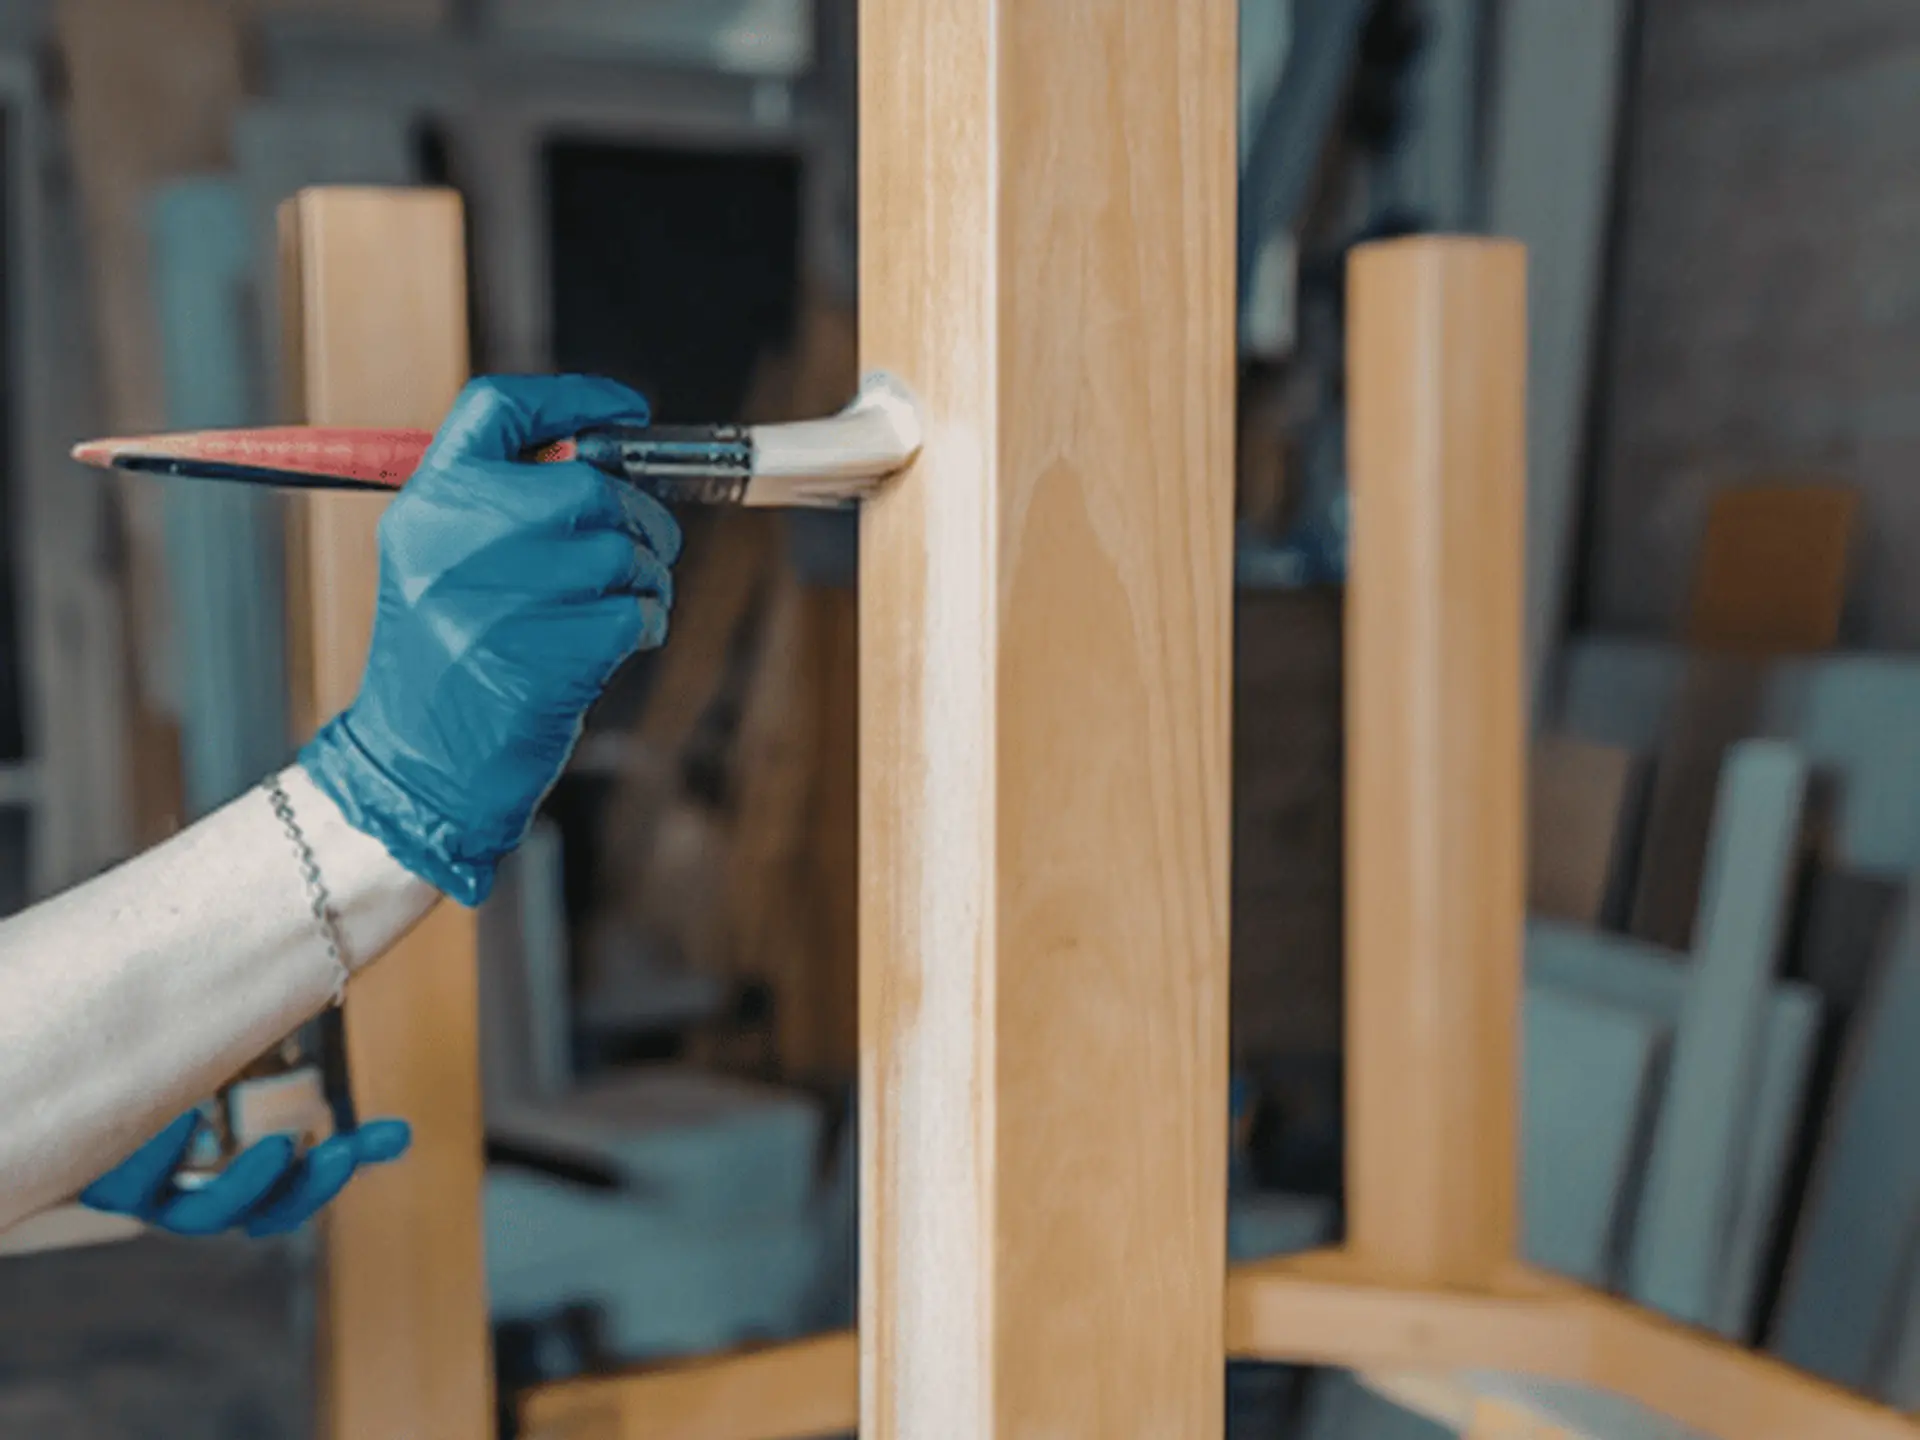
Step 3: Apply Primer
Brush on a thin coat of suitable primer from edge to edge. Cover joints and repaired areas without creating thick pools. Leave it untouched until completely dry before painting.
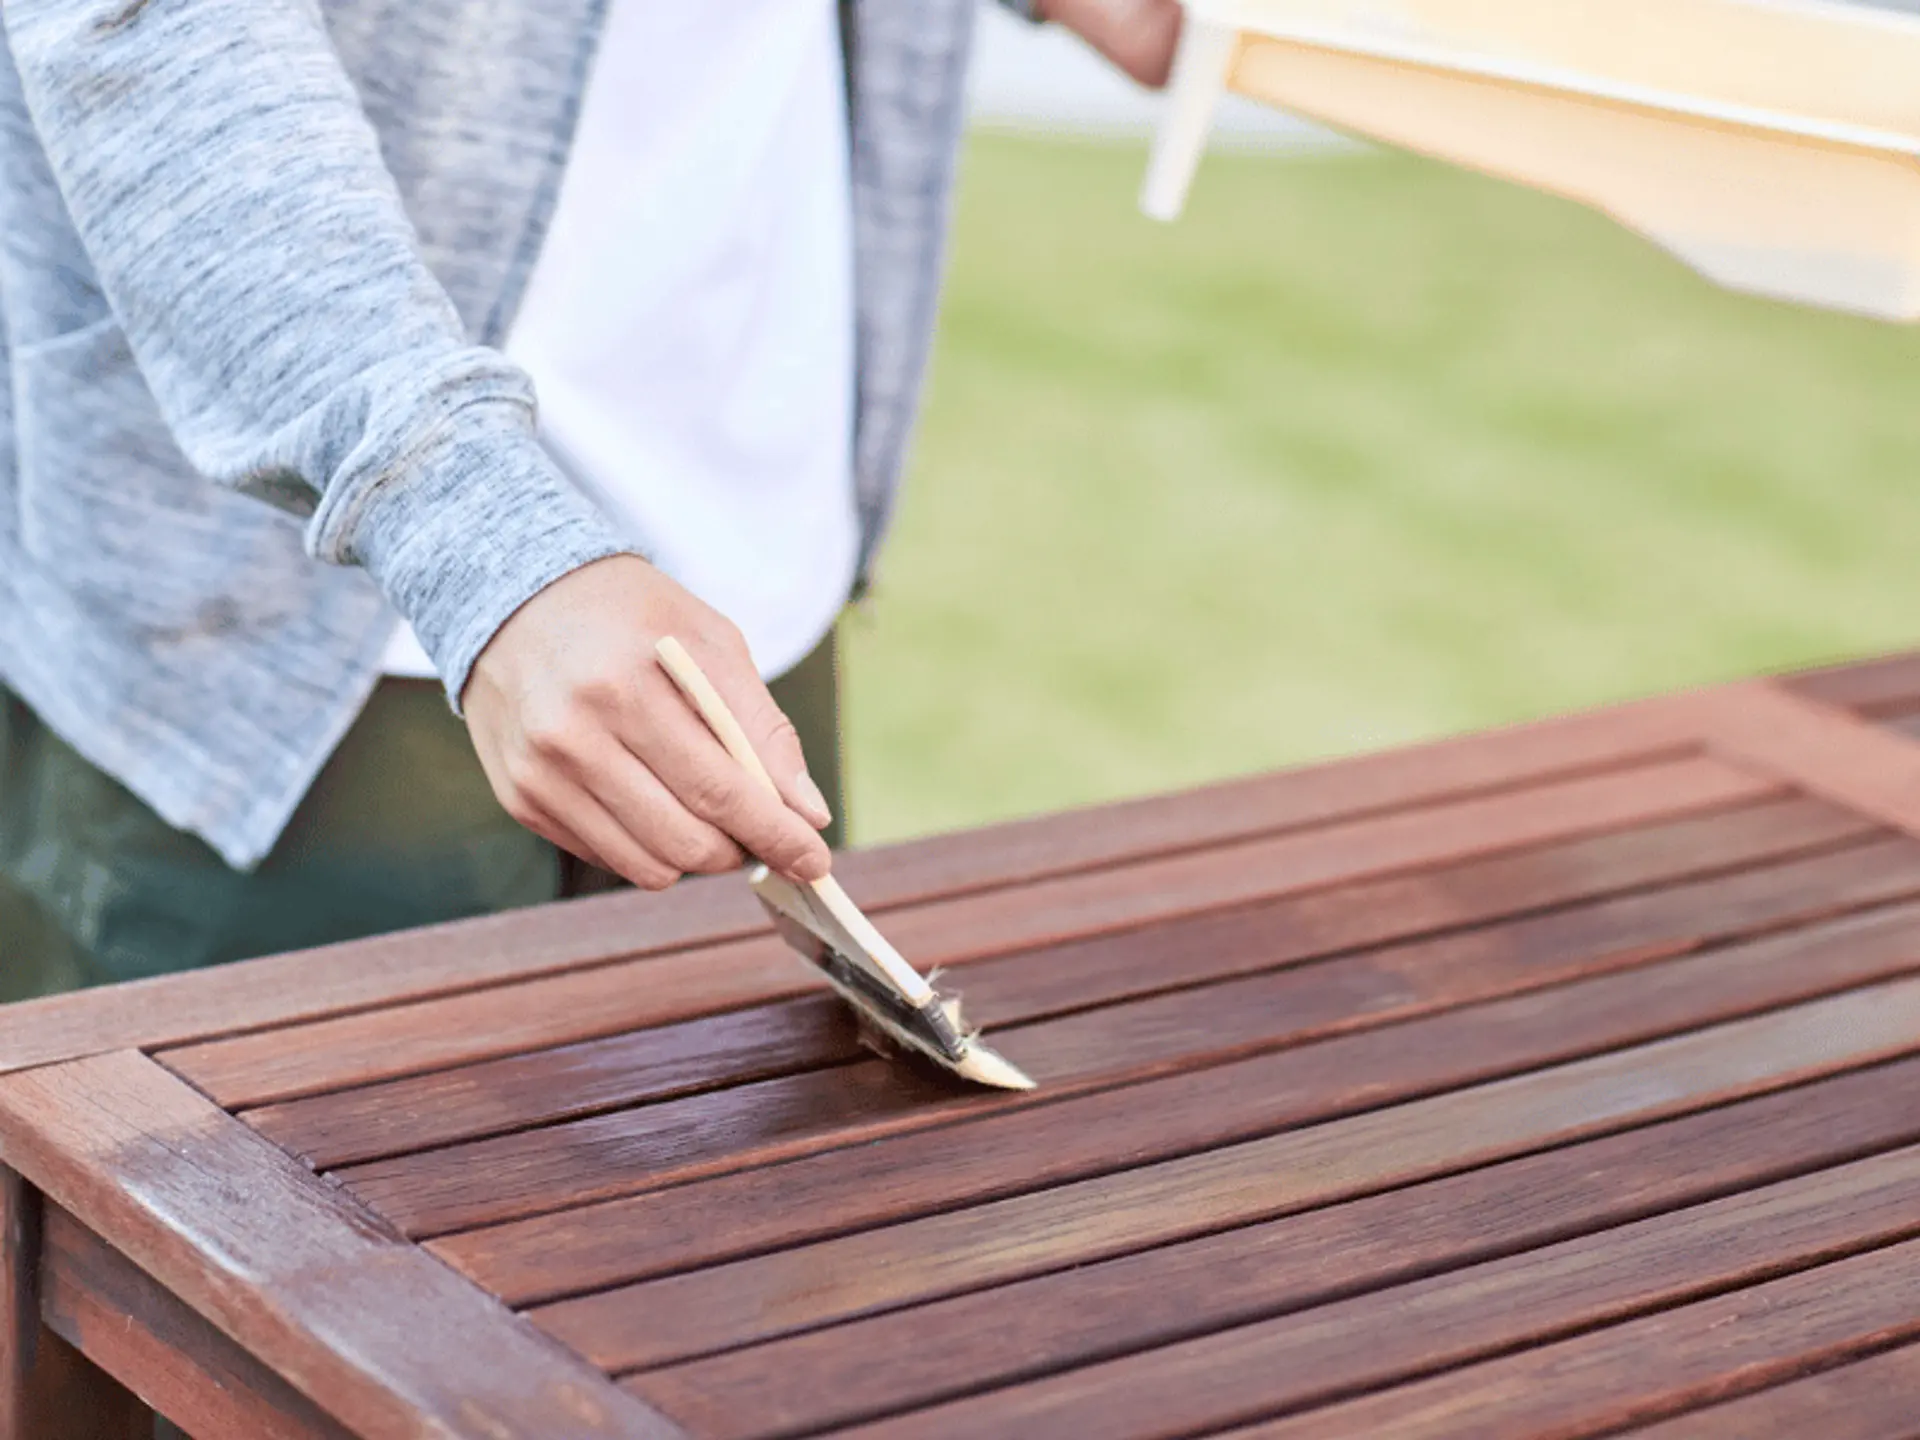
Step 4: Paint in Thin, Even Coats
Stir the paint and load a small amount onto the brush or roller. Apply it in complete, consistent strokes and work in one direction where possible. Several thin coats create a neater finish than one heavy layer. Allow the first coat to dry before checking for uneven or missed areas. Apply the next coat lightly where coverage appears weak. Browse wood furniture ideas beforehand but keep the technique simple and controlled.
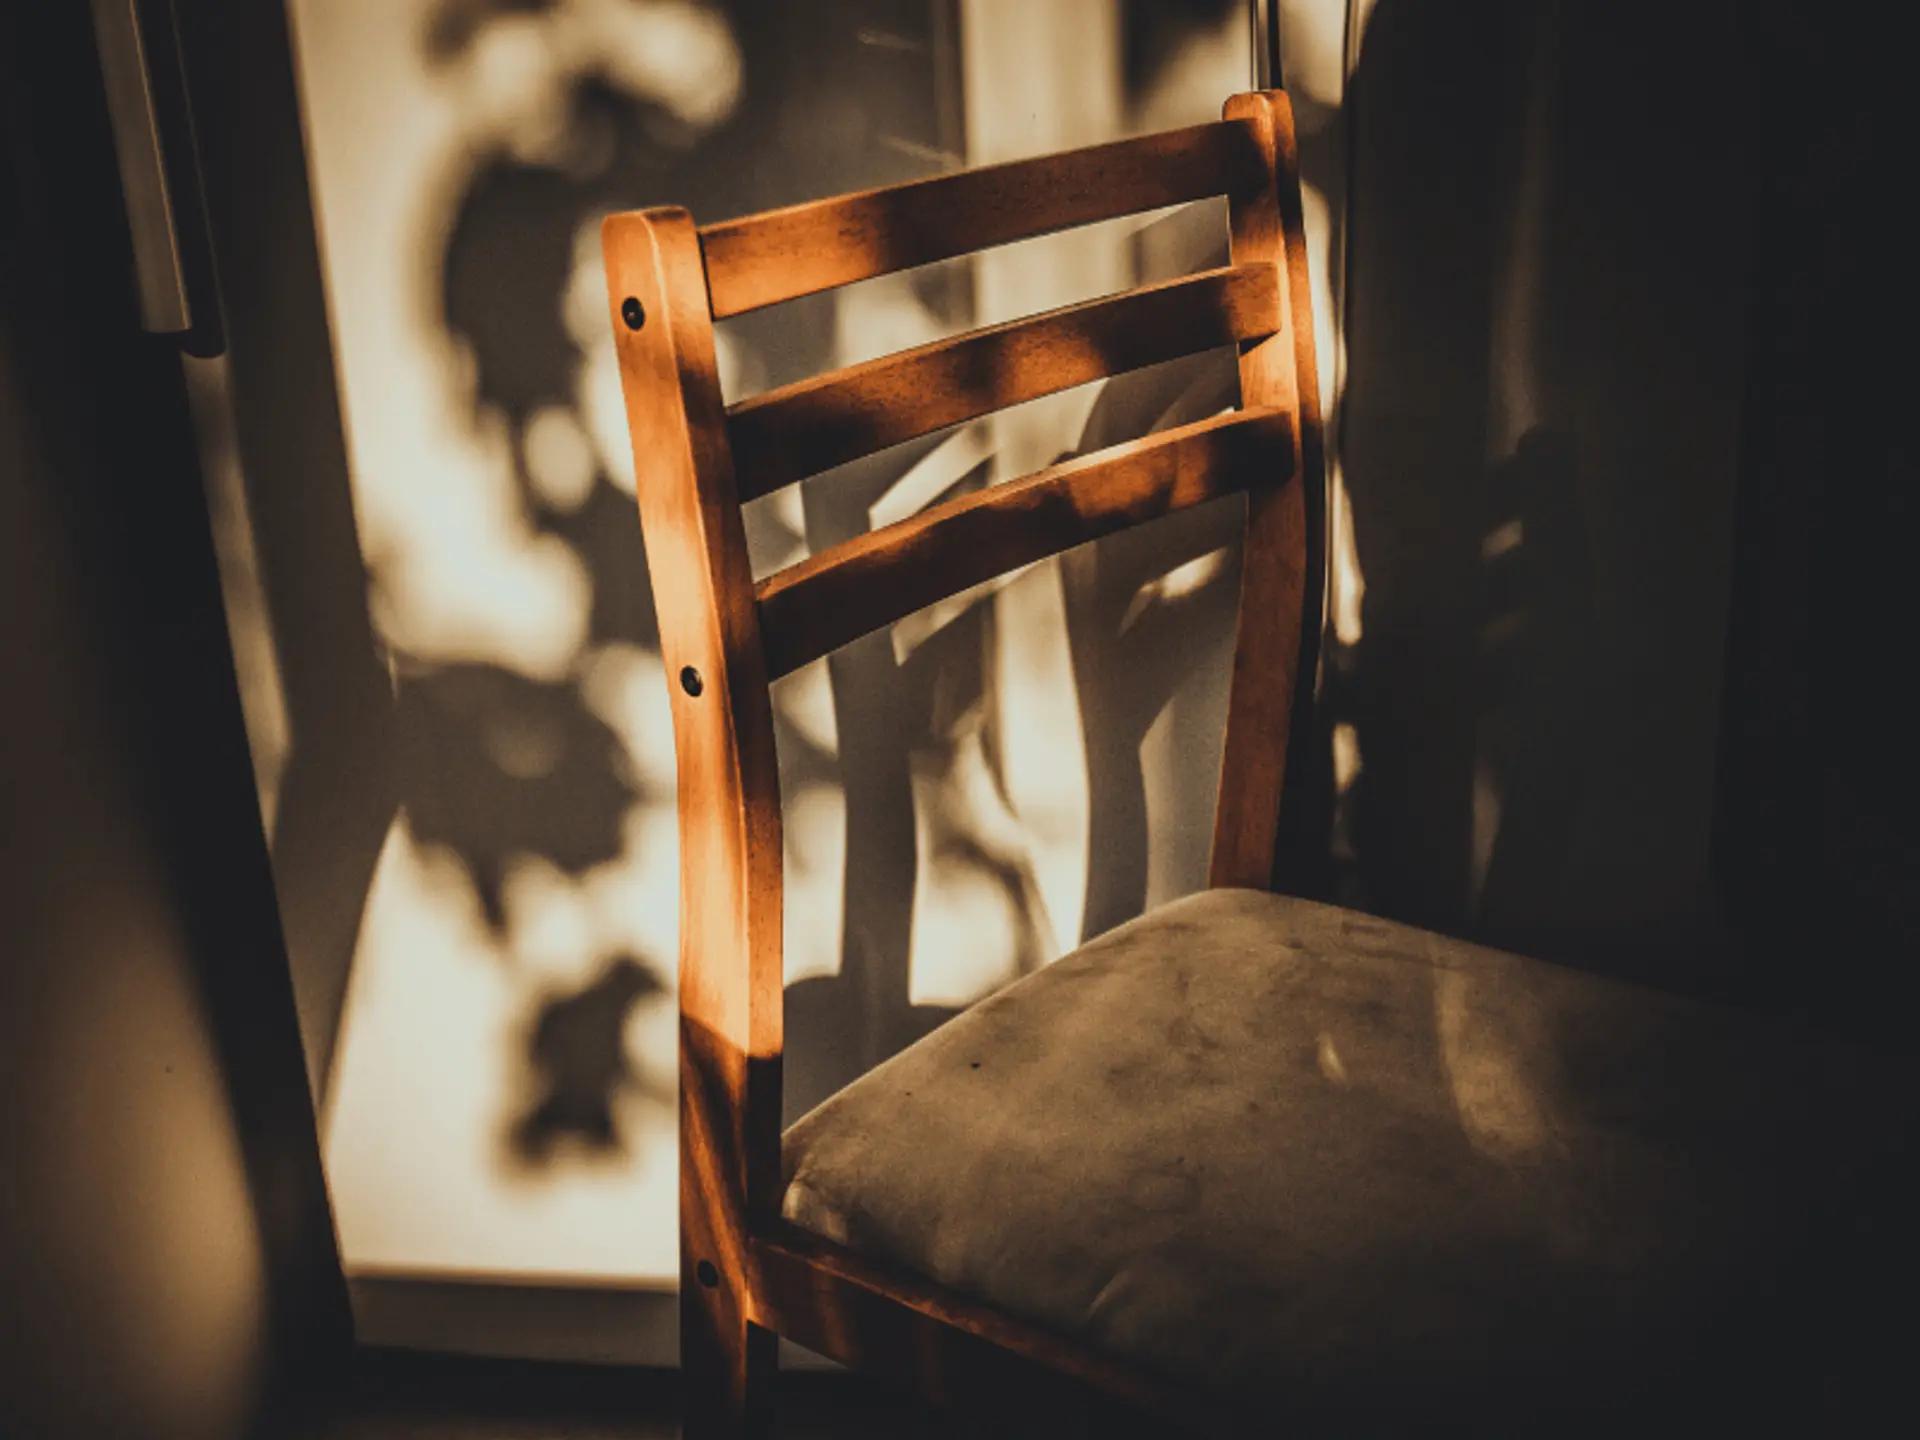
Step 5: Let the Paint Dry Completely
Paint may feel dry on top while remaining soft underneath. Keep the furniture in a clean, ventilated area and avoid placing objects on it too soon. Follow product instructions for the time between coats and before normal use. Patience reduces fingerprints, dents and sticking, allowing the finish to become firm.
Conclusion
Painting furniture yourself can refresh interiors without replacing useful pieces. A smooth, lasting result depends on cleaning, repairs, sanding, primer, suitable paint and enough drying time. Careful planning also prevents wasted paint, patchy coverage and unnecessary repeated work later. Those who prefer to avoid the preparation and application work may consider Berger Express painting services for trained support, appropriate products and organised execution.
check for any query you have about the blog
Frequently Asked Questions
Clean it gently, keep it dry, avoid harsh scrubbing and place hot or wet objects on protective mats. Repair chips early.
No, wall paint may not offer suitable adhesion or durability, so use a coating specifically designed for wooden furniture surfaces instead.
Yes, particularly for small furniture or details. Work in a ventilated, still area away from direct sunlight, fans and heat vents.
Choose a dry, well-ventilated period without excessive humidity, harsh sunlight or strong airflow so each coat can dry evenly.