How To Paint A Wall Like A Pro - A Comprehensive Guide To Paint Walls By Yourself
 Sep , 2022
- Interior
- 4 Min Read
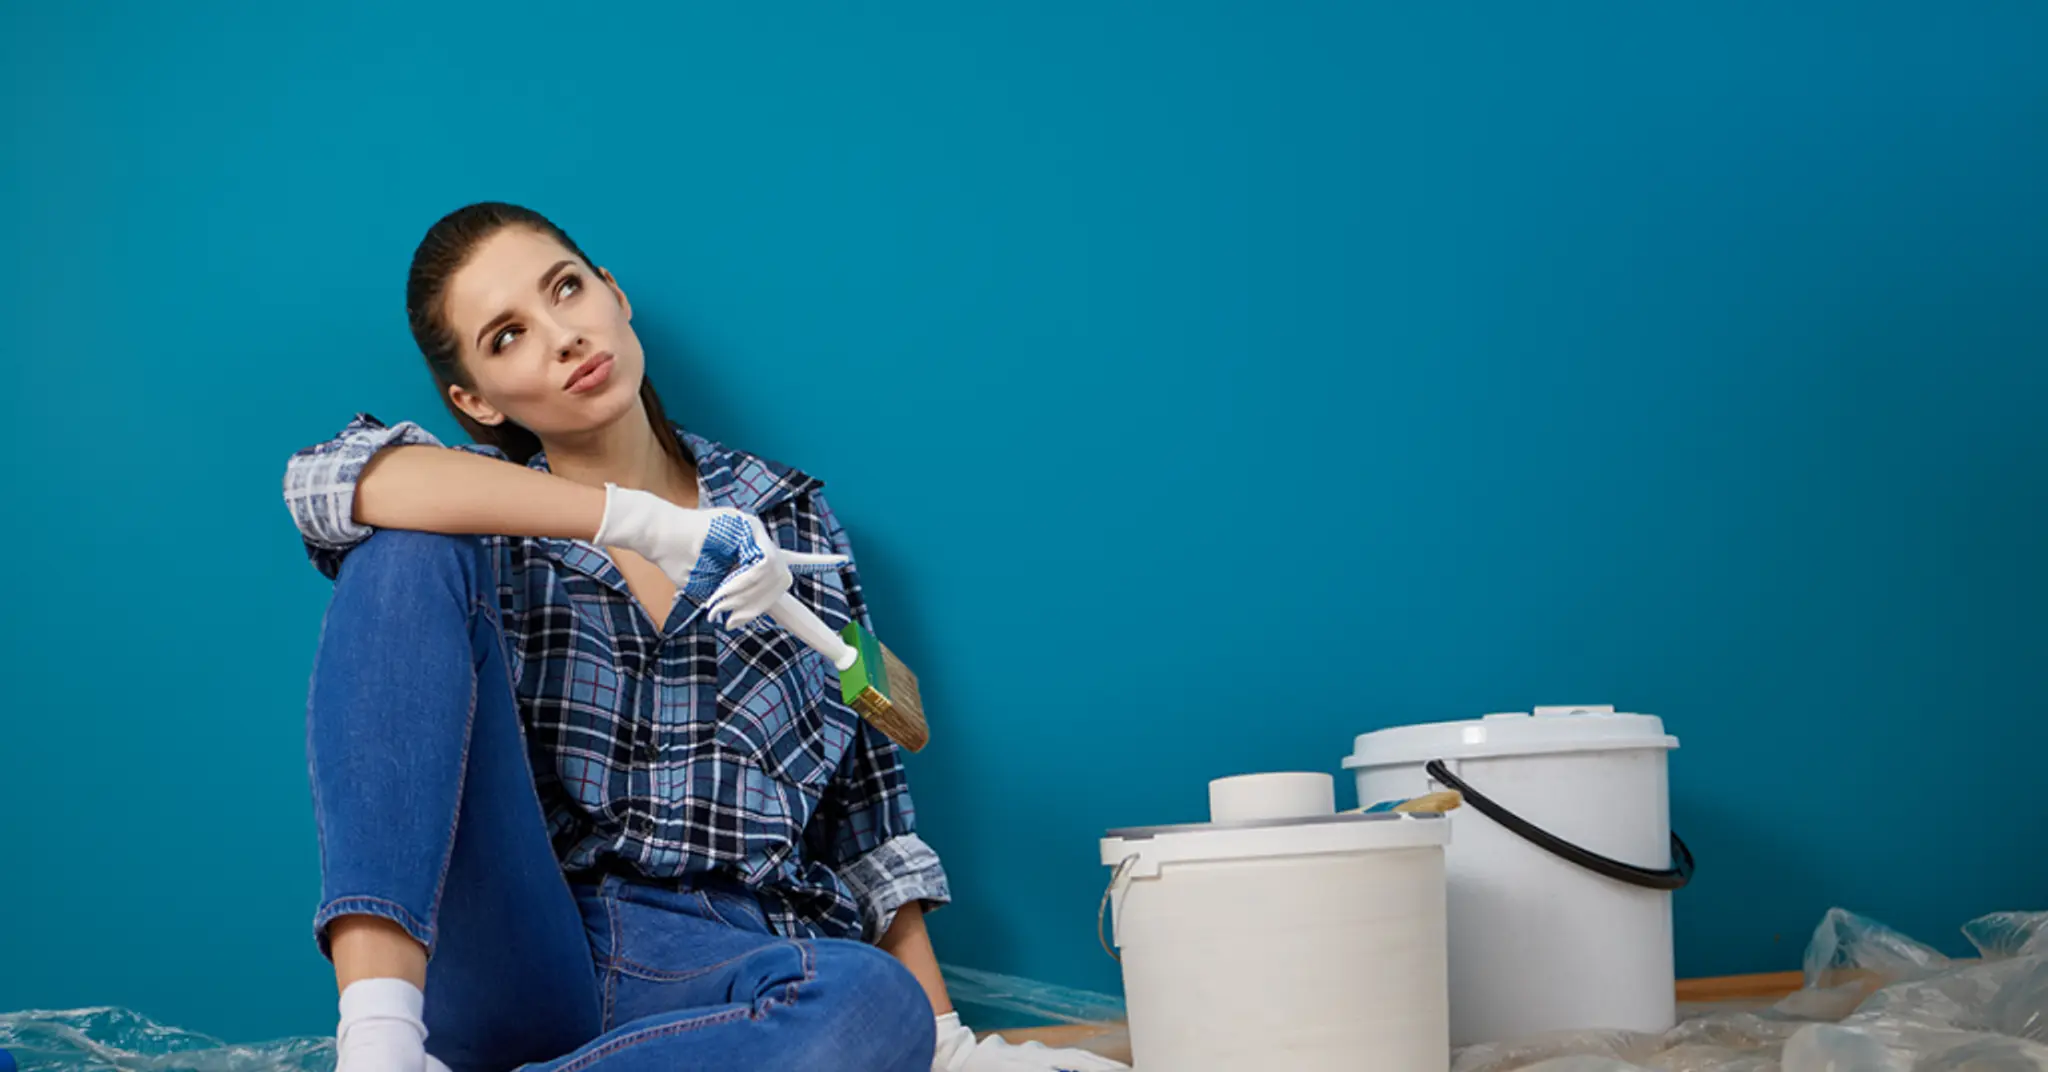
How to paint walls? One DIY project that most homeowners may take on is painting the walls in their home; it will be much less expensive than getting professionals to do it. However, you should research before beginning this job because applying the right painting techniques will produce a professional-looking finish.
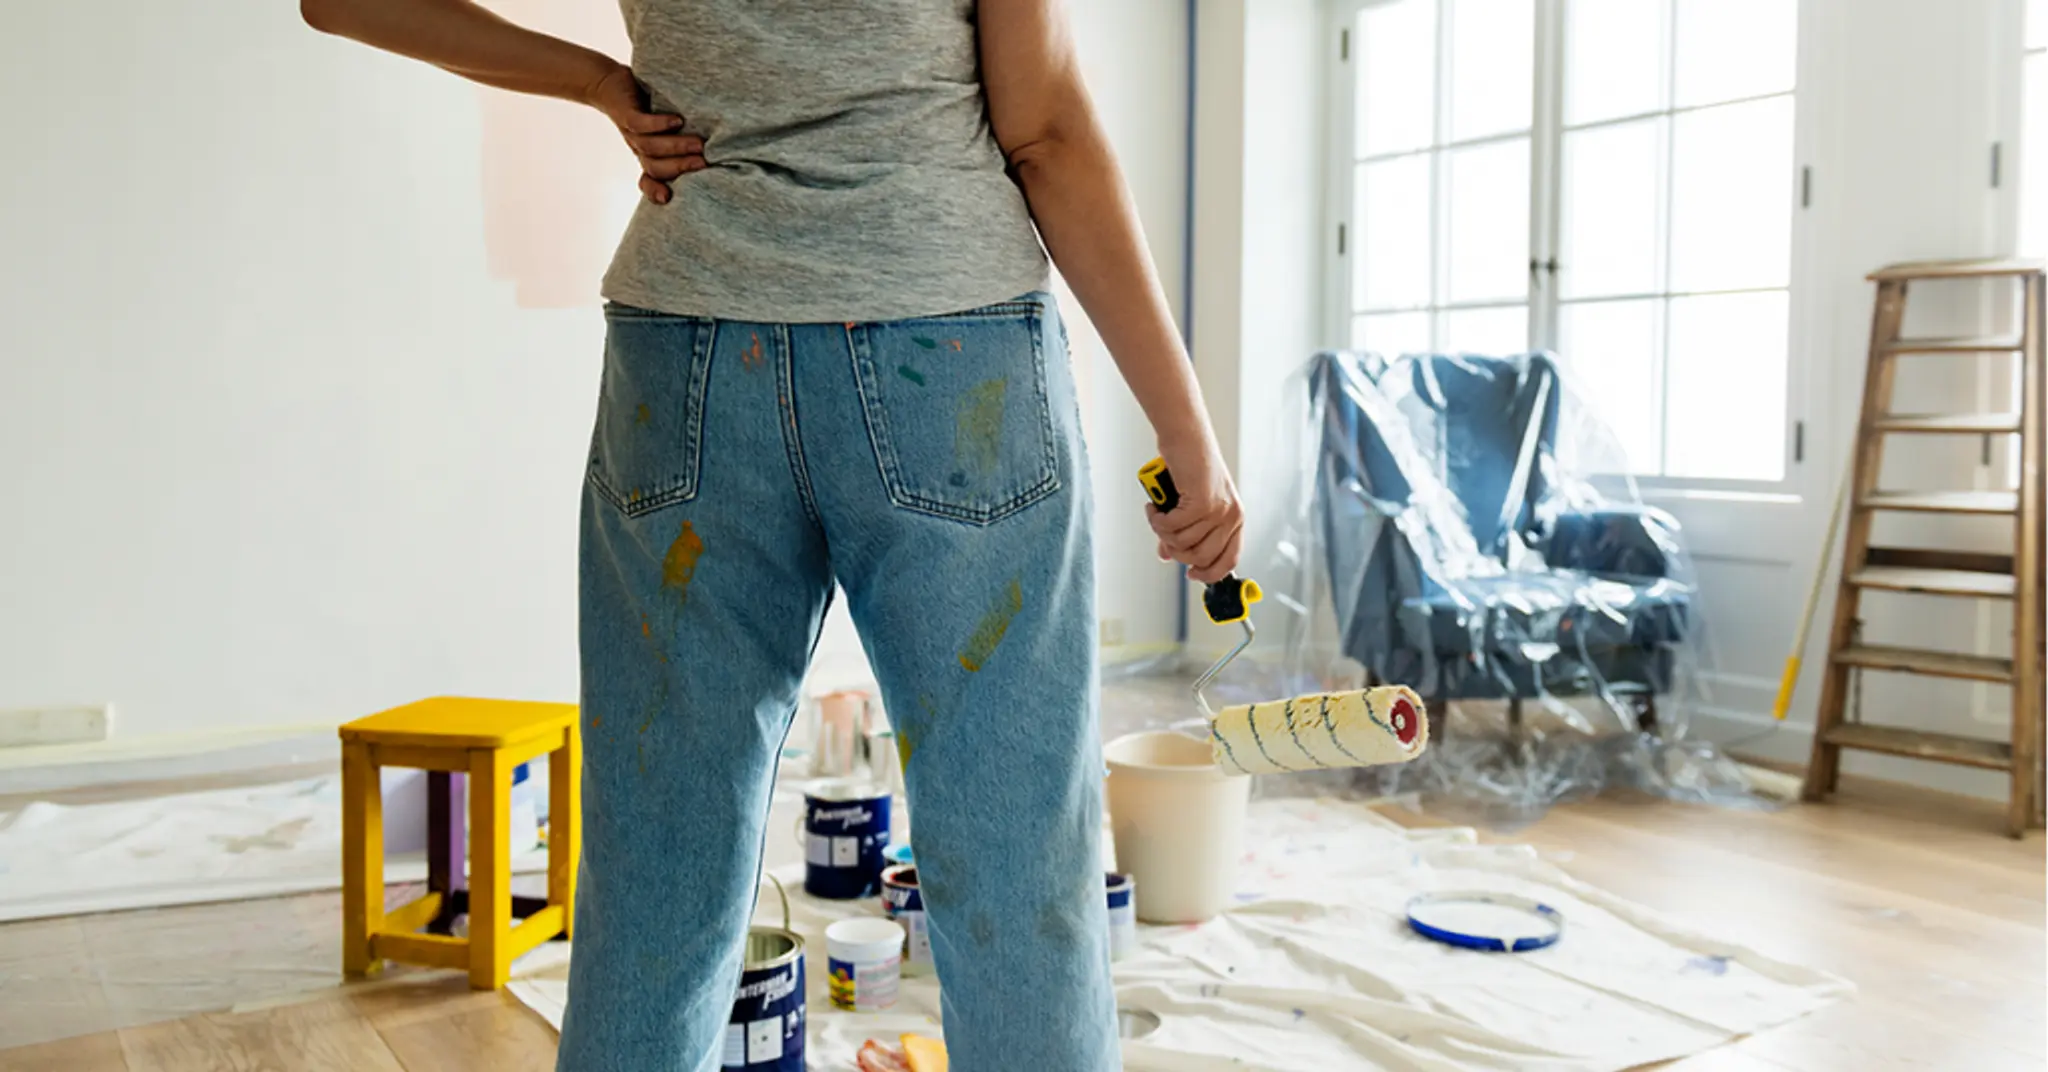
Tools And Materials Needed
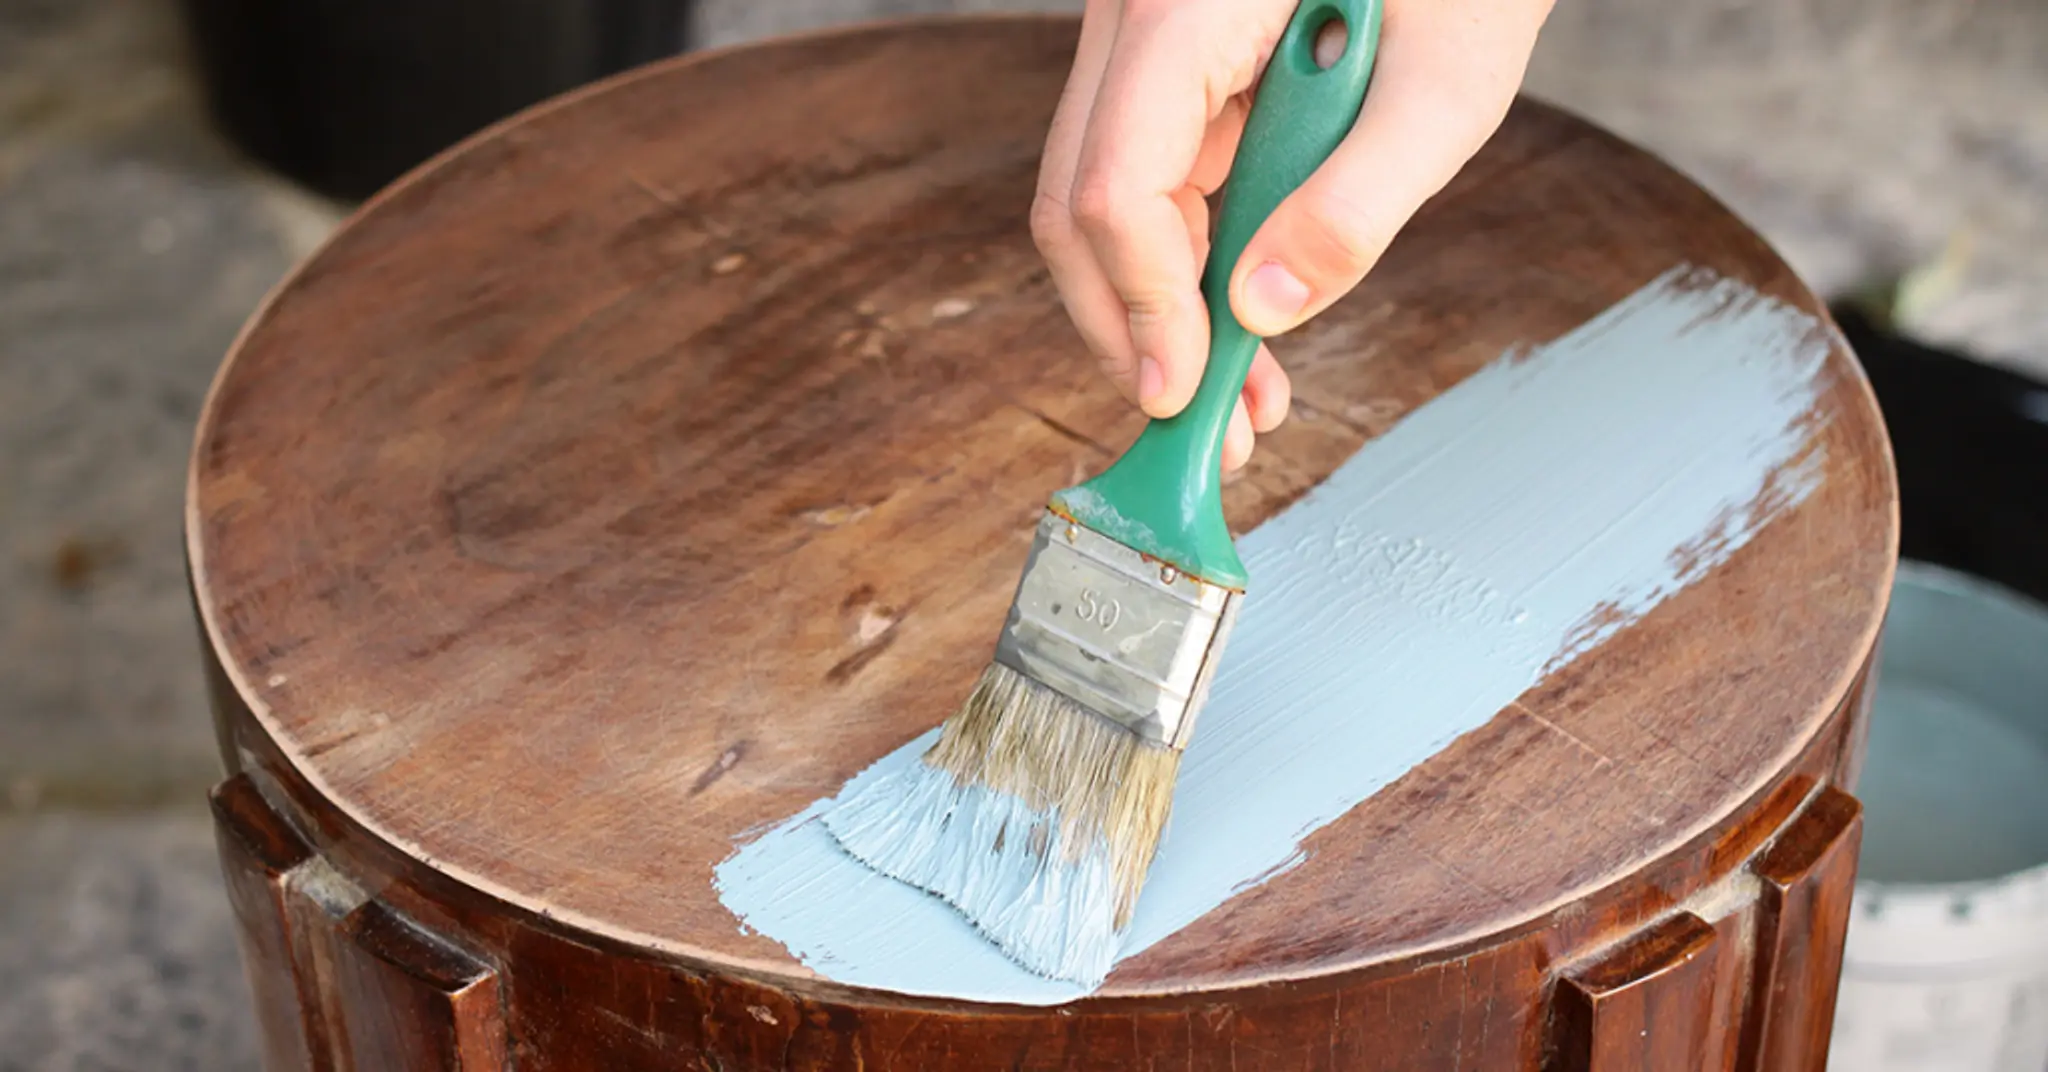
- Which type of paintbrushes is best? For water-based paint, use a nylon-bristle brush; for oil-based paint, use a brush with natural bristles. Natural bristles shouldn’t be used with water-based paint because the water can make them limp. Foam brushes are useful for complex tasks, such as painting window casings or moulding. Because they are difficult to maintain and are prone to tearing, these brushes typically only get one usage.
The bristles of the best brushes are flagged and pointed. Because the bristles of flagged brushes are slightly divided, they can hold more paint and spread it more evenly. The bristles on the tip are gently tapered to aid in the release of a consistent, manageable amount of paint for how to paint a wall at home or how to paint a wall yourself in India. - Painting pads: For trimming around trim, these can be very helpful. Thanks to the little wheels that come with the pads, you can paint up to the edge of the trim without putting paint on the trim. To use one, carefully avoid getting paint on the rollers by dipping the pad face into the paint, thus your answer to how to paint walls.
- Paint Sprayers: Various paint sprayers are readily accessible, varying in size, functionality, and cost. Wear a dust mask or respirator at all times, regardless of the type you’re using, to protect yourself from fumes.
- Roller covers: When painting a project, rollers can save time. Painting can go much more smoothly if you use the right roller cover.
The Right Techniques To Paint a Wall – Tips And Tricks For a Good Finish
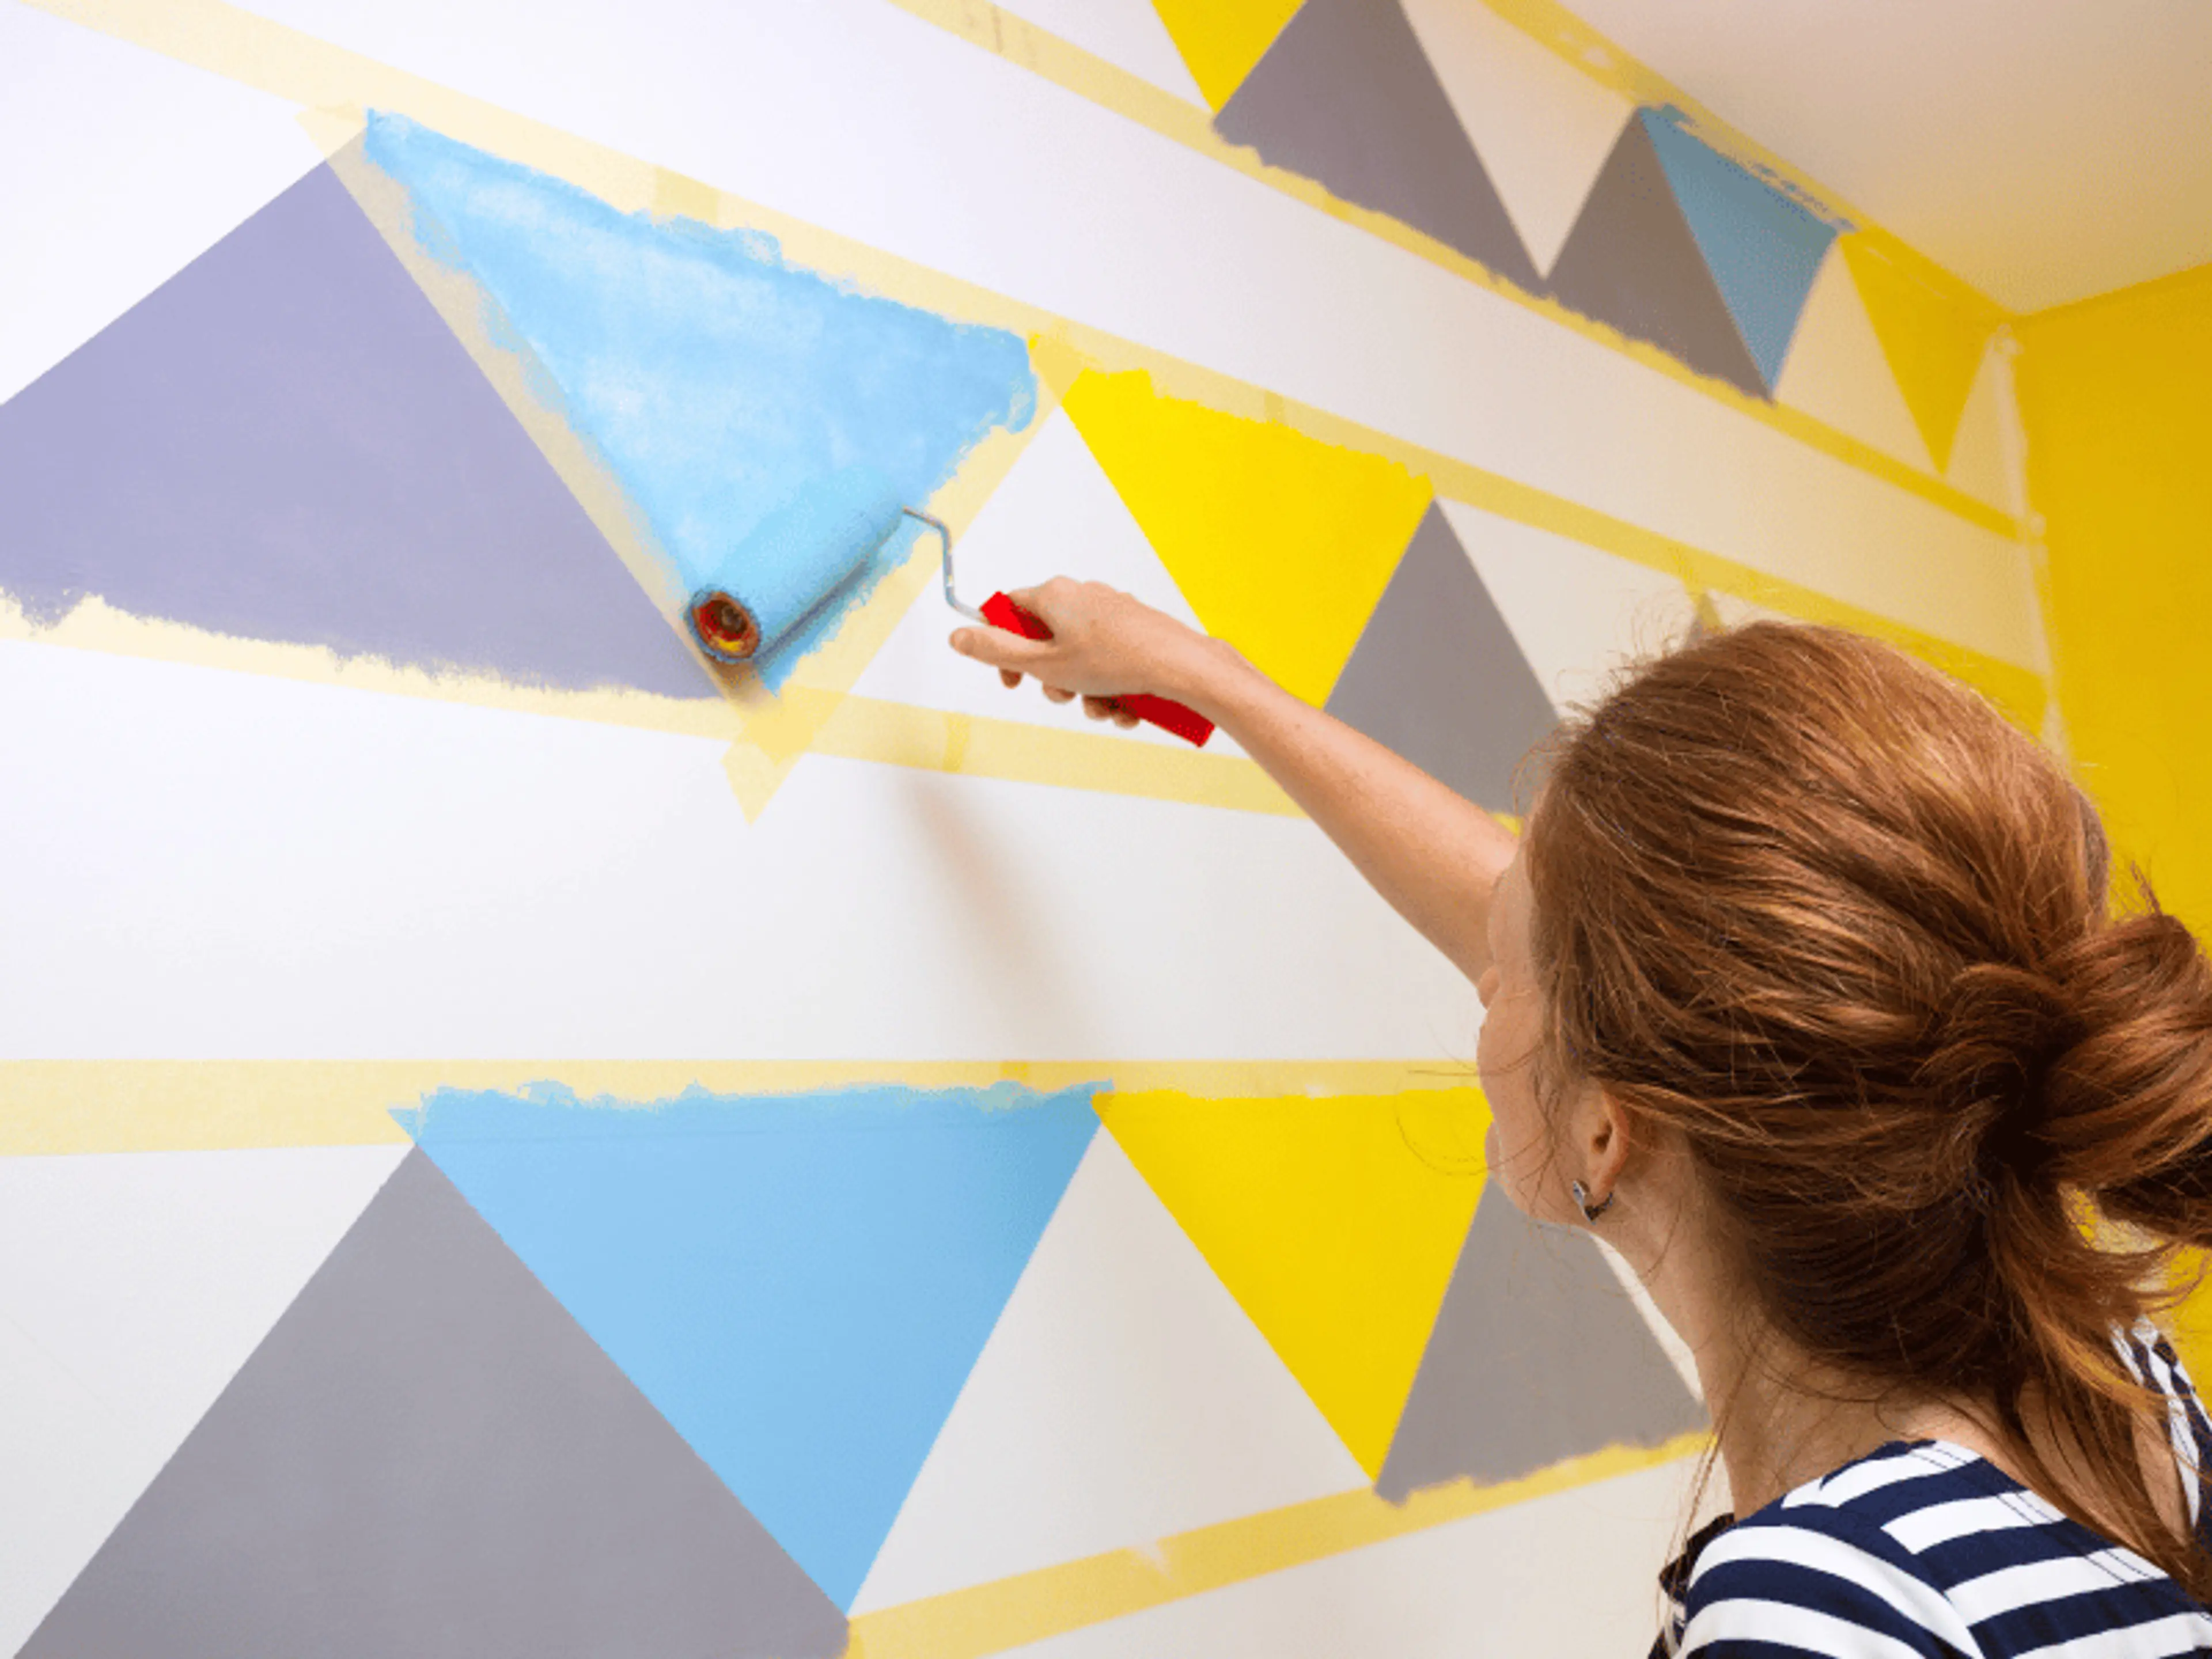
One of the simplest and least expensive methods to improve a room’s appearance is how to paint walls. The degree to which you comprehend what has to be done to produce professional results determines whether the change will be favourable or negative. Here is a quick lesson with 10 steps that will show you how to paint a wall at home.
- Tape the trim: After preparing the walls for painting, covering the trim with specialist masking tape, such as Shurtape’s Frog Tape and applying it to the label’s instructions will assist the painter in creating crisp, clear lines.
- Find out what kind of paint is on your walls: Knowing what kind of paint is on your walls is crucial since using the wrong primer or paint might cause early paint failure. Apply a small amount of denatured alcohol there. It’s latex paint if the glossiness wears off or comes off on the rag; if not, it’s oil-based paint.
- Pick the appropriate primer: Use a drywall primer-sealer product on fresh drywall to level the surface texture and stop flashing. Water stains, ink, or crayon can be covered with a stain-blocking primer to stop bleeding and scorching and peeling paint.
Use shellac or an oil-based primer on engineered wood products like medium-density fiberboard to prevent swelling. As long as the surface has been adequately prepared, you can also find primers that let you move from oil-based paint to latex paint or vice versa. - Application of primer: When applying the primer, pour a small amount into a paint tray or a bucket with a roller grid, dip the roller into the primer, and wipe off any excess to avoid drips. With each stroke, roll the roller upward toward the ceiling and toward the floor, placing it halfway up the wall. Make sure you use a brush to prime the ceiling and corners properly. Before painting, allow the primer to dry completely.
- Decorate the ceiling: Remove any extra paint by dipping the roller into the paint pan. Starting in one corner, make a “W” shape across the ceiling while overlapping each stroke. Make sure to cover the previously painted ceiling line.
- Cut in corners: Use a 2 to 3 inches diameter brush to paint the wall’s corners, brushing along the corner and a few inches outward. Run the brush over previous strokes lightly to even out brushstrokes. As soon as possible, paint the remainder of the wall to smooth out any leftover marks.
- Paint the walls along the trim: Dip a 2 to 3-inch paintbrush into the paint, then rub it along the ceiling line and against the taped trim. Work it outward along the ceiling or the tape line, about three inches from the line.
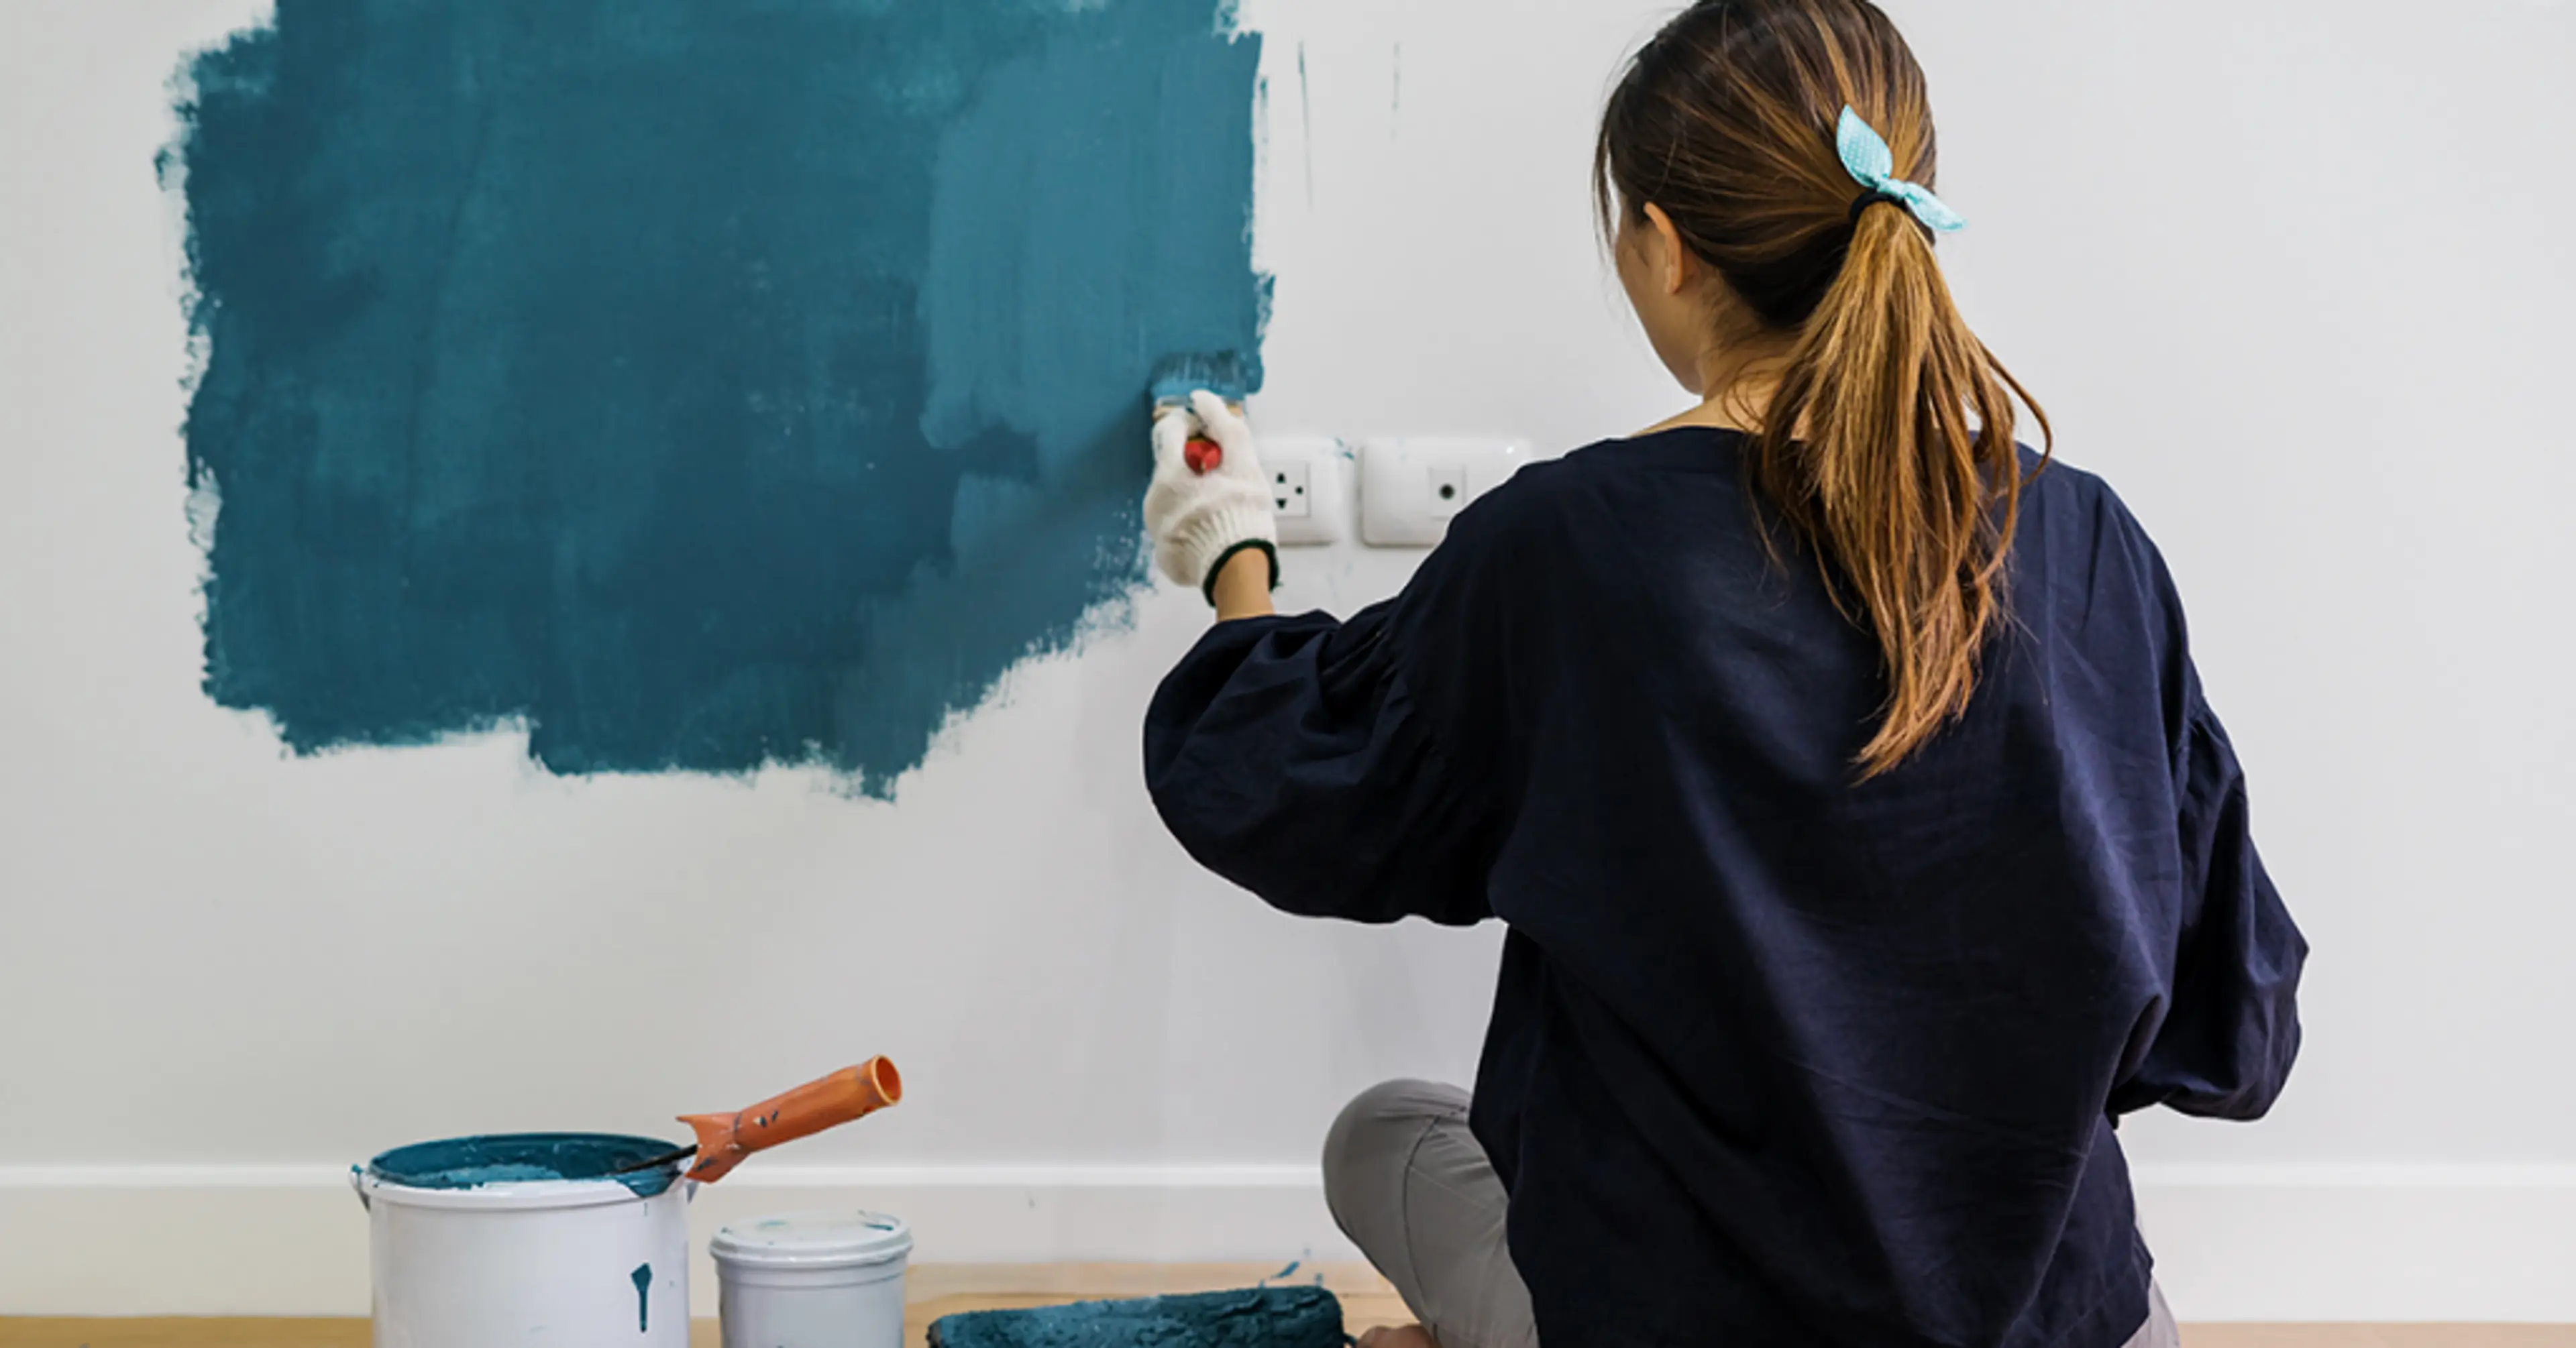
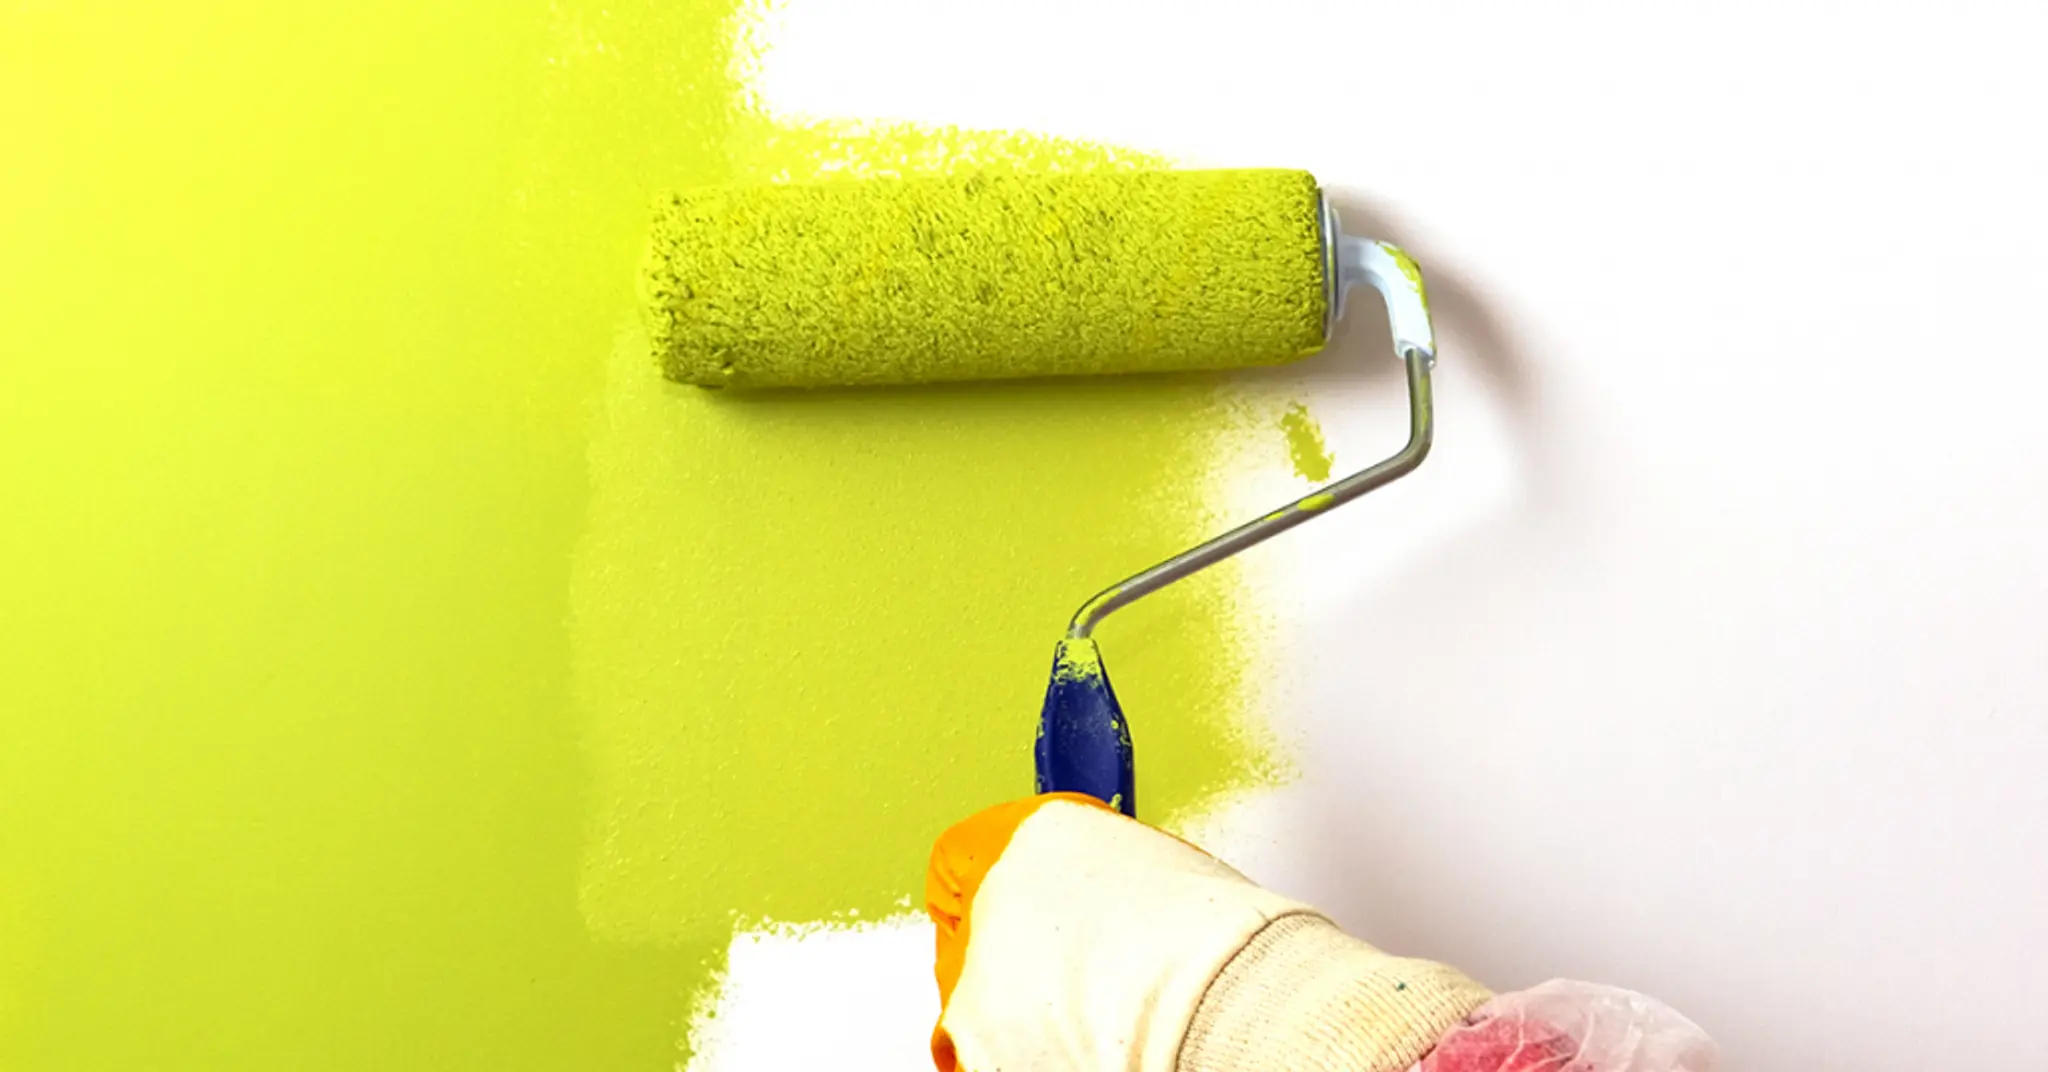
- Put the paint on: Still unsure of the proper technique for painting a wall? Roll the paint in the same “W” pattern with a 12-inch roller, overlapping strokes, and cutting corners and edges. Make sure there are no missed locations for a uniform look. Apply a second coat if required after allowing the paint to dry completely.
- Tape removal: Remove the tape after the paint has had a chance to cure for at least 30 minutes. Remove the tape by peeling off carefully and evenly to avoid damaging the paint.
- Finish off the trim: After removing the tape, the trim still has to be painted. Work your way down the trim covering from top to bottom, starting as close to the wall as possible. To paint trim, use a narrow, angled brush for thinner parts and a wide, straight-edged brush for larger areas.
Wait For Dry Weather
You should avoid painting on a rainy day since humidity causes drips and slow drying. If you must paint in a humid environment, take your time and use slow-drying paint to fix any mistakes before applying the next layer. Don’t overwork, though; it will become apparent once you’re done. So, knowing this is crucial for how to paint a wall at home.
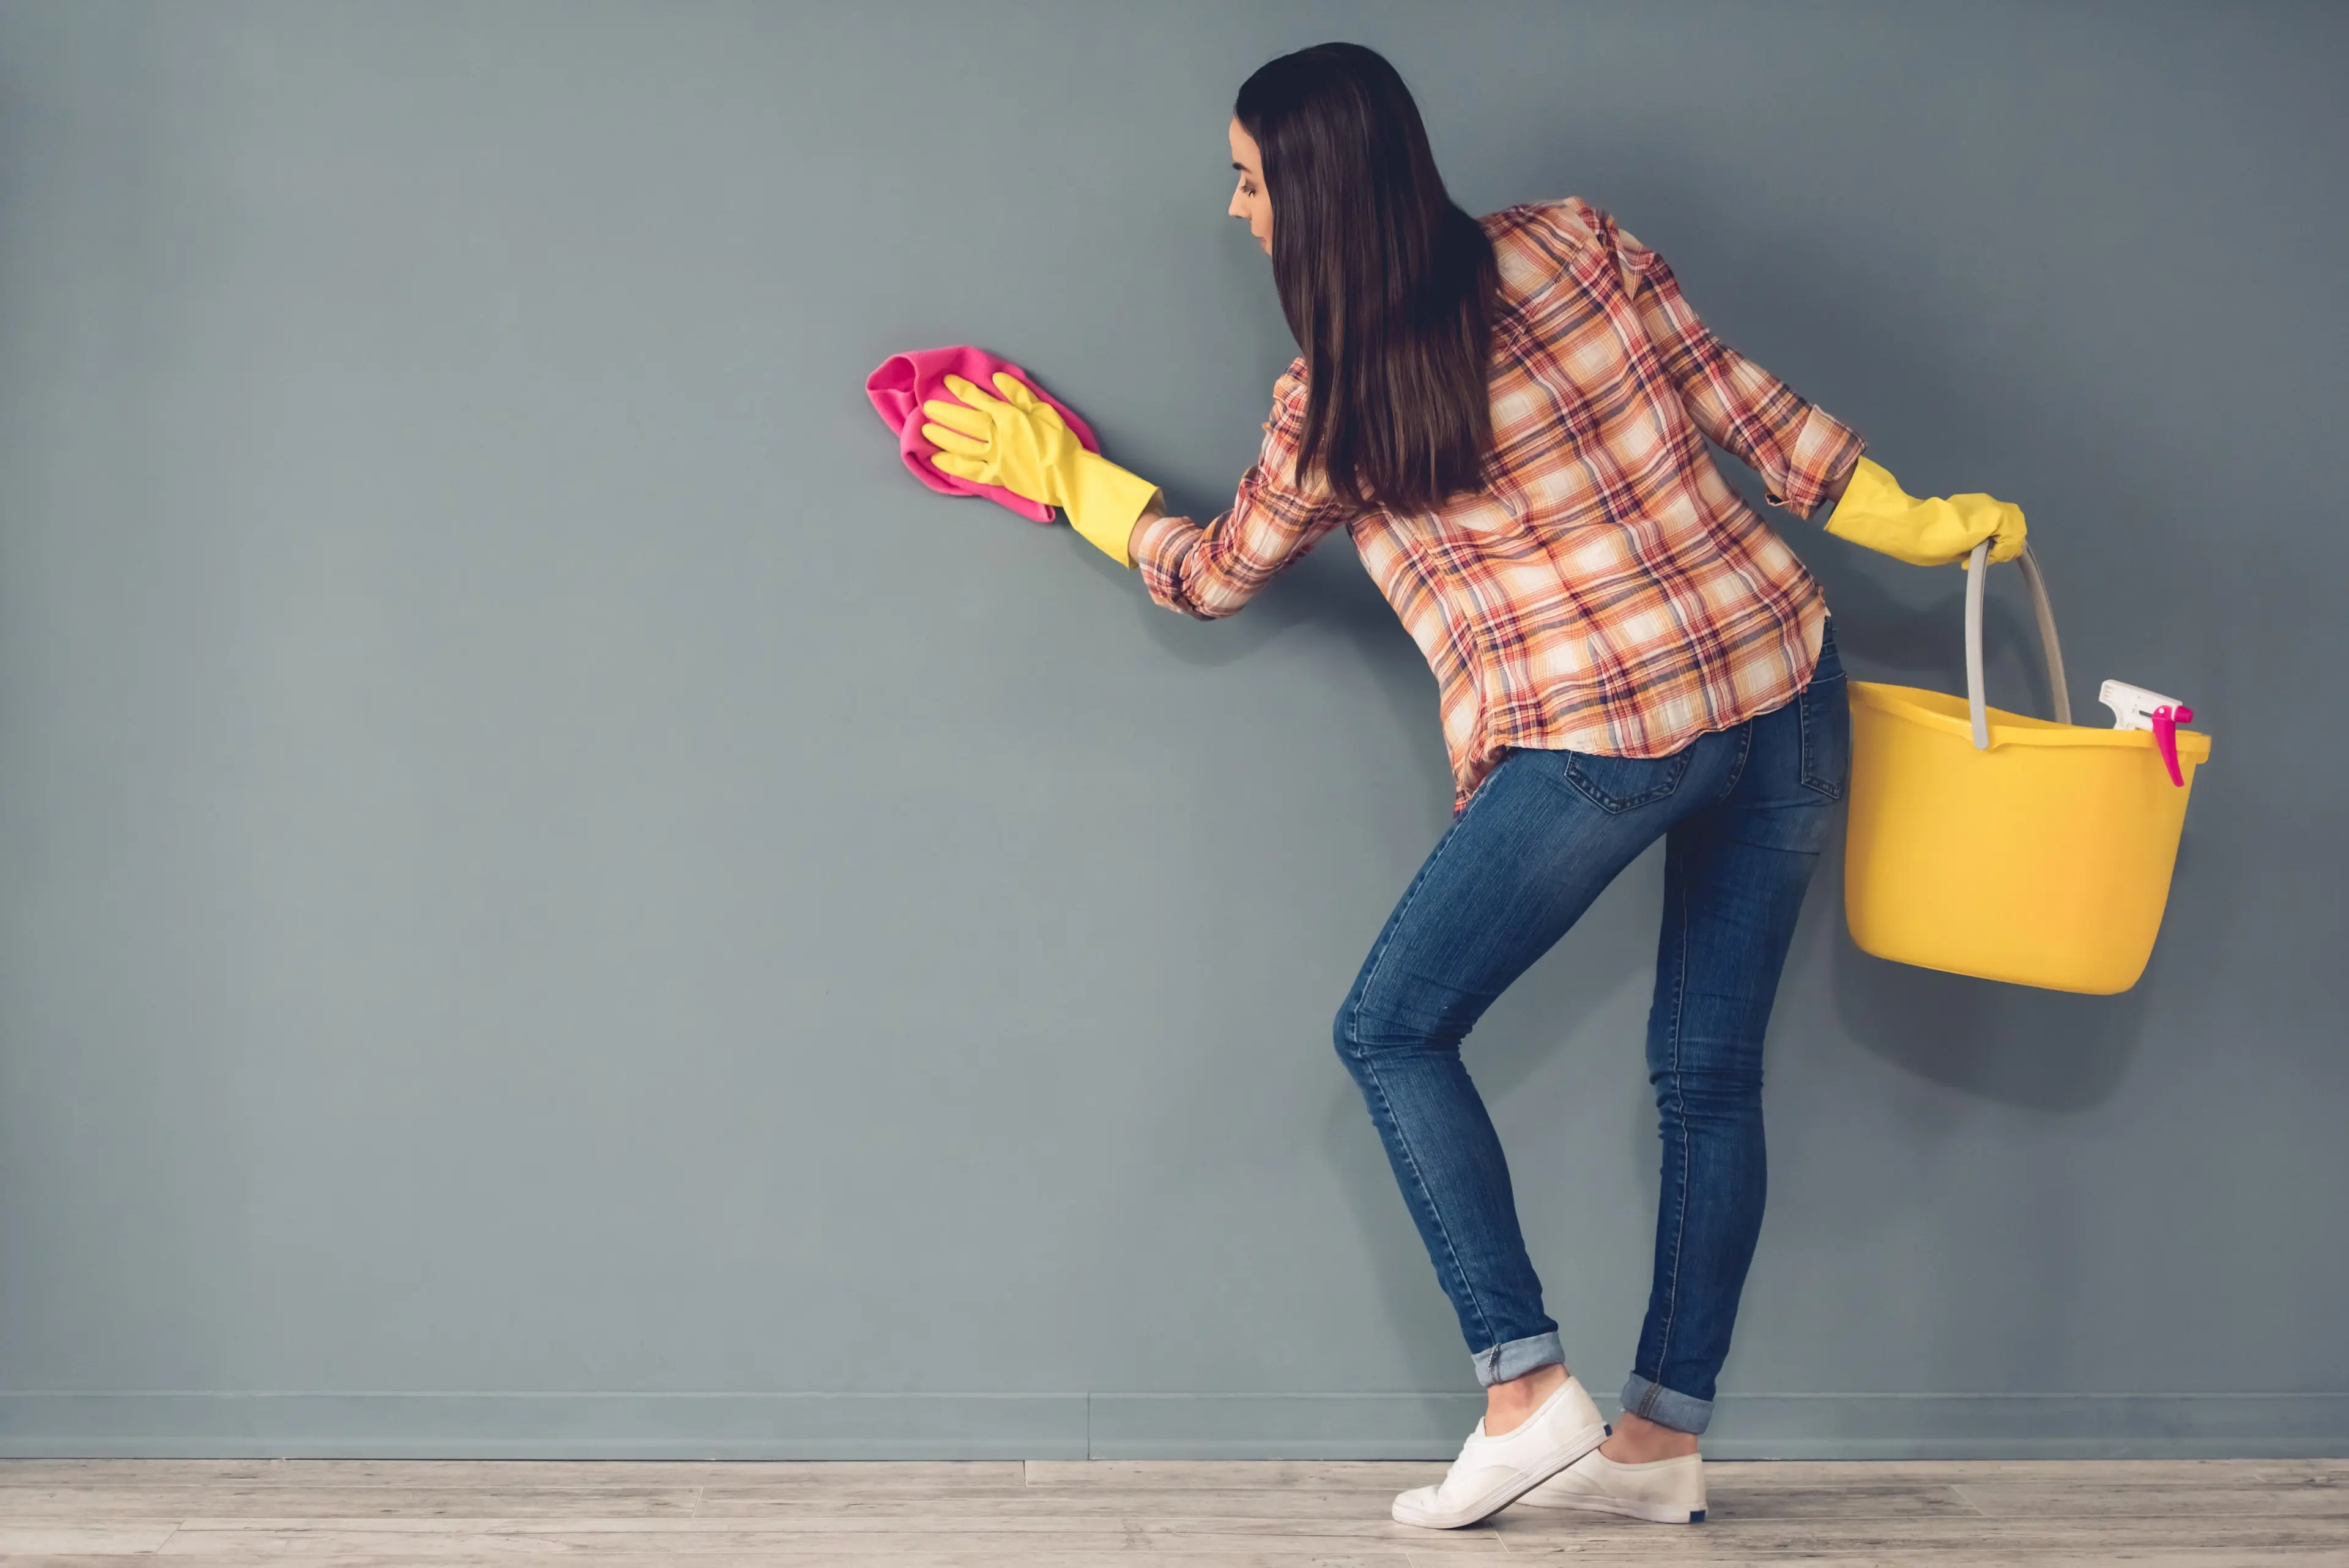
Do a Thorough Visual Inspection And Prep
Before applying new primer and paint, any areas that are cracked, flaking, or peeling need to be lightly sanded or scraped (and then thoroughly washed), as the weight of the new layer will pull the old paint loose. Other soap and water washing and rinsing may be required for greasy areas. If not, wipe down with a moist cloth to provide a surface that is clean and free of dust for the paint to adhere to.
Get High-Quality Brushes, Roller Covers, And Painter’s Tape
You should never skimp on the application of high-quality paint if you’re spending money on it. High-end painter’s tape is the genuine deal when sealing out drips and blurs, and good brushes and roller coverings give superb coverage to save time and paint on re-application.
Protect Anything You Don’t Want Painted
Before starting a painting project, take the time to protect flooring, furniture, and hardware. You won’t regret it. Drop cloths are a requirement, and protecting doorknobs with little sandwich-sized plastic bags taped together is simple.
Use Primer
Combinations of paint and primer work well if the surface is already clean and smooth. However, take the plunge and use a different primer if the wall has any problems or if it has been more than eight years since you last painted. Use a bonding primer if you need to cover a surface that will be particularly difficult, such as glass or high-gloss paint.
Paint From Top To Bottom
Use a roller to apply paint from the ceiling down after using a brush to cut the edges at the baseboard and ceiling. Amateurs frequently have noticeable drips and spatter at the end of a paint job, but professionals cover up their errors as they move down the wall. It’s preferable to leave a dry area alone after it has begun. The surface of the paint may develop stains and colour streaks if you go over it again.
Pour Primer In a Tray
So that you may purchase it all at once, ask the paint salesperson to assist you with a reasonable estimation of how much paint you’ll need. Then pour all the paint into one sizable container and thoroughly mix it rather than using one gallon at a time. This process of “boxing” your paint helps to maintain continuity of colour throughout.
Know When your Paint Is Dry
Give some time without rolling over the area again and again. Leave doors and windows open to allow air circulation and faster paint drying.
Conclusion
Your painting project’s duration will vary depending on a number of variables. It affects how big your room is, how to paint a wall at home, and how proficient you are. For instance, painting the ceiling and trim using a dark hue on the walls will take significantly longer than simply painting the walls a neutral colour.
In actuality, some places might only take a few hours, while others might require several days. Consider the time needed for preparation and cleanup as well.
Contact the home painting professionals at Express Painting for a quicker, cleaner, and better experience with expert advice on wall painting if you want to escape the headache of home painting. You can make estimates using paint calculator for how to paint walls.
check for any query you have about the blog
Frequently Asked Questions
Wait until it’s dry out. Prepare and Perform a Thorough Visual Inspection. Know Your Nap. Protect Anything You Don’t Want Painted. Remove the covers from the light switches and outlets and let the roller do the work.
The horizon. It is always best to paint the ceiling first; the doors, the window and door frames, the skirting boards, the walls, and more.
Typically, professional painters don’t wash the walls.
Most likely, you won’t require a primer. You can go right to the paint if the existing wall is smooth, clean, and painted with the same material (for instance, both are oil-based). You must patch holes, apply spackle and sand*, and perhaps even cut a new section of drywall into the old wall.