DIY Painter: 15 Painting Tips For A Flawless Job
 Dec , 2019
- Berger Speaks
- 4 Min Read
Many people possess basic painting skills. They know that it is imperative to make use of painters tape, drop cloths and stir paint for a clean paint job. However, each DIY painter has slightly different methods and preferences.
Does the thought of going DIY excite you? If you have the time and patience on your hands, you can paint your own home walls. However, this job is better left to the experts for a flawless, lasting finish. It is advisable to opt for professional painting services like Berger Express Painting, a service all-rounder that takes care of everything, right from waterproofing solutions, wood and glass coating, interior and exterior painting, technical evaluation, furniture covering and moving and more!
We spoke to our painting professionals and have put together a few handy tips for you to improve the quality of your painting if you plan on going DIY. Let’s get started!
1. Buy Good-Quality Paint
To begin with, don’t compromise on the paint quality. This is something our experts swear by! No being stingy on paint quality. Opt for good quality paint for the walls of your home. Consider the type of paint you want to use for every room of your home. Do you want to go for gloss, semi-gloss or matt/flat? Matt is often the best choice as it helps to diffuse surface imperfections. Keep yourself and your family safe by using low volatile organic compounds (VOC) and low odour paints. You can choose the wall colour of the year for the favourite walls of your home.
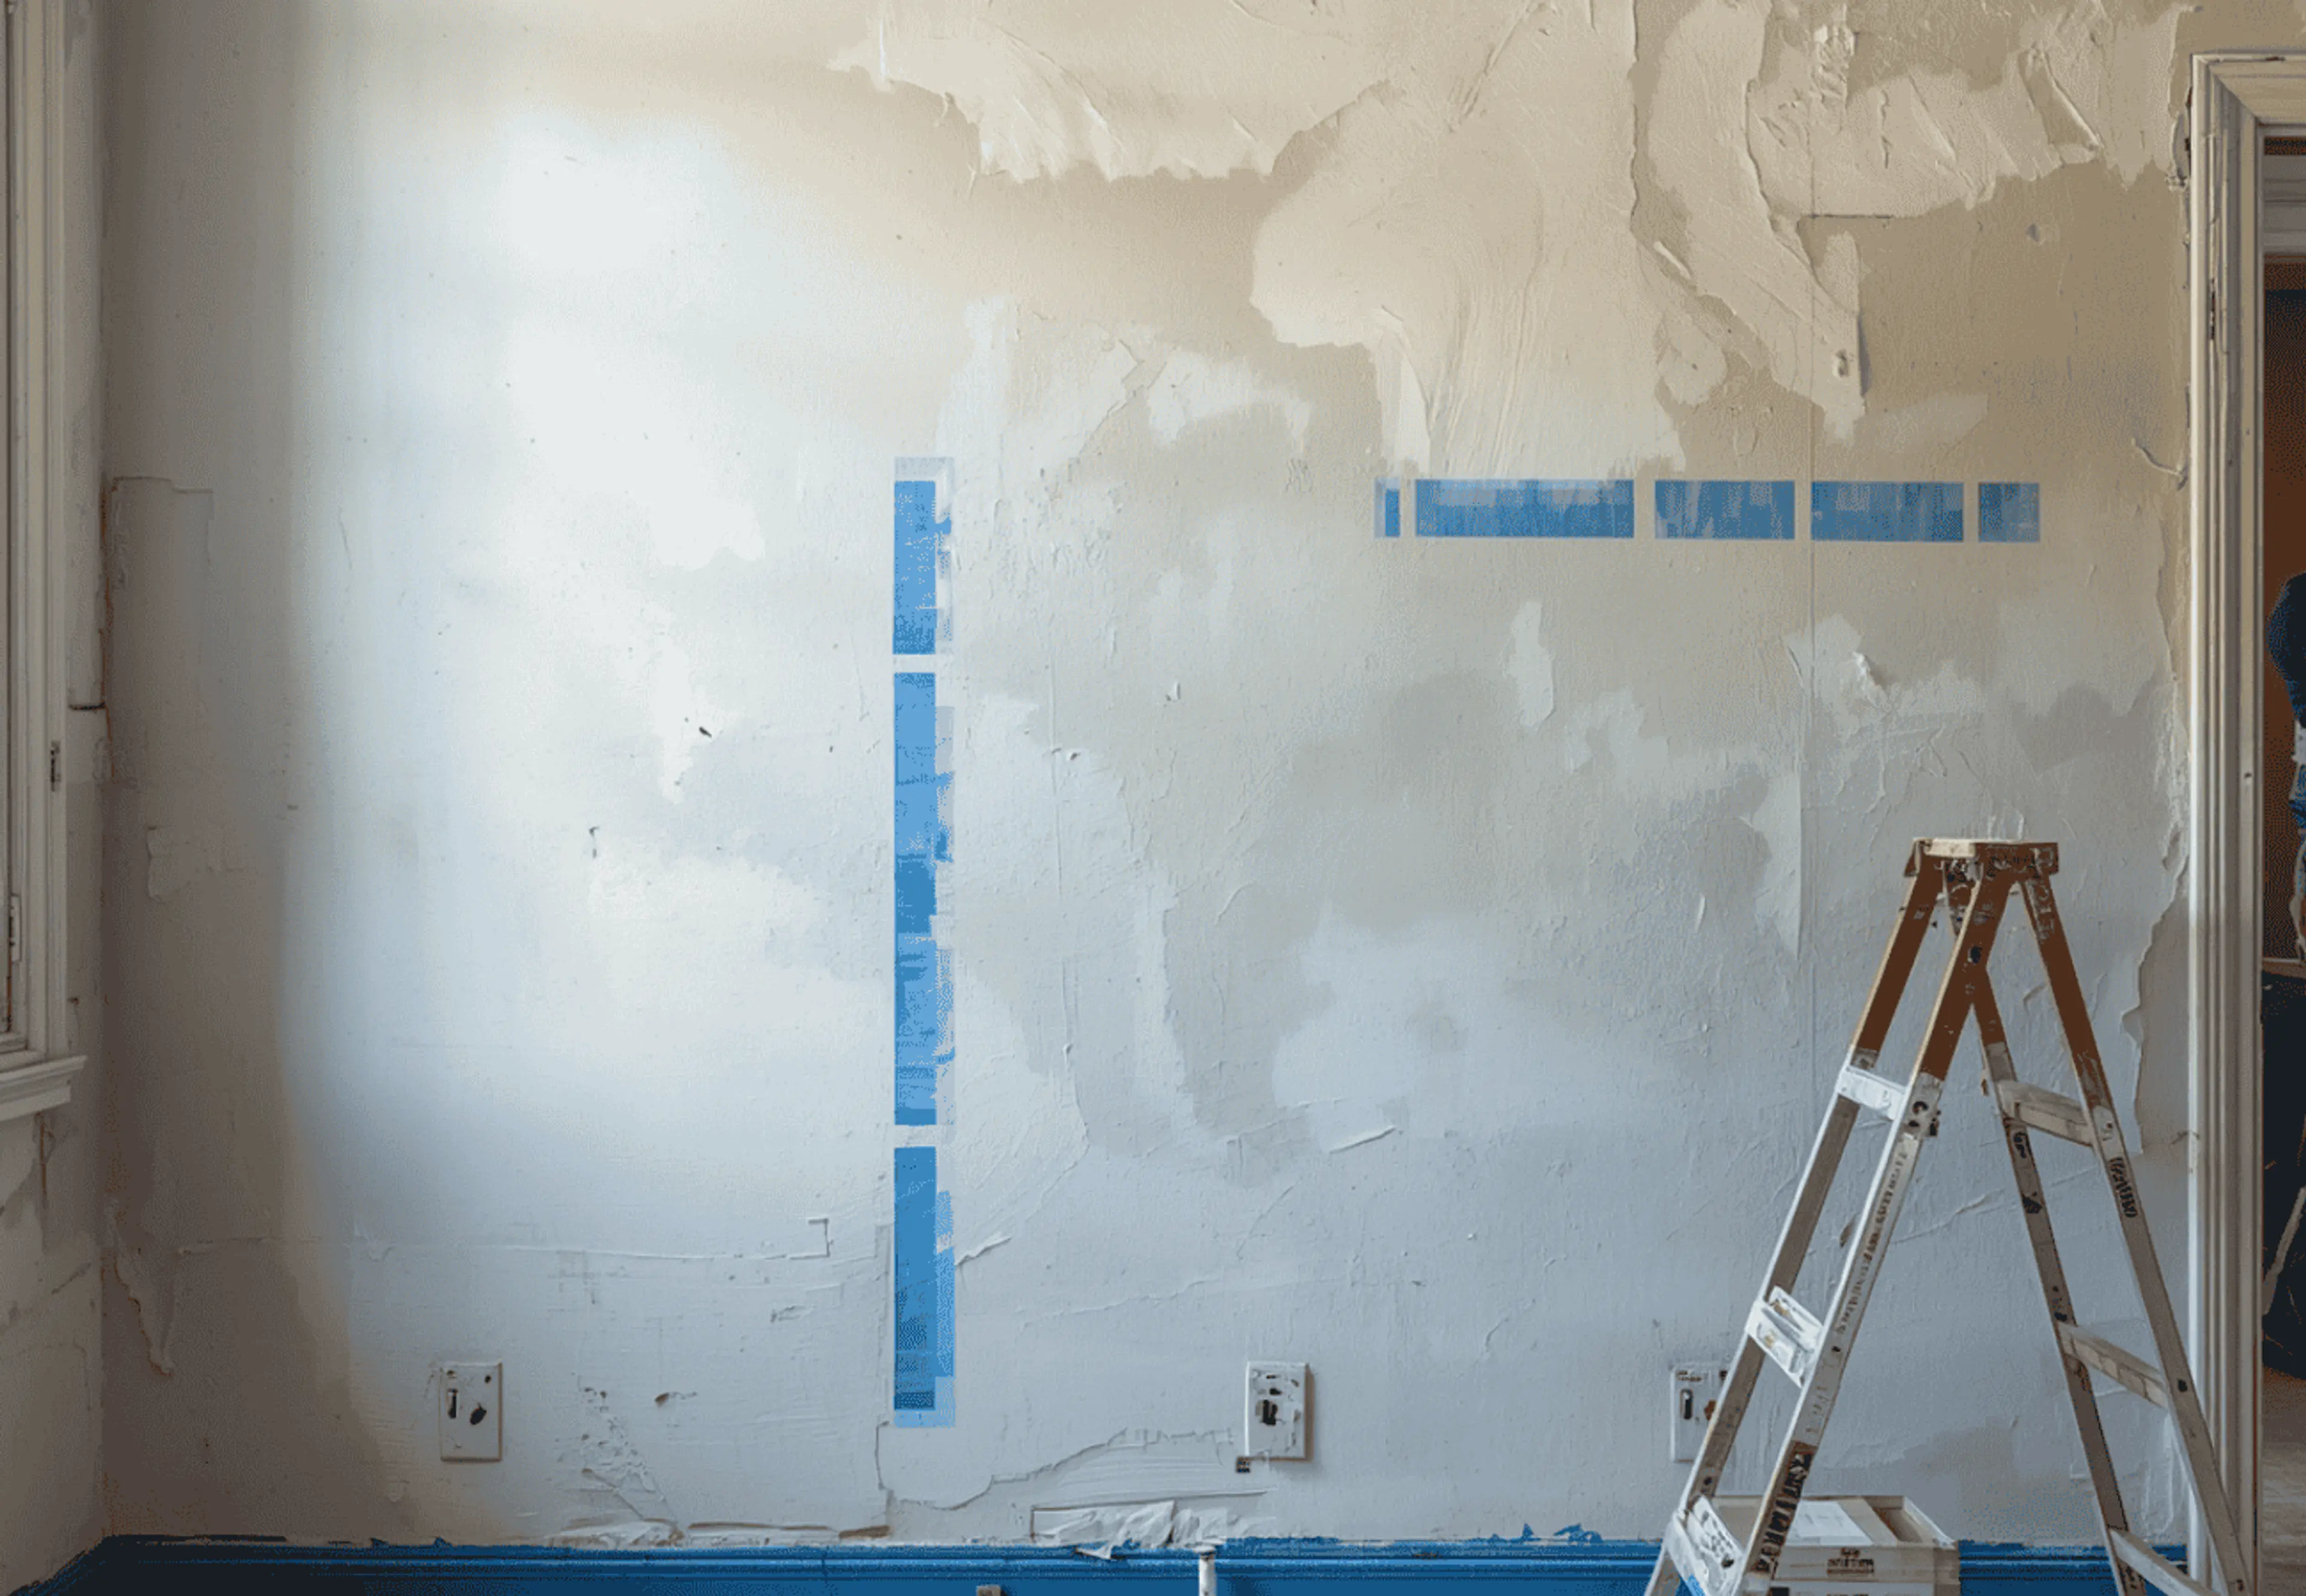
2. Remove All Hardware
Before you start painting, our experts say that it is wise to get some zipper storage bags and keep all your door knobs, hinges, switches and light switch plates in it so as to protect them from accidental drips. You can label each bag so that you know which hardware belong to which room and after you are done with the wall painting you can put them back in the right place easily.
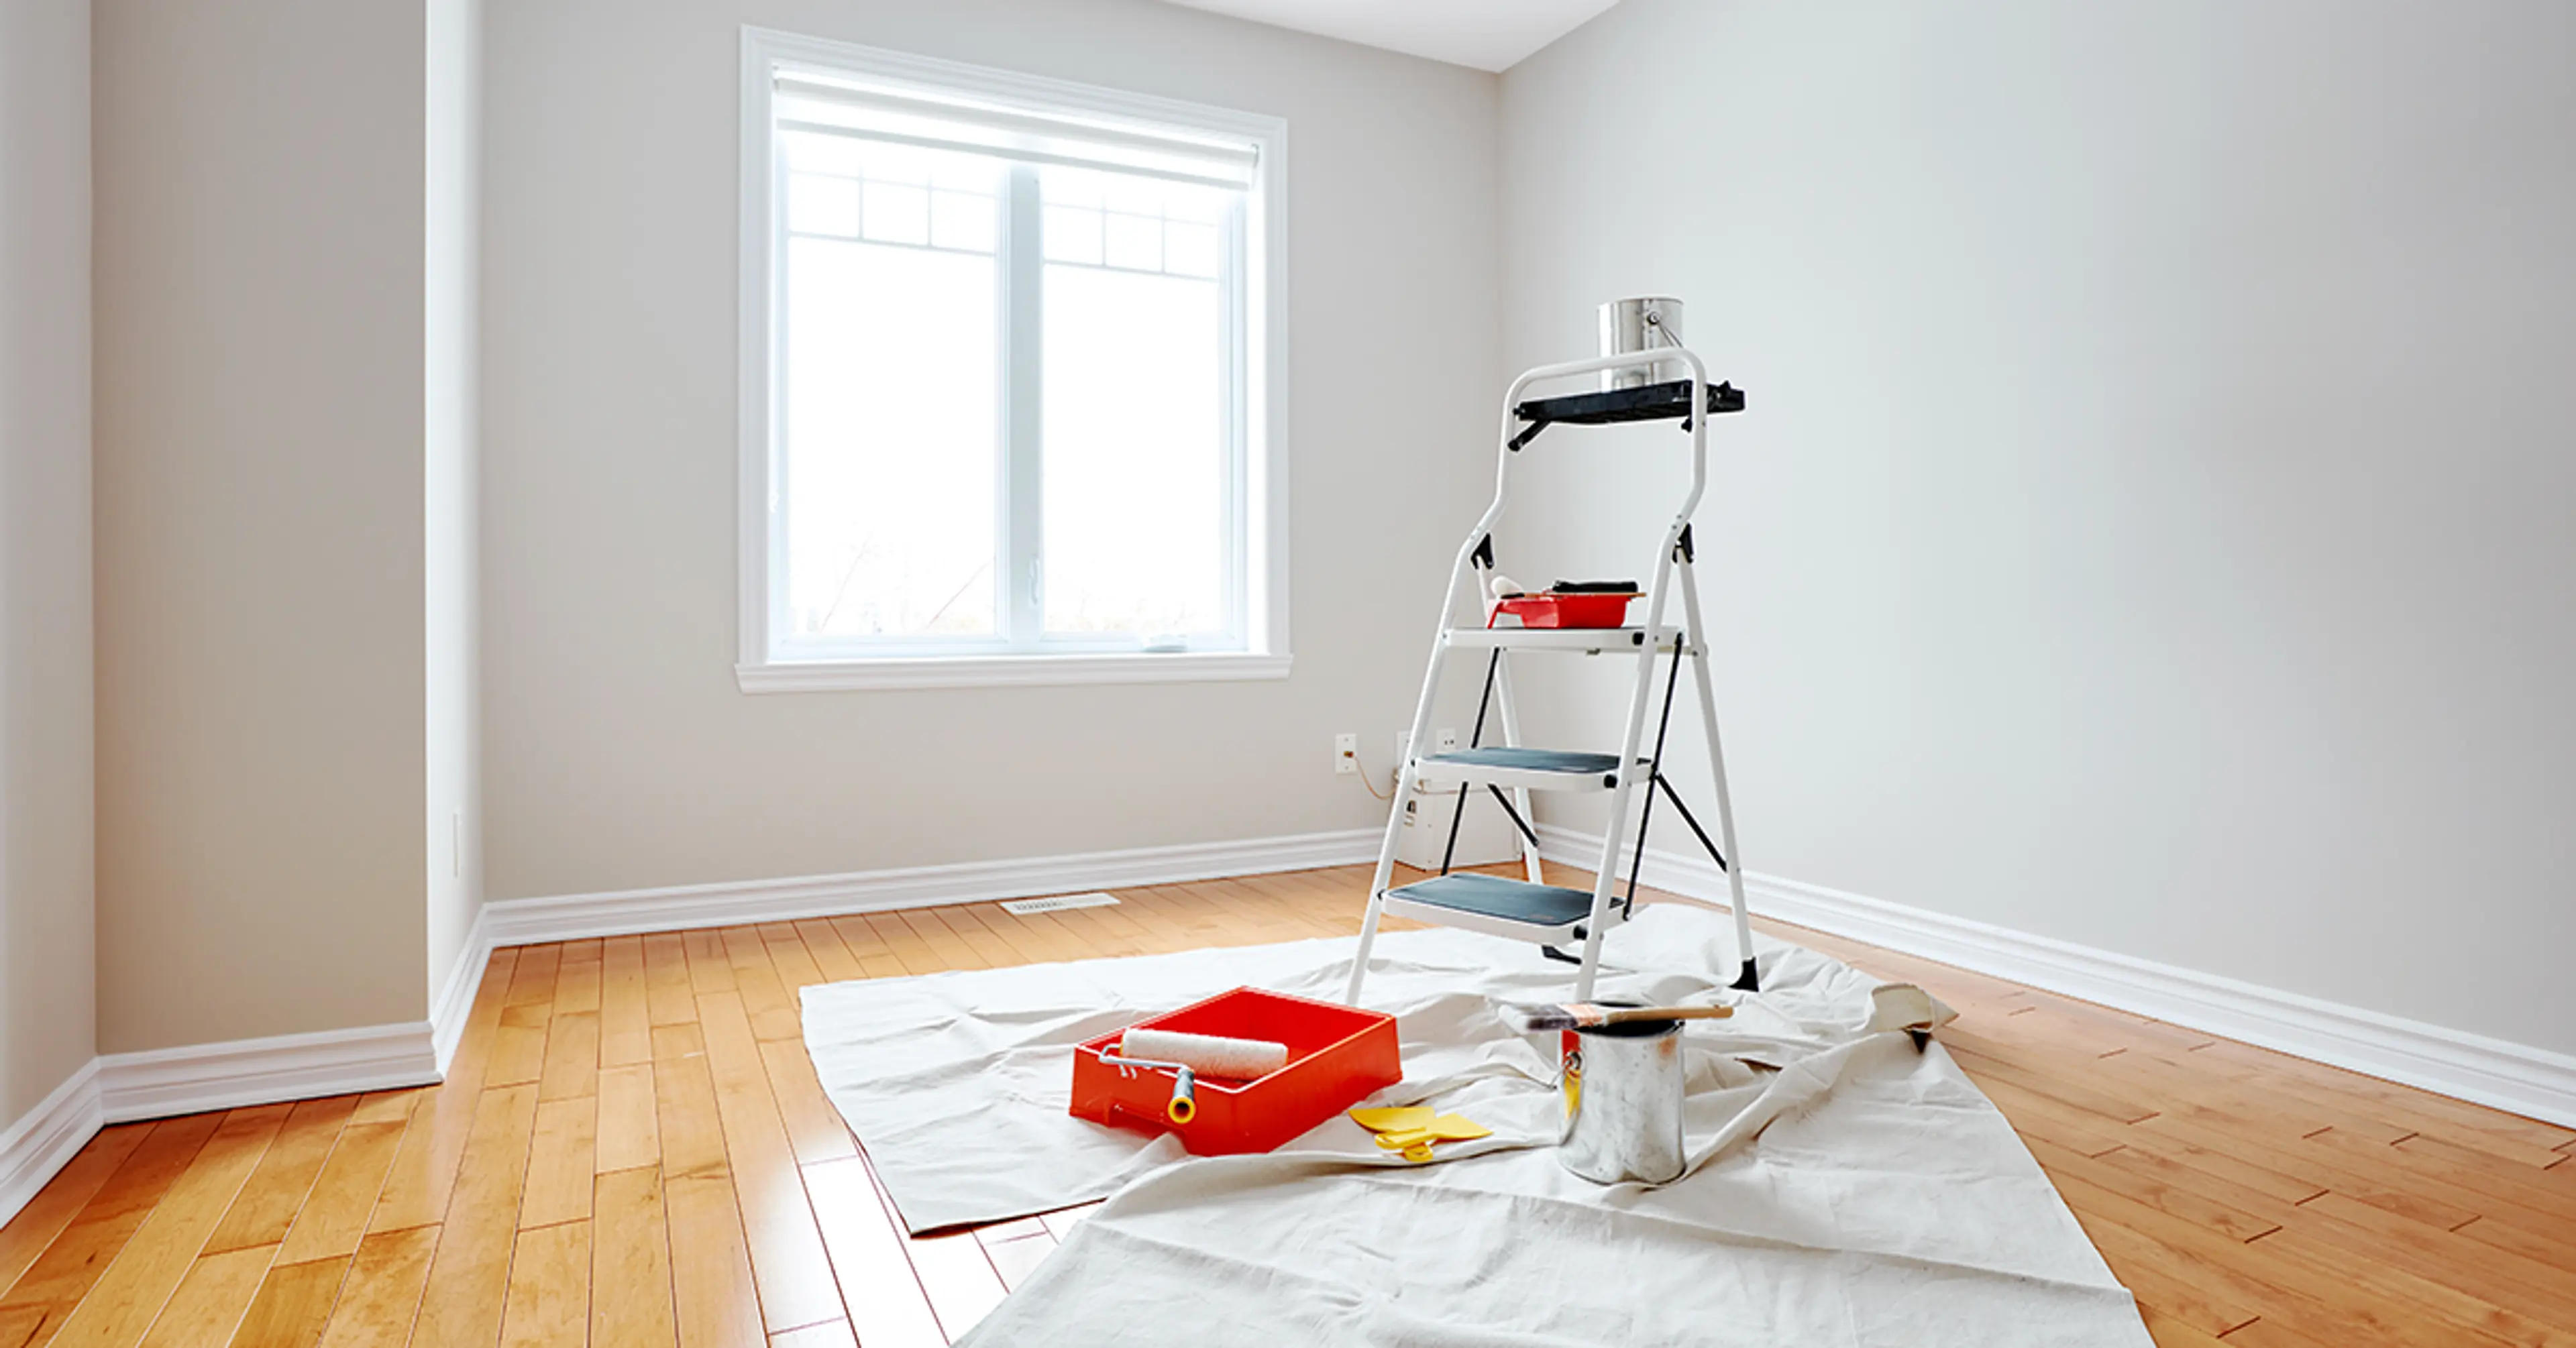
3. Lay a Drop Cloth
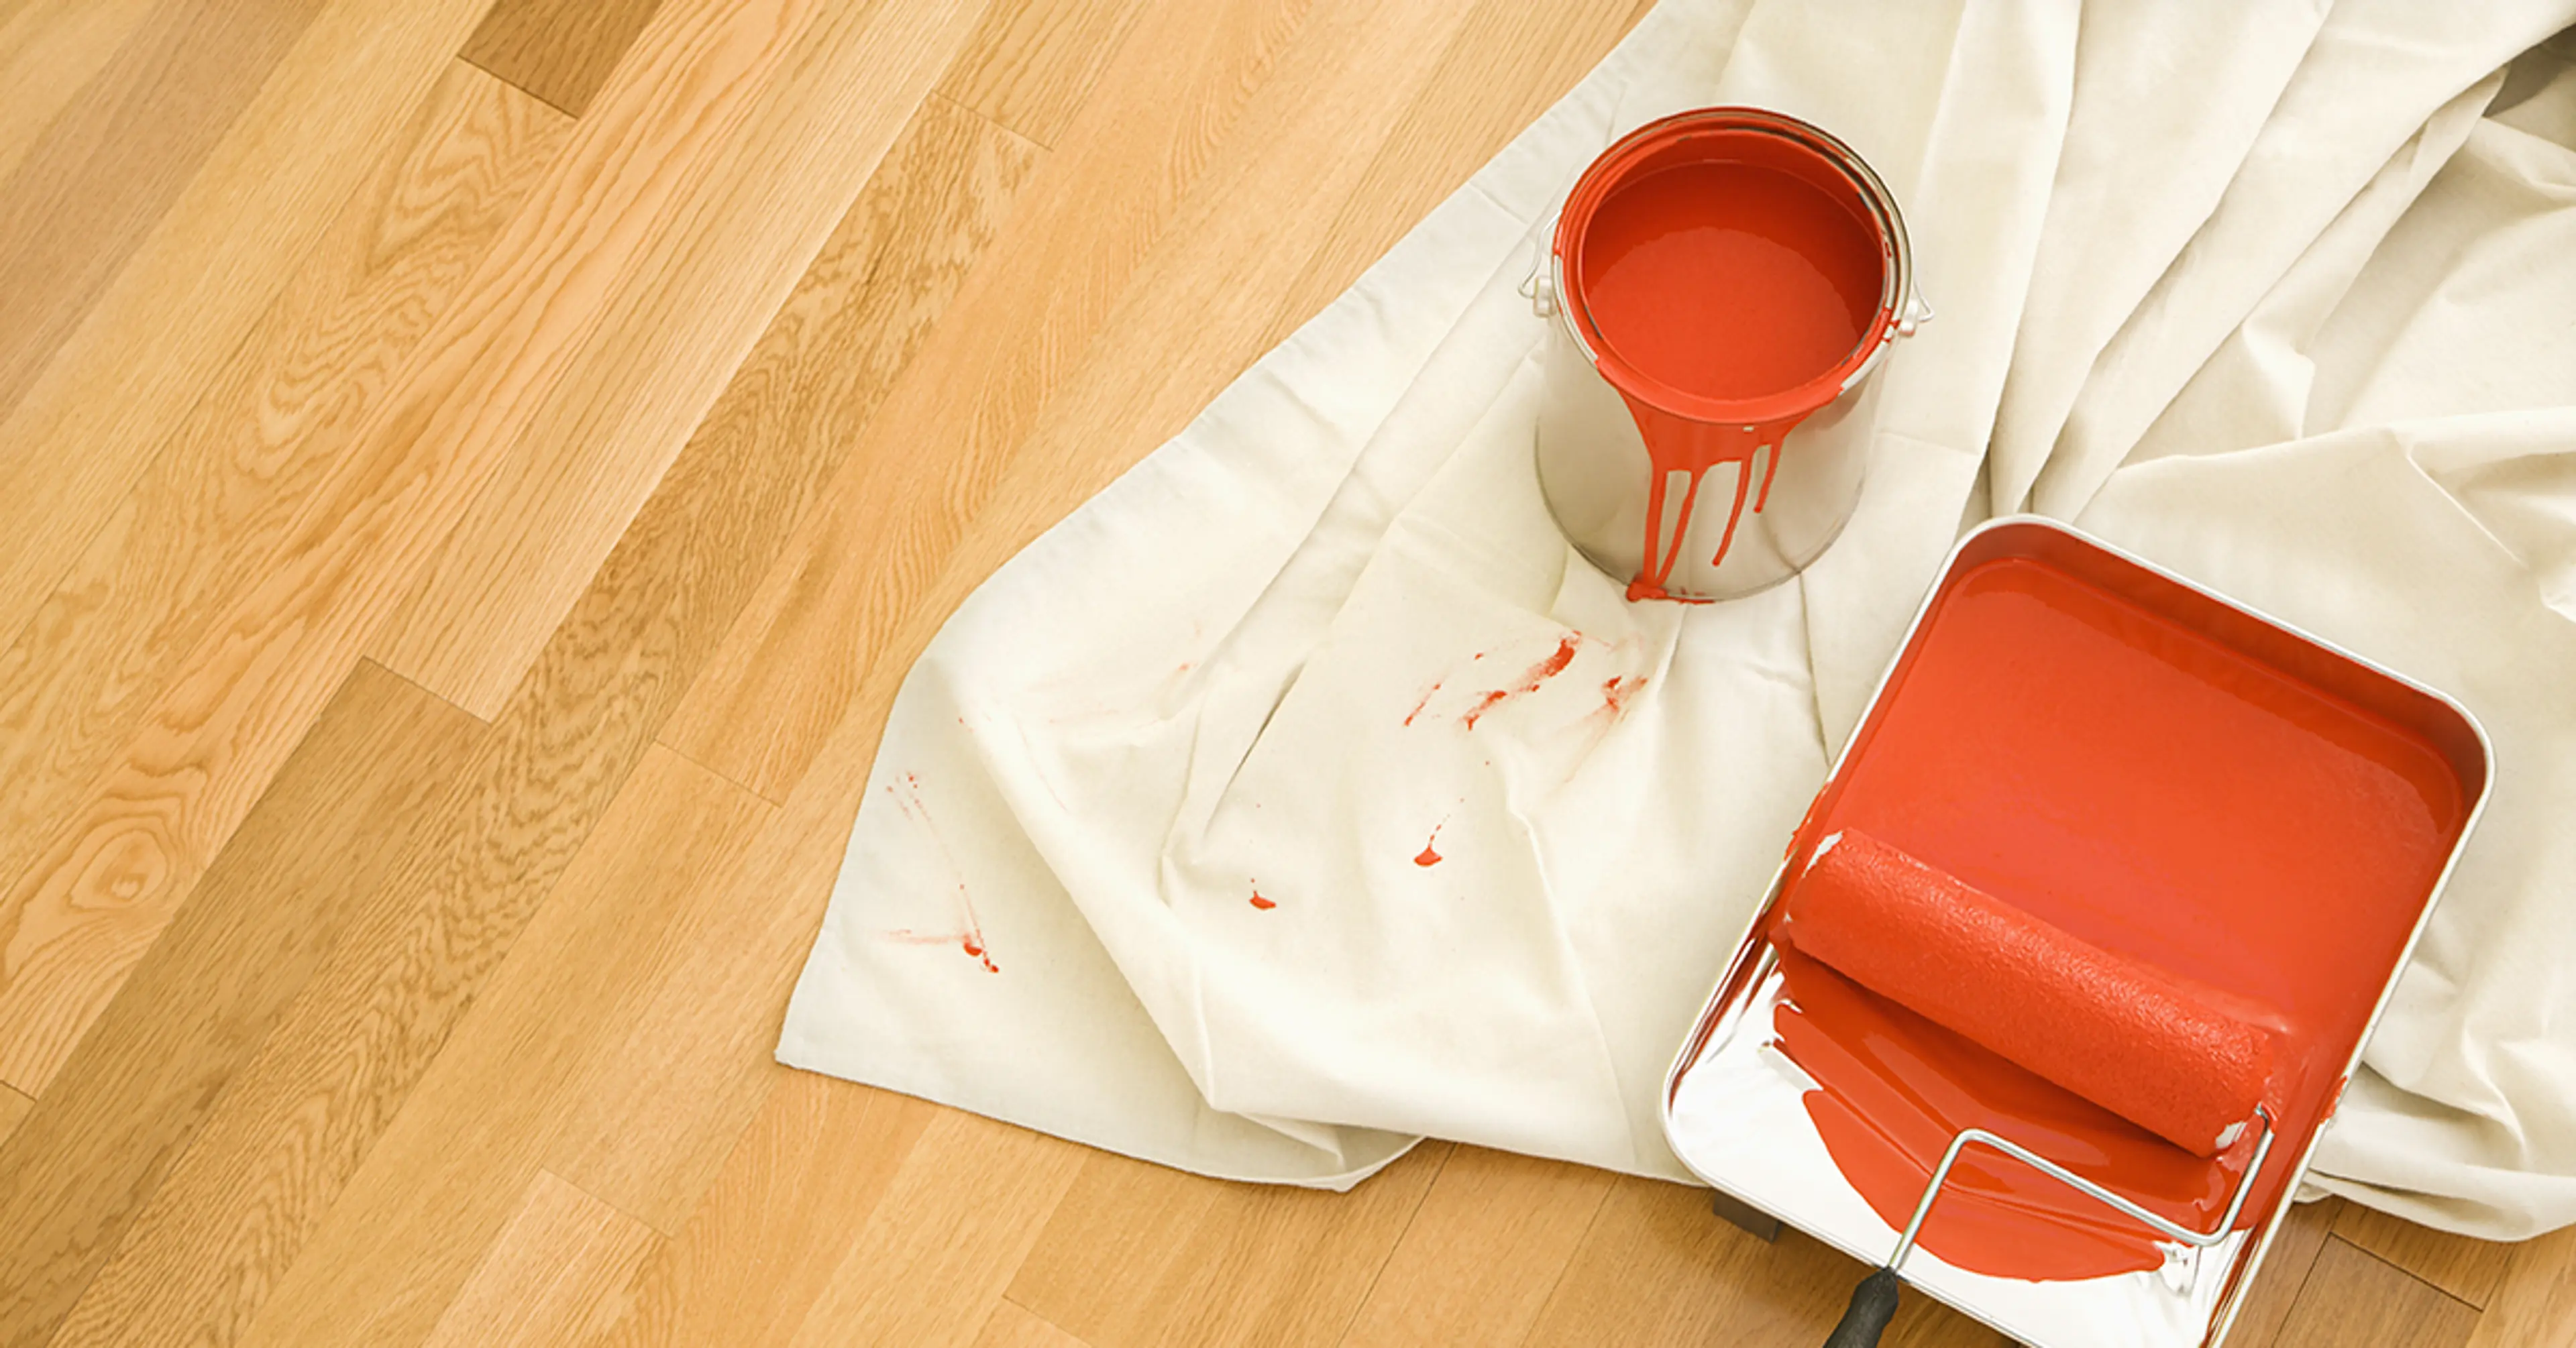
Our experts say that it is a good idea to invest in cotton or canvas drop cloths over plastic ones. Plastic sheeting does work but canvas stays in place, absorbing spills while plastic doesn’t. Plastic ones are also more hazardous in nature and there is a risk of slipping on it.
4. Wear Protective Gear

Just like you take care of your furnishings during the painting project, don’t forget to protect yourself. Our experts recommend that you wear clothes that you wouldn’t mind ruining just in case paint spills on you. Also, wear proper goggles for eye protection. If you are planning on sanding, consider a facemask to protect your lungs from inhaling debris or dust.
5. Determine The Kind Of Paint On Existing Walls
If you want to figure out what kind of paint has been applied on an existing wall, you can conduct a test on the wall. Soak a cotton ball in alcohol and rub it in a small area across the wall. If the cotton ball has paint residue, the paint is latex and if there is no paint on the cotton ball, it is an oil-based paint.
6. Use a Paint Grid
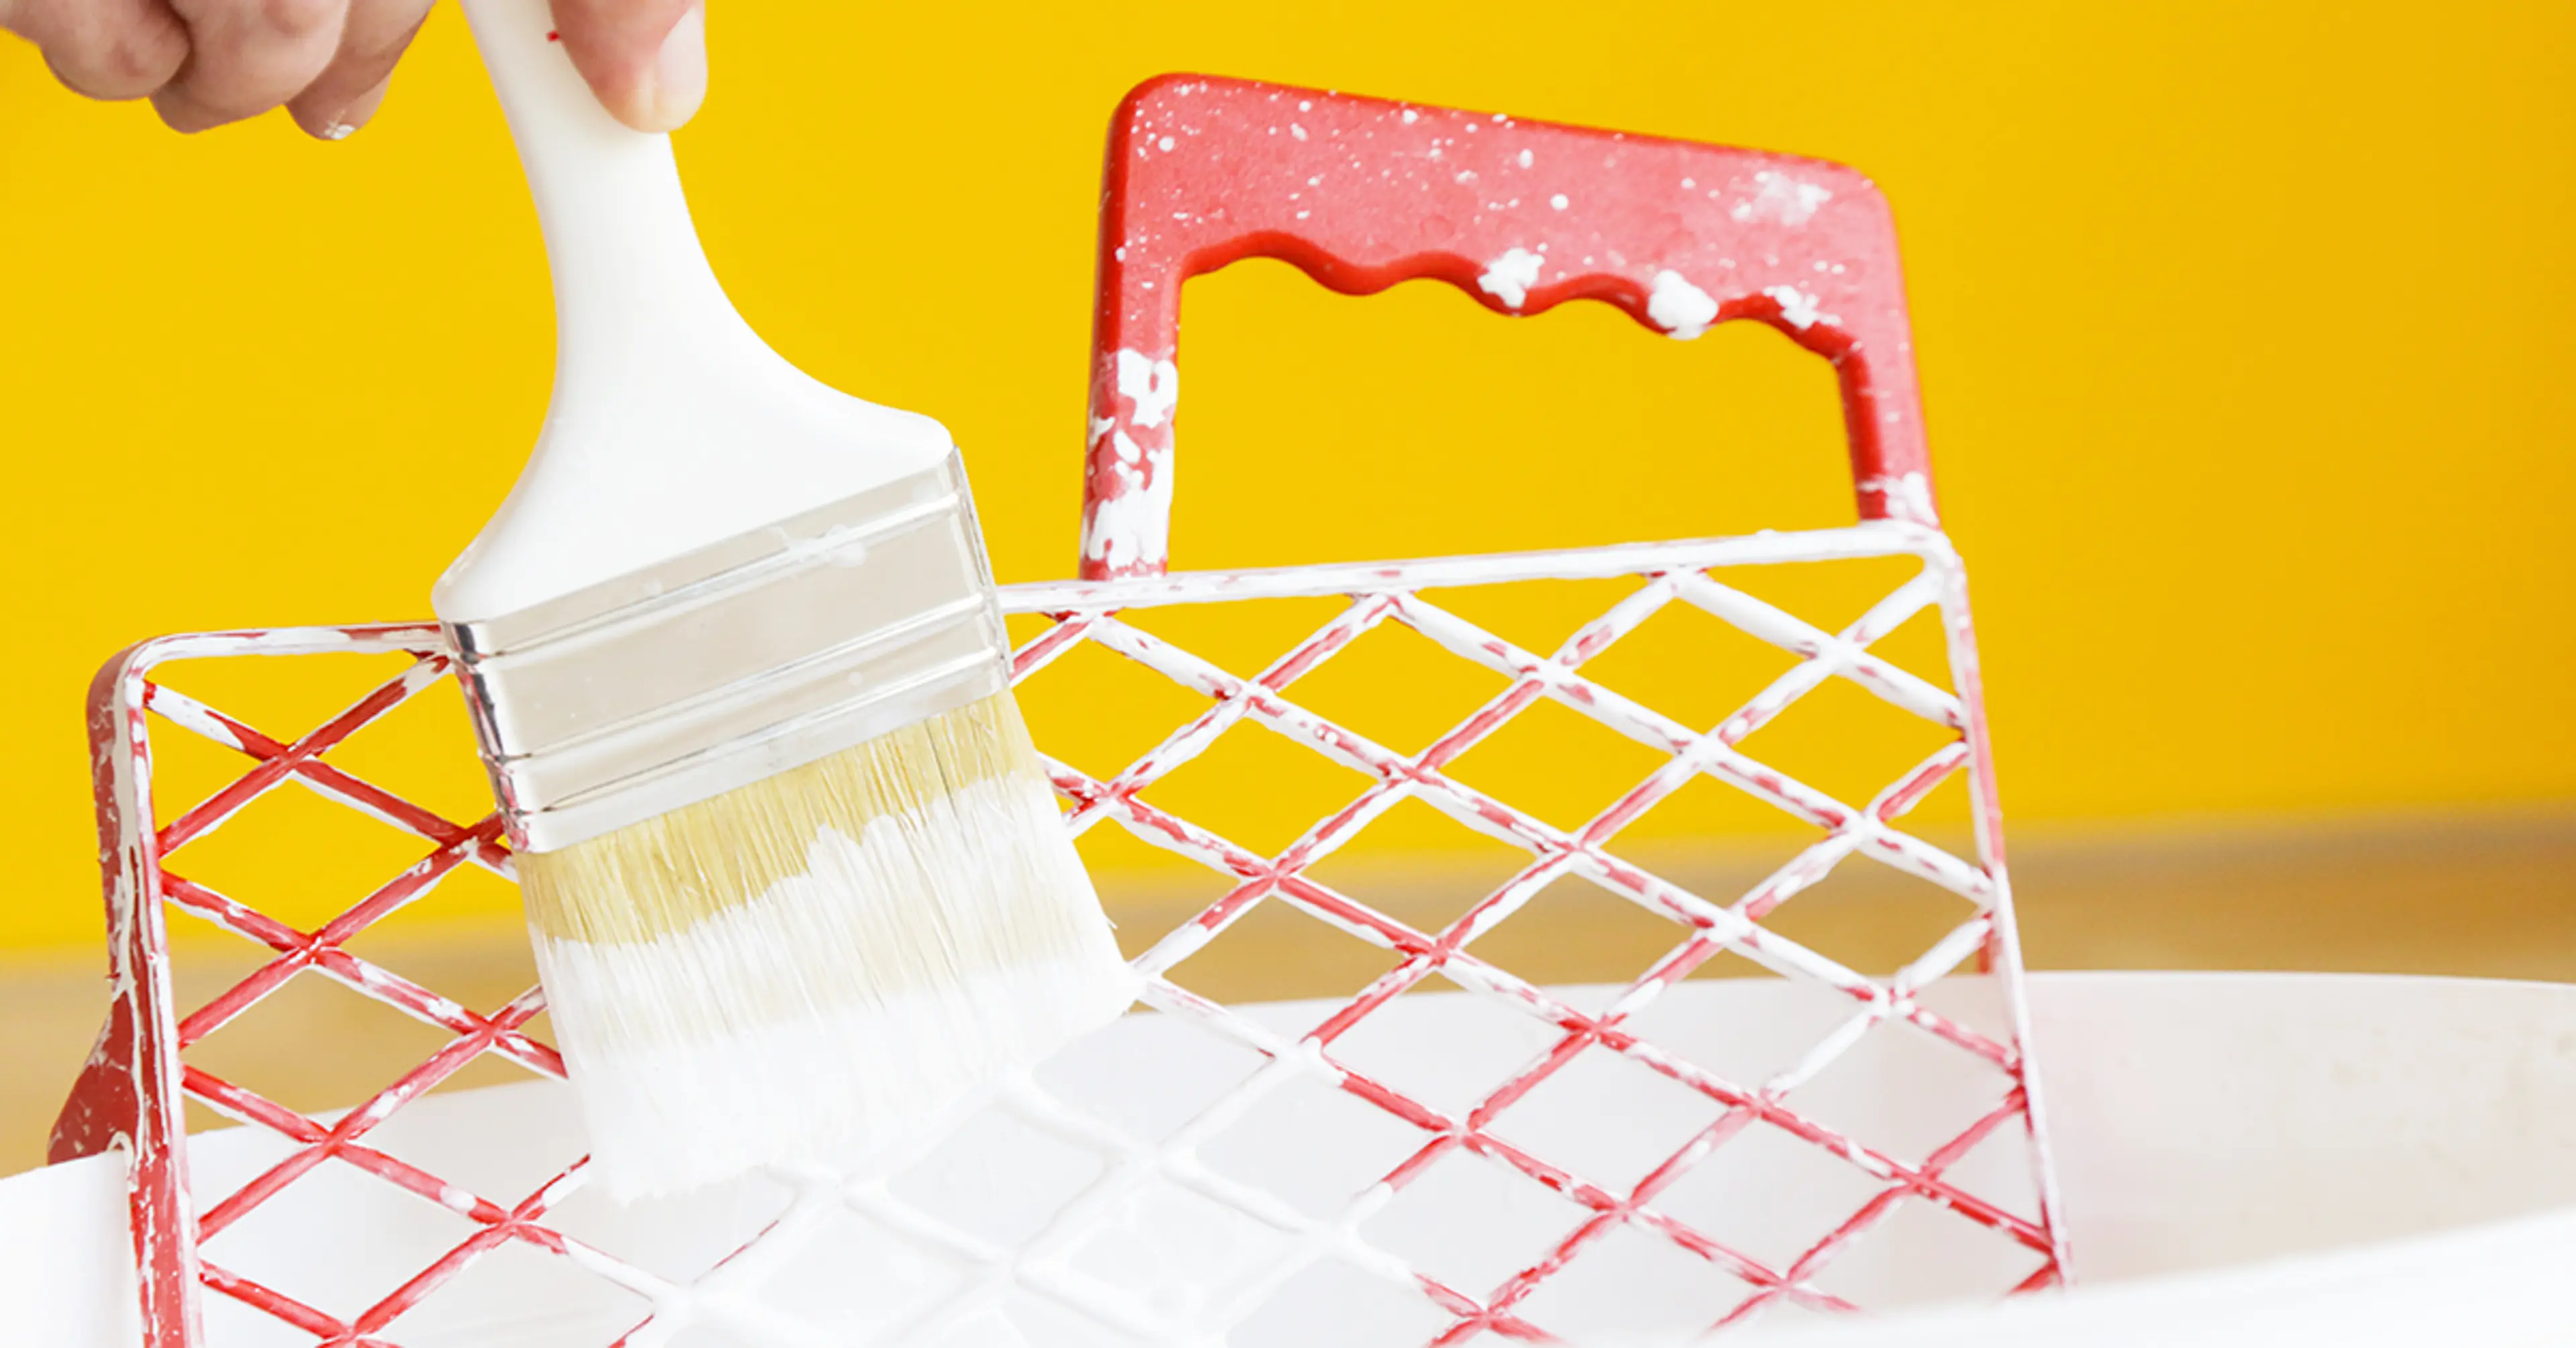
A paint grid is a rectangular, rigid metal or plastic screen that hooks onto the rim of the bucket. It helps get rid of excess paint and distributes it evenly on the roller cover to ensure even paint application.
7. Use Masking Film To Cover Clean Areas
Masking film is a thin plastic sheet that is available in folded up squares or rolls. Its thinness is key to making it work properly. The masking film grabs onto flat surfaces and stays put in place on its own. Static electricity holds masking film in place.
8. Use The Right Primer
Walls that are freshly painted often look blotchy. A quick coat of primer is perfect to eliminate differences in texture. Use a water-based primer to hide imperfections and for an even base before applying colour.
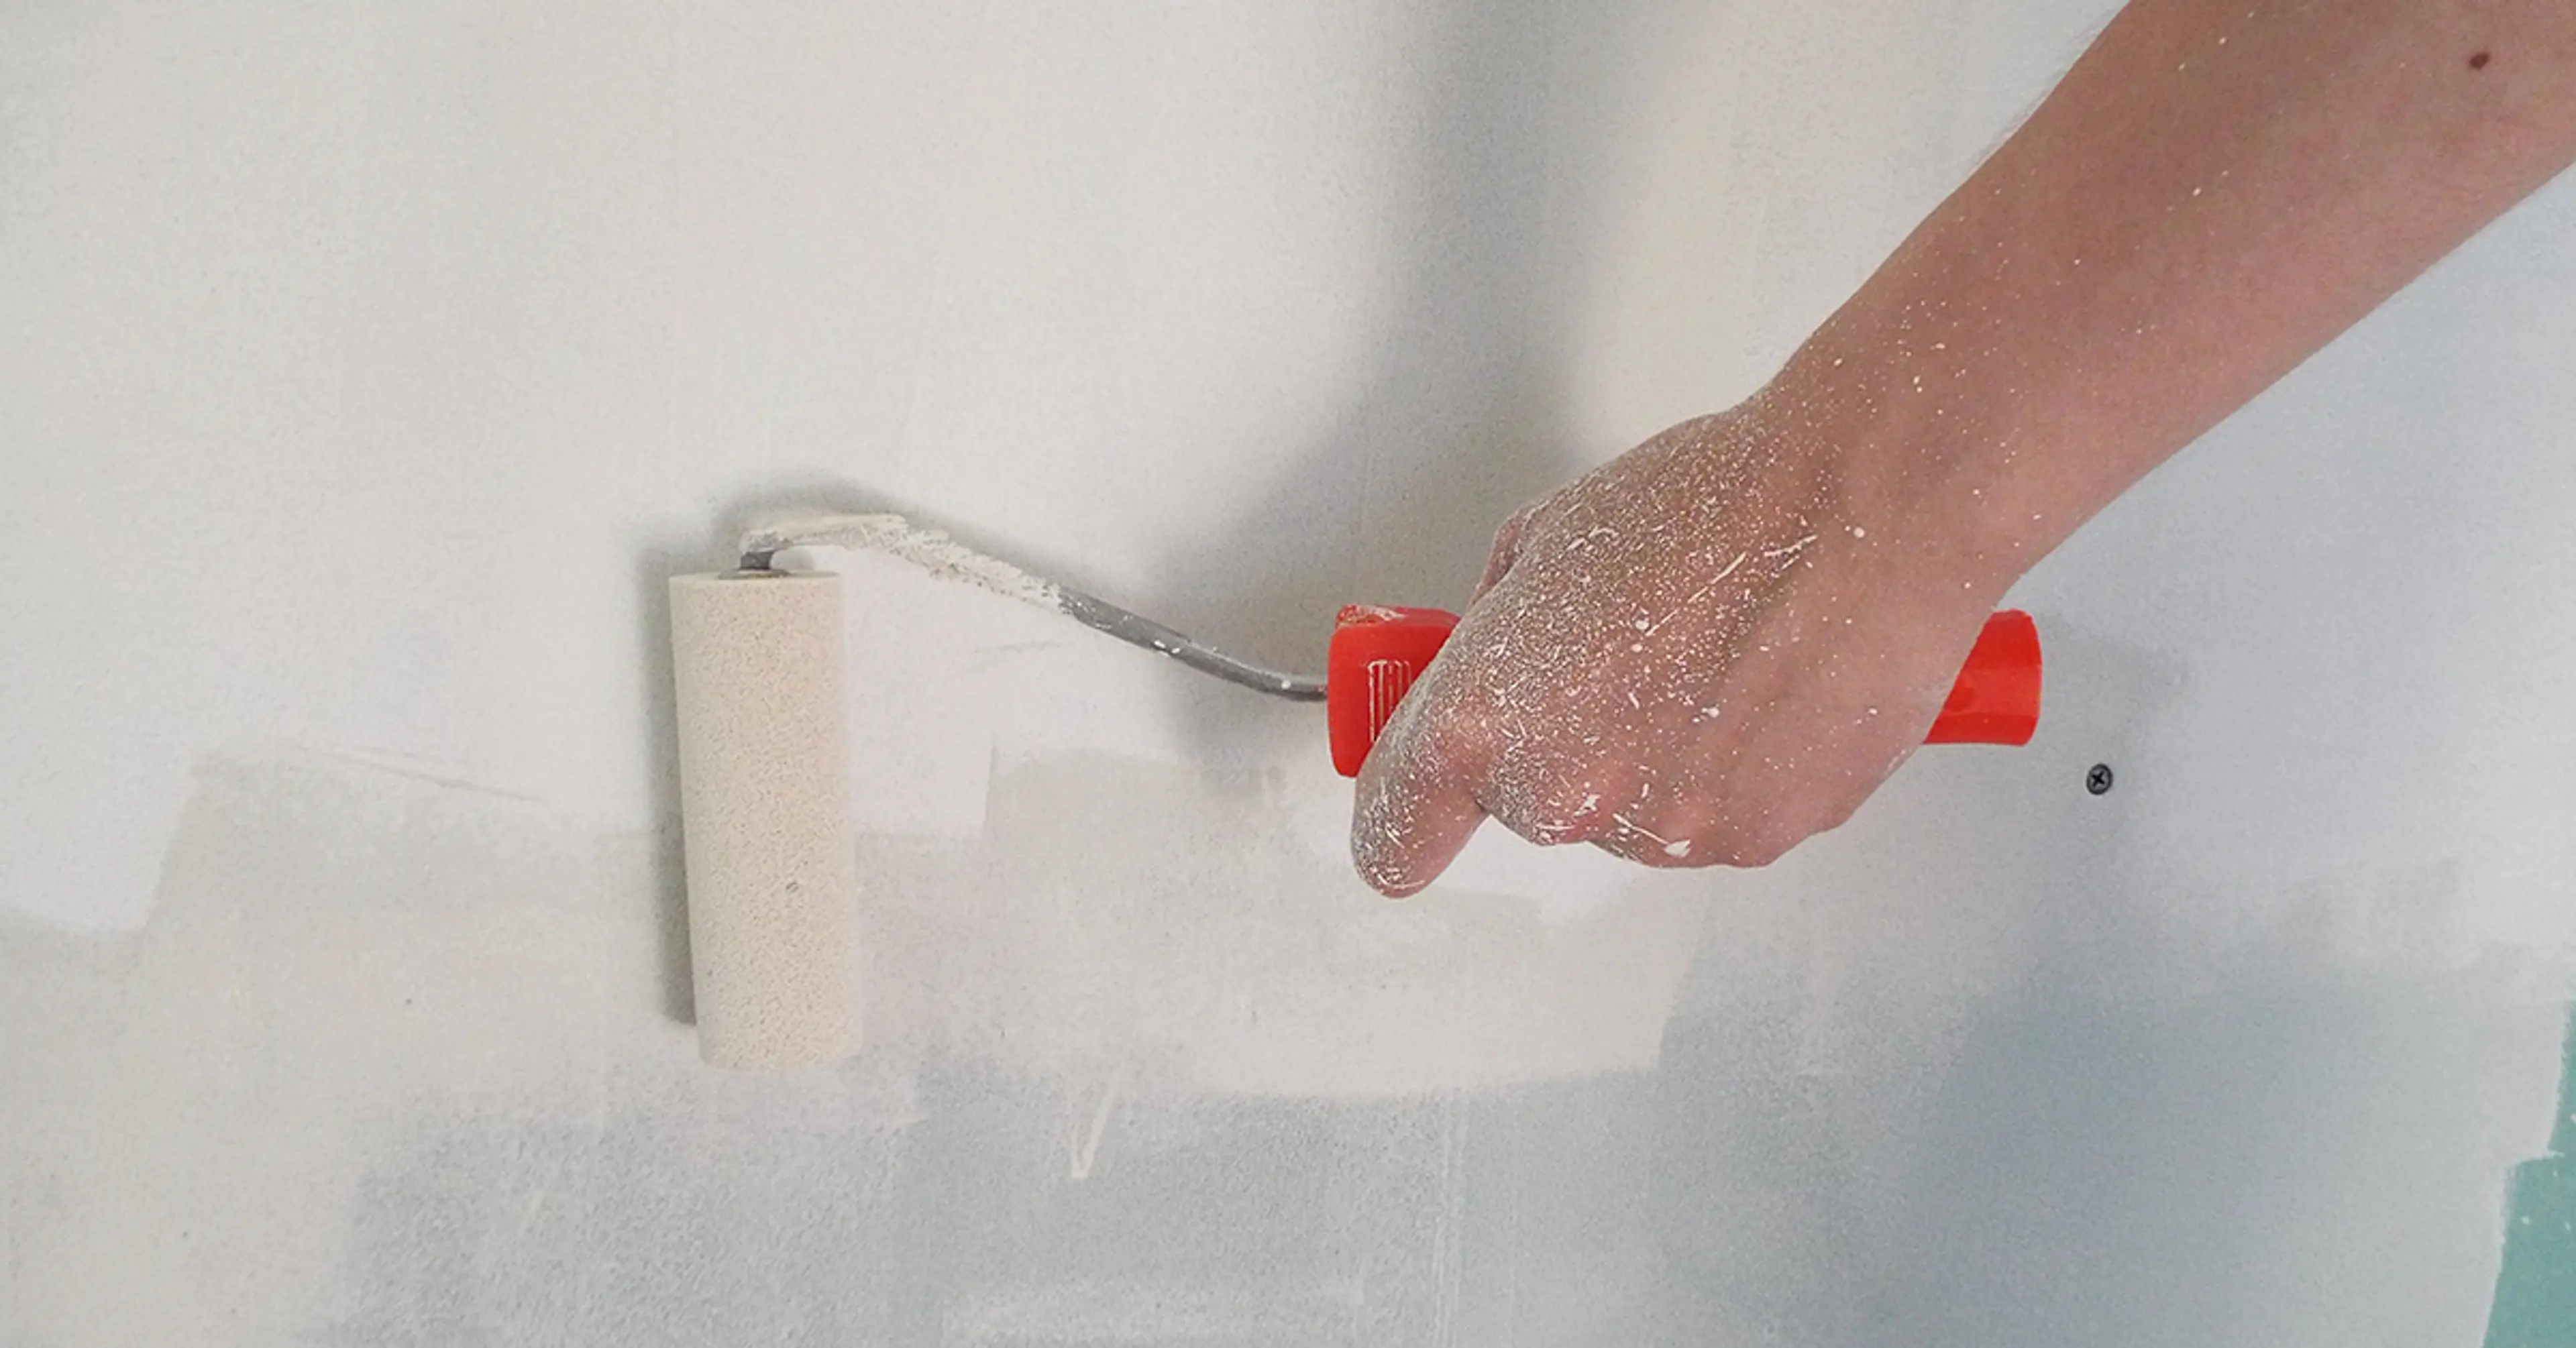
9. Avoid Lap Marks
The key to avoiding lap marks is by maintaining a wet edge. Start near a corner and run the roller up and down the full height of the wall, moving over slightly so you can overlap the last stroke before the paint can start to dry.
10. Deal With Problem Tape
If you are using older tape, it can be tricky to peel off its roll without sticking or tearing. If your painter’s tape continues to peel, you can microwave the whole roll for around 10 seconds.
11. Paint The Trim First
As a general rule, start with painting the trim first, then the ceiling and finally the walls. When applying the paint, make sure to focus on the uniformity in coverage as well as the thickness. Finish the first wall before moving on to the next.
12. Sand Trim Between Coats For An Ultra-Trim Finish
One coat of paint doesn’t usually hide the underlying colour and sheen on trim. If you don’t sand the surface smooth between coats, the finish could have a grainy texture. Sand the trim with a fine-grit sanding sponge before applying each coat of paint for a smooth finish.
Sponges usually go into crevices where sandpaper is unable to go and lets you apply even pressure. Apply the first coat of paint, leave it to dry for 24 hours, lightly sand it for a completely smooth surface before applying the second coat. Don’t forget to vacuum the trim after each sanding. Wipe it down with a cloth to get rid of the dust.
13. Don’t Forget Ventilation
Make sure your living space is well-ventilated throughout the painting project. Keep the windows wide open and use fans. Keep a fan blowing to speed up the drying process.
14. Don’t Wash Your Rollers Or Brushes
If you are using latex paint, there is no need to clean your rollers or brushes if you do not manage to finish your painting project in one day. Since cold temperatures keep latex paint from drying quickly, you can simply wrap your rollers or brushes in either plastic bags or tin foils and keep them in the fridge. Be sure to let them fully warm back up before reusing them.
15. Don’t Let Your Paint Dry Out
A half-empty can of paint will dry out. To avoid this from happening, place a plastic wrap under the lid and seal it tightly. Store the paint can upside down.
That’s a wrap! Keep these tips in mind when painting to achieve a professional finish and enjoy beautiful walls. You can also choose texture paint for a classy upgrade to your walls. However, we understand that DIY may not be the best idea when you have less time on your hands owing to a busy lifestyle. You can contact Berger Express Painting experts, ensuring that your home painting is hassle-free, thanks to automated tools.