10 Steps To Painting Walls Like A Pro
 Oct , 2019
- Berger Speaks
- 5 Min Read
Wall Painting Process Step By Step
1. Decide Your Approach
Decide on the scope of your project. Planning ahead will help you gather the necessary supplies and allocate sufficient time. This planning stage is an essential step in the wall painting process step by step.
Next, inspect the walls you plan to paint. Look for cracks, holes, or peeling paint. You will need to fix these before painting starts so that the steps to painting walls will go smoothly. This is a key part of the steps to painting walls.
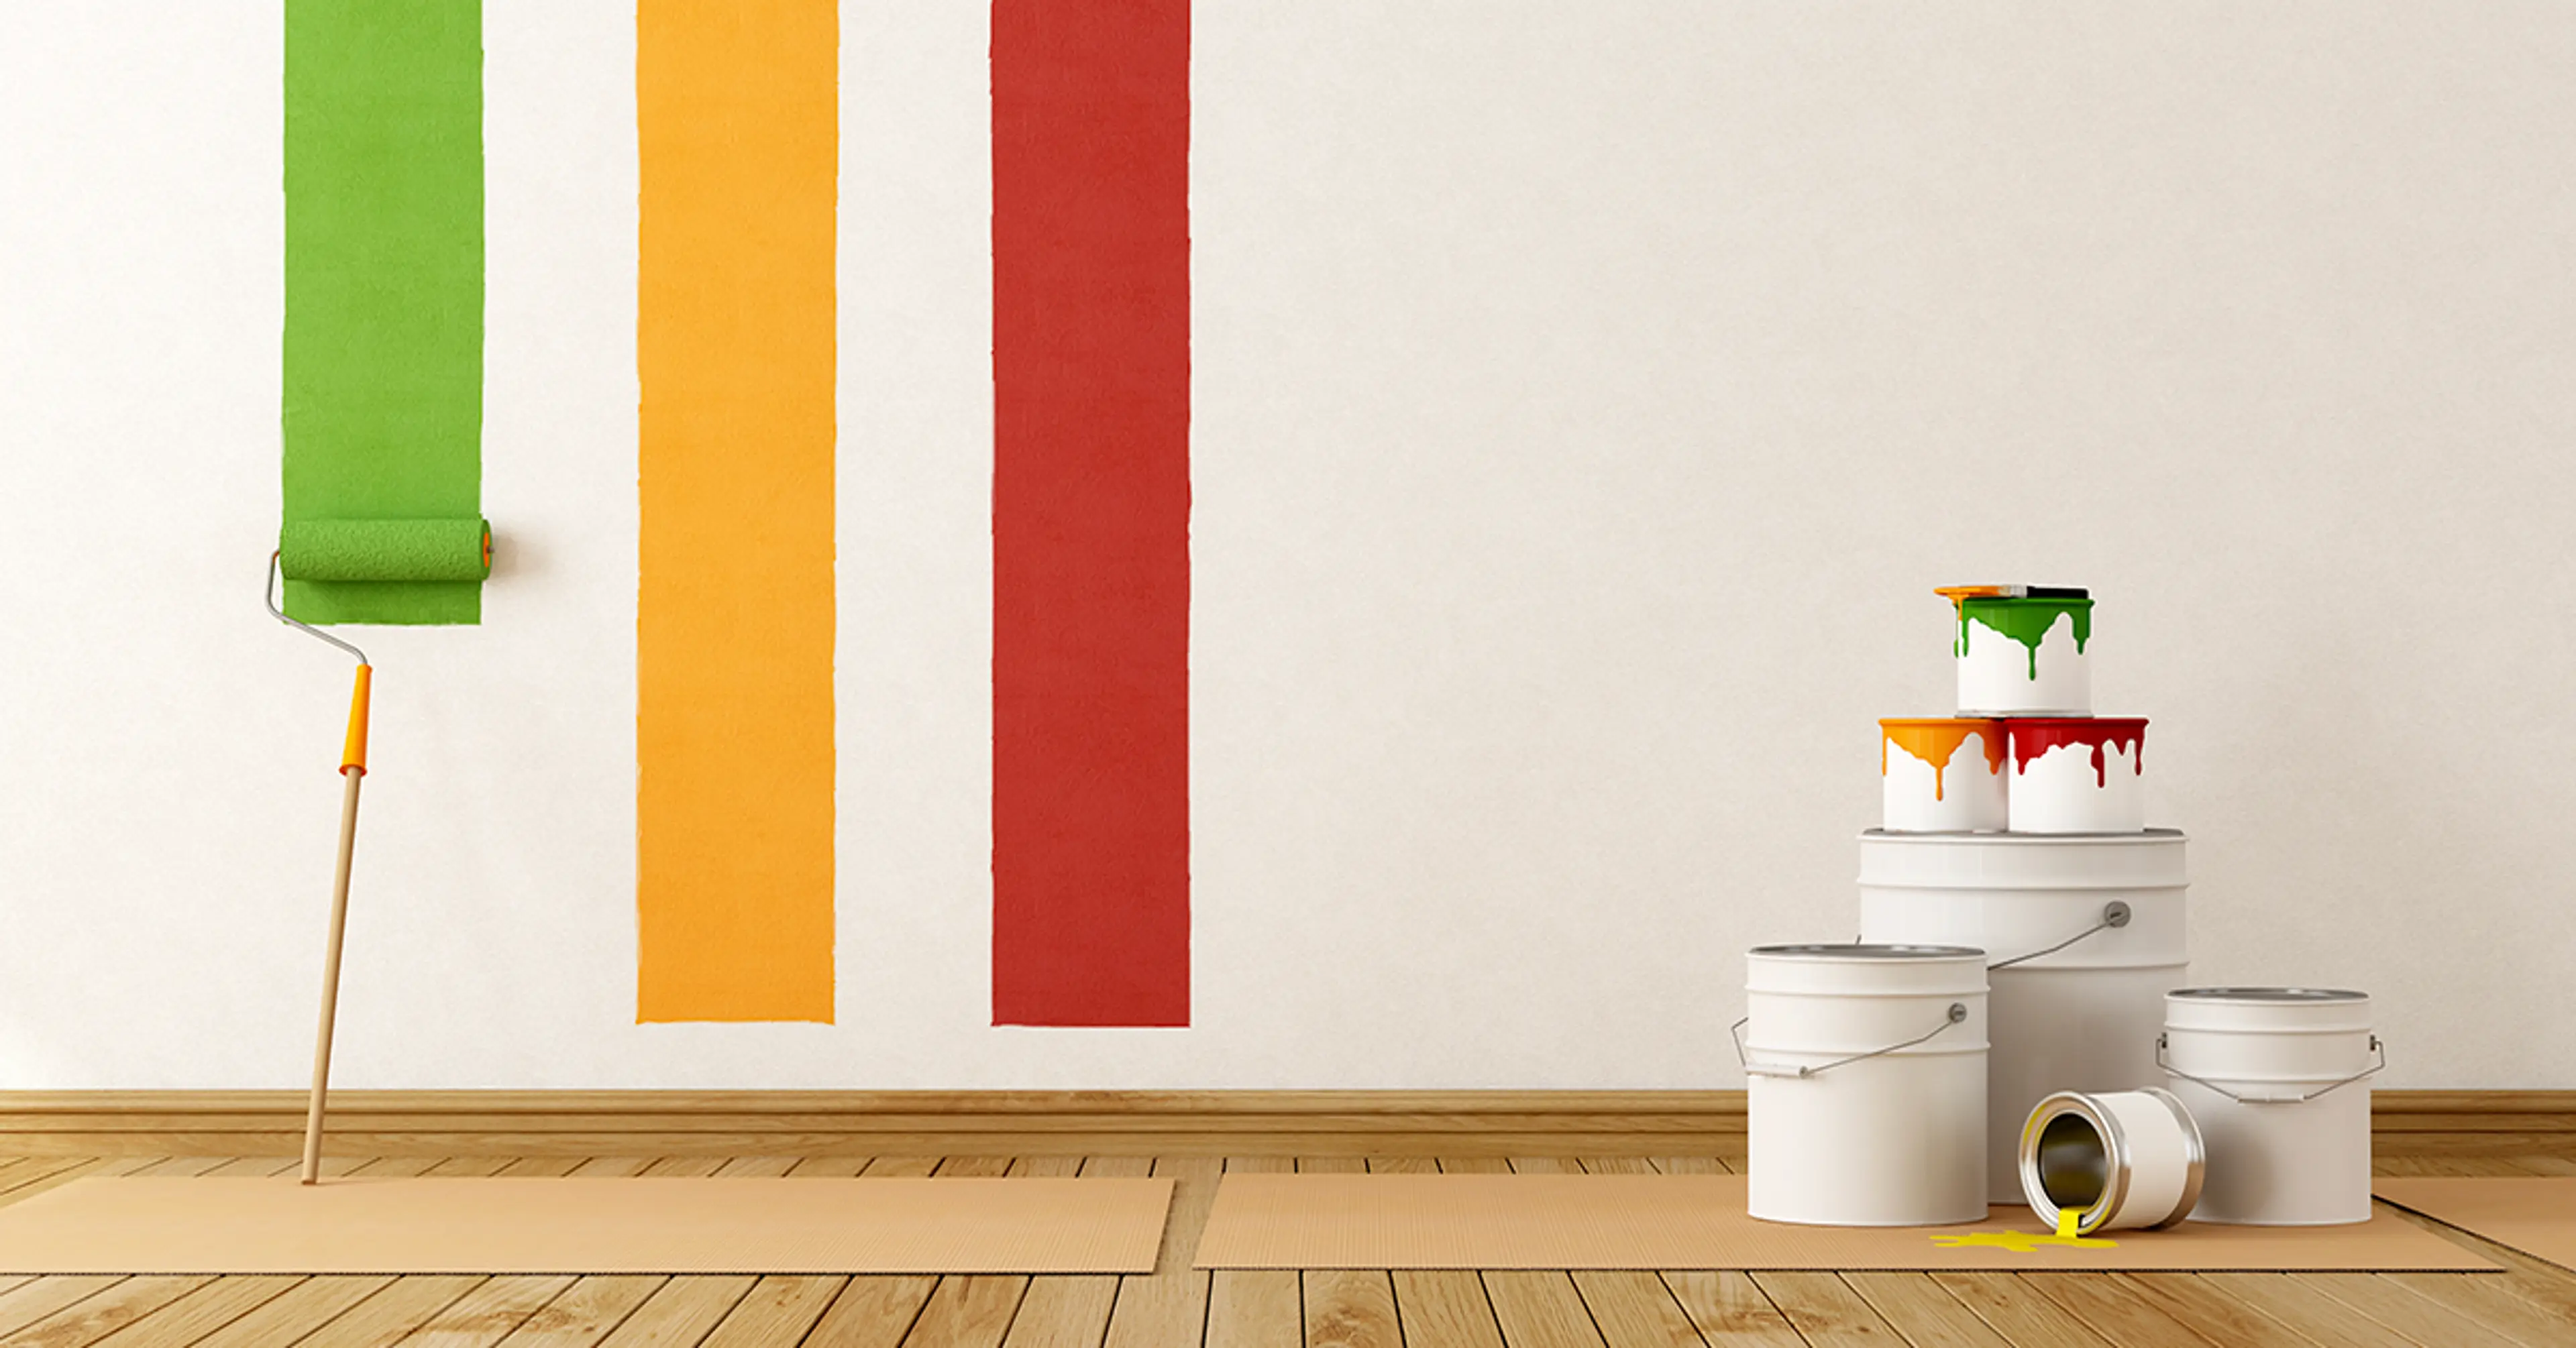
2. Pick Your Colour
Picking the right colour is a big part of the paint procedure for walls.
First, you need to see what different colours actually look like in your homes. And you can do this for free! By using a virtual painter, you get to do some exploring – have fun playing mix and match with different colour paints. Do this paint procedure for walls at different times of the day, not just one time.
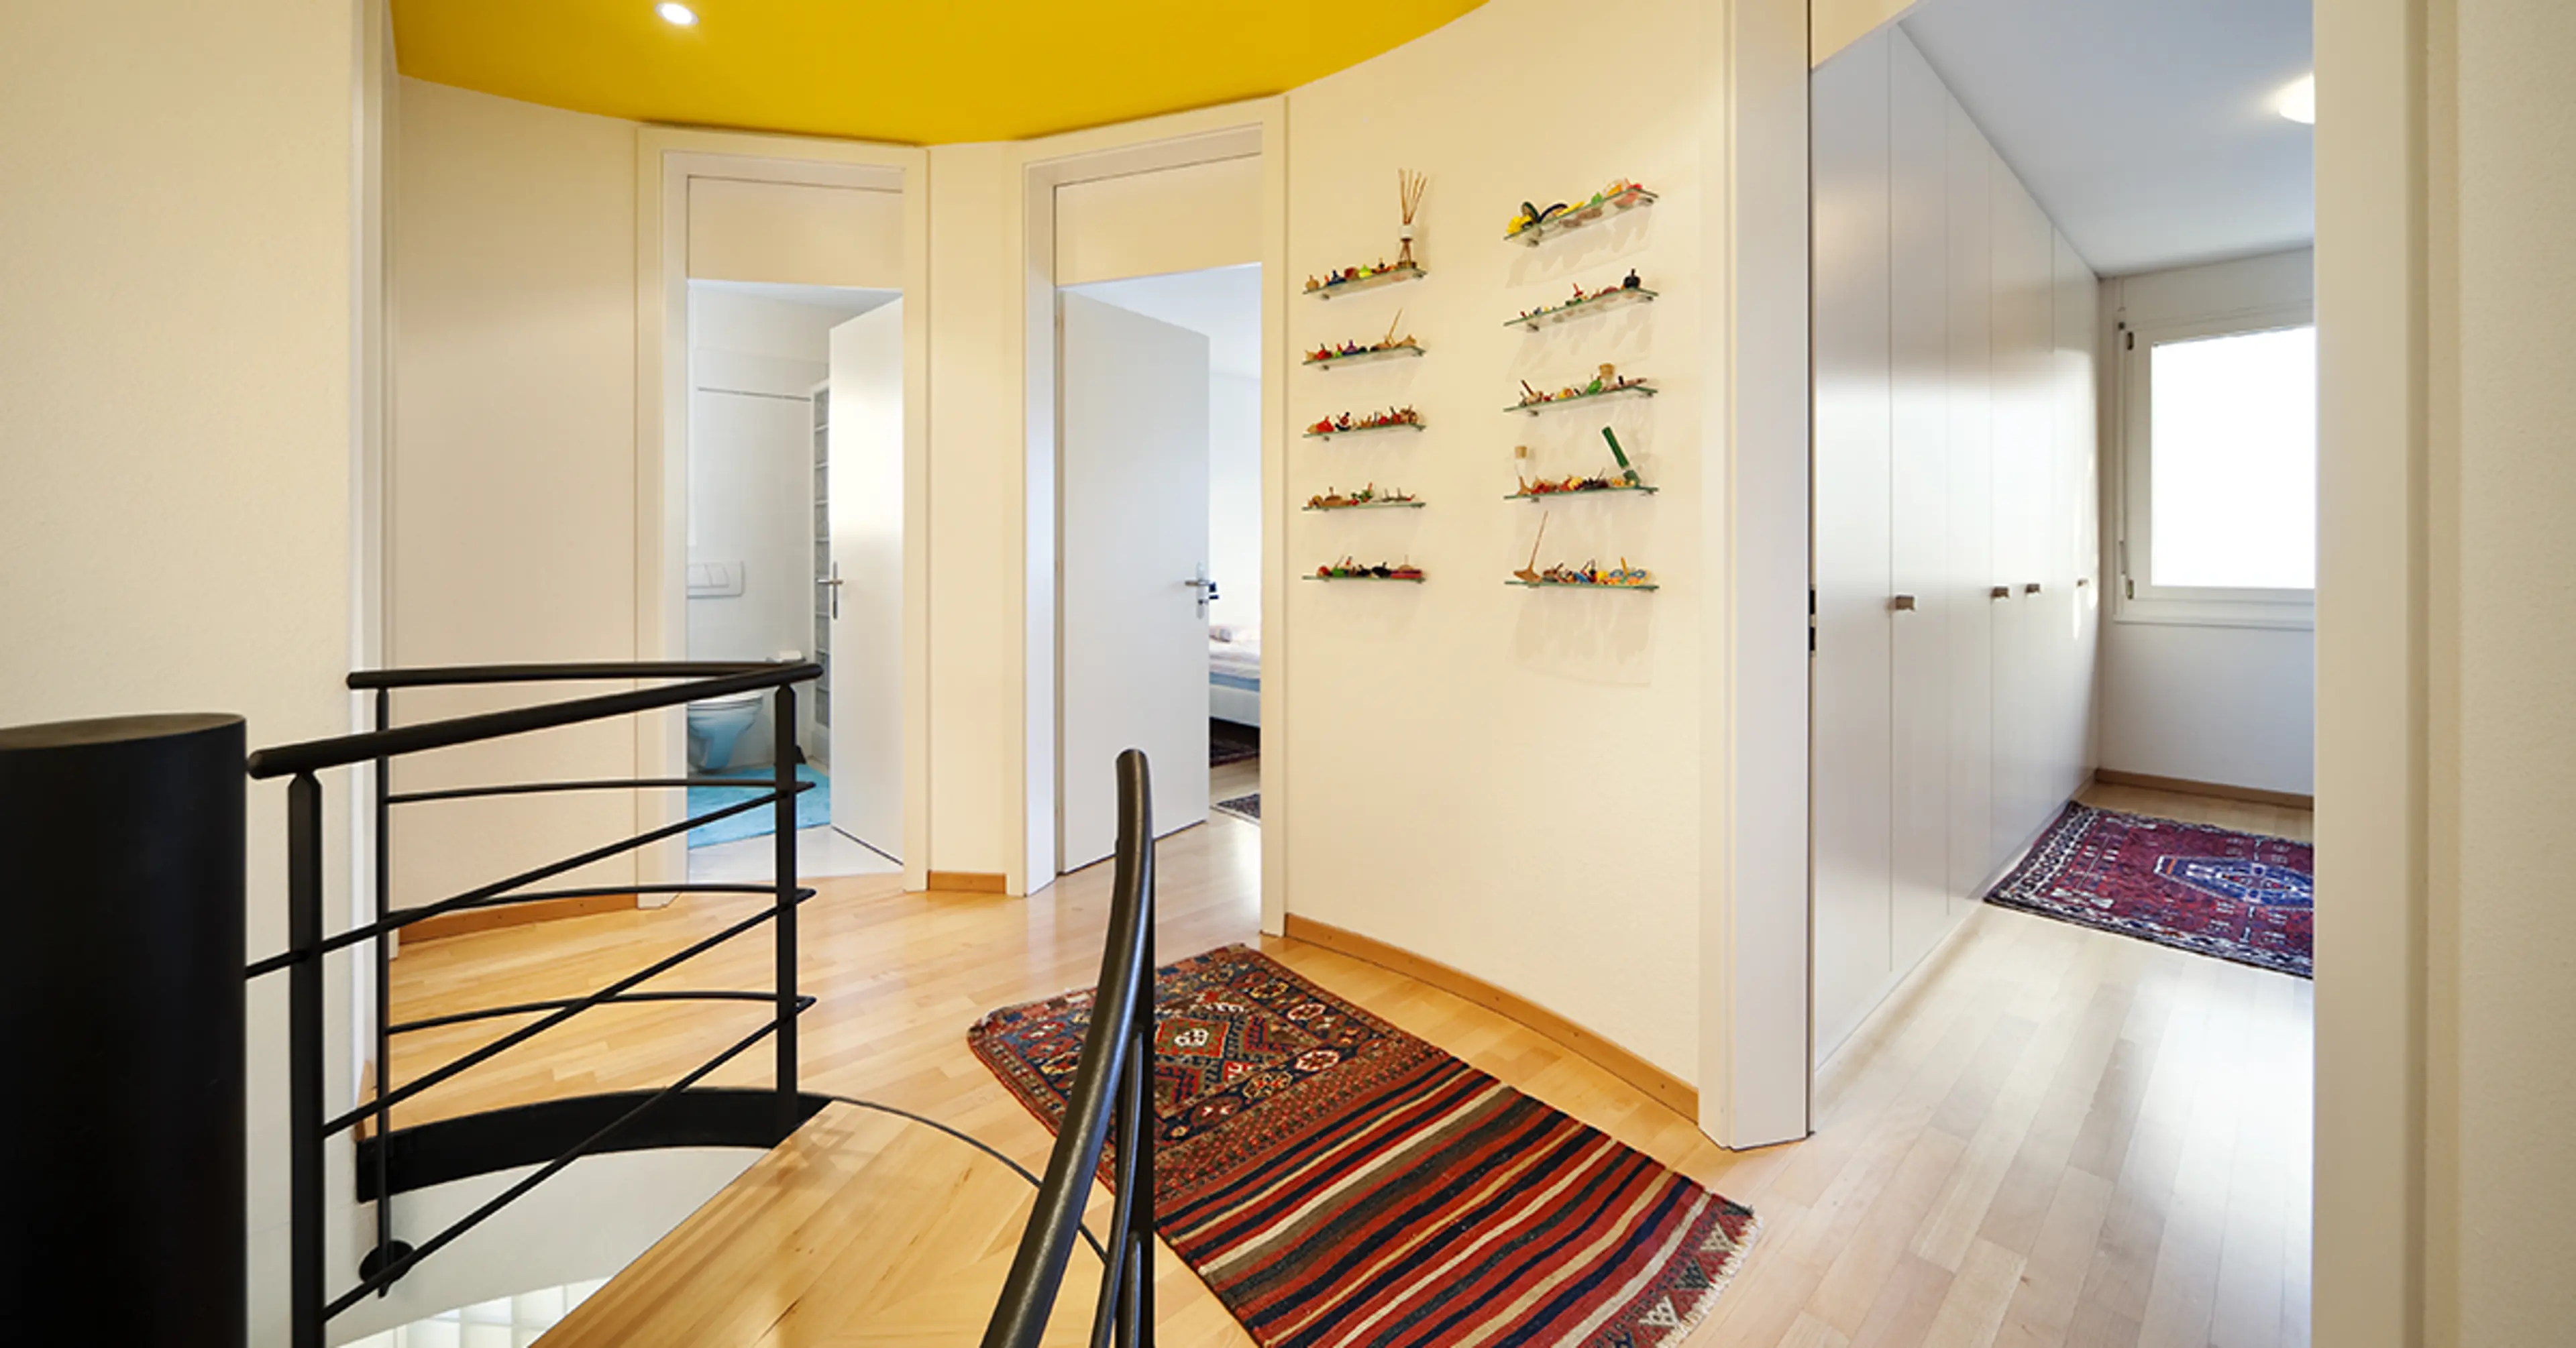
For a bedroom, you need colours that create calmness and induce sleep. So, go for soft blue or green. In the kitchen, lively colours like yellow or red will help create an appetite.
Also, consider the room's size. Use this wall painting process step-by-step tip to your advantage.
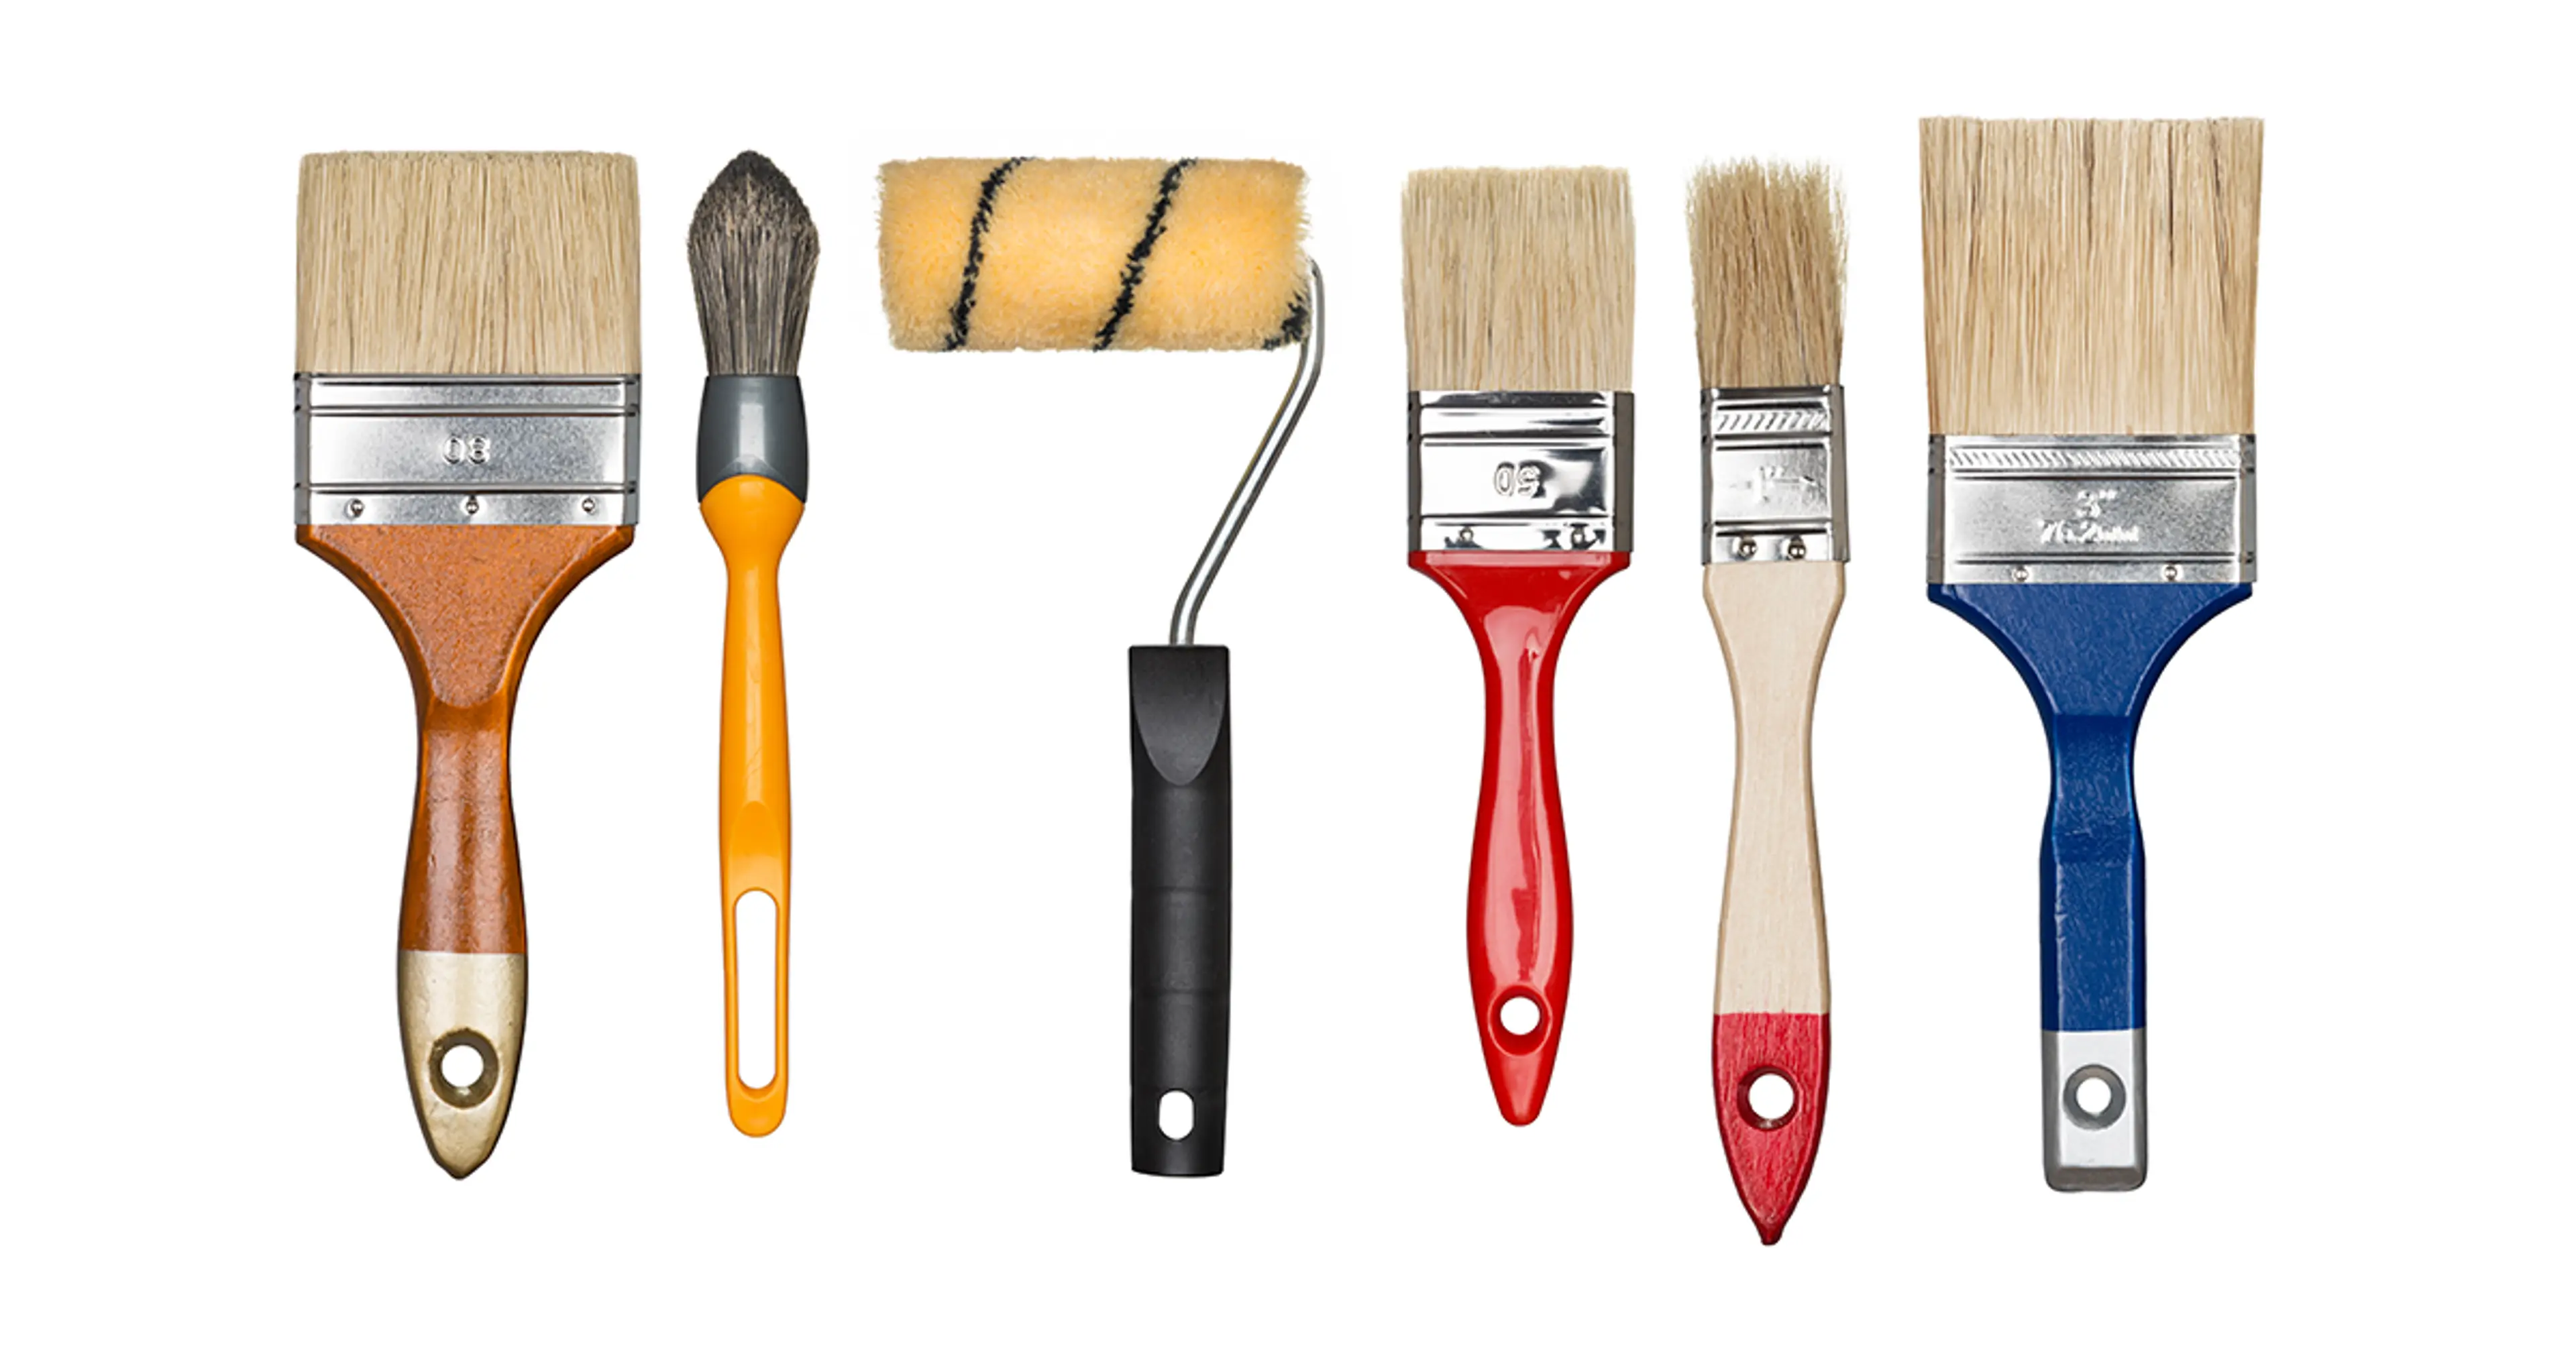
3. Choose Your Tools And Products
One of the first steps in painting walls is to get good-quality raw materials like brushes, paints, and interior emulsion. They give you more control. For larger areas, use a roller with a medium nap (the fuzzy part). It holds more paint and gives a smooth finish. This is a crucial step-by-step how to paint a wall.
Next, part of the paint procedure for walls is to pick the right paint. For areas like hallways and kitchens, choose washable paint - this makes maintenance a lot easier. Matte finish is good for living rooms and bedrooms, as they hide imperfections.
Last in the steps to painting walls is to not forget some tape. It helps you get clean lines and keeps your brush or roller away from those areas which you don’t want to paint.
Finally, you will need a paint tray. They make clean-up much easier.
4. Figure Out How Much Paint You Will Need
Start by measuring the height and width of each wall. Multiply these numbers to get the square footage. Repeat for all walls. These initial steps in painting walls give you the basic numbers you need.
Next, check your paint can for coverage details. This paint procedure for walls helps you buy the right amount.
If you plan to apply multiple coats, double or triple your paint quantity. Changing from a dark to a light colour? You might need more coats. Consider this in your steps to painting walls.
Remember to subtract windows and doors from your total square footage. Each step helps refine your estimate.
Finally, always round up. Extra paint is handy for touch-ups later. These painting steps for walls help you get the rough estimate needed to buy enough paint to finish the job.
There is a one-click process to get an estimate of the amount of paint you will need – and it’s completely free! Check out Berger’s paint calculator to get highly accurate results within minutes!

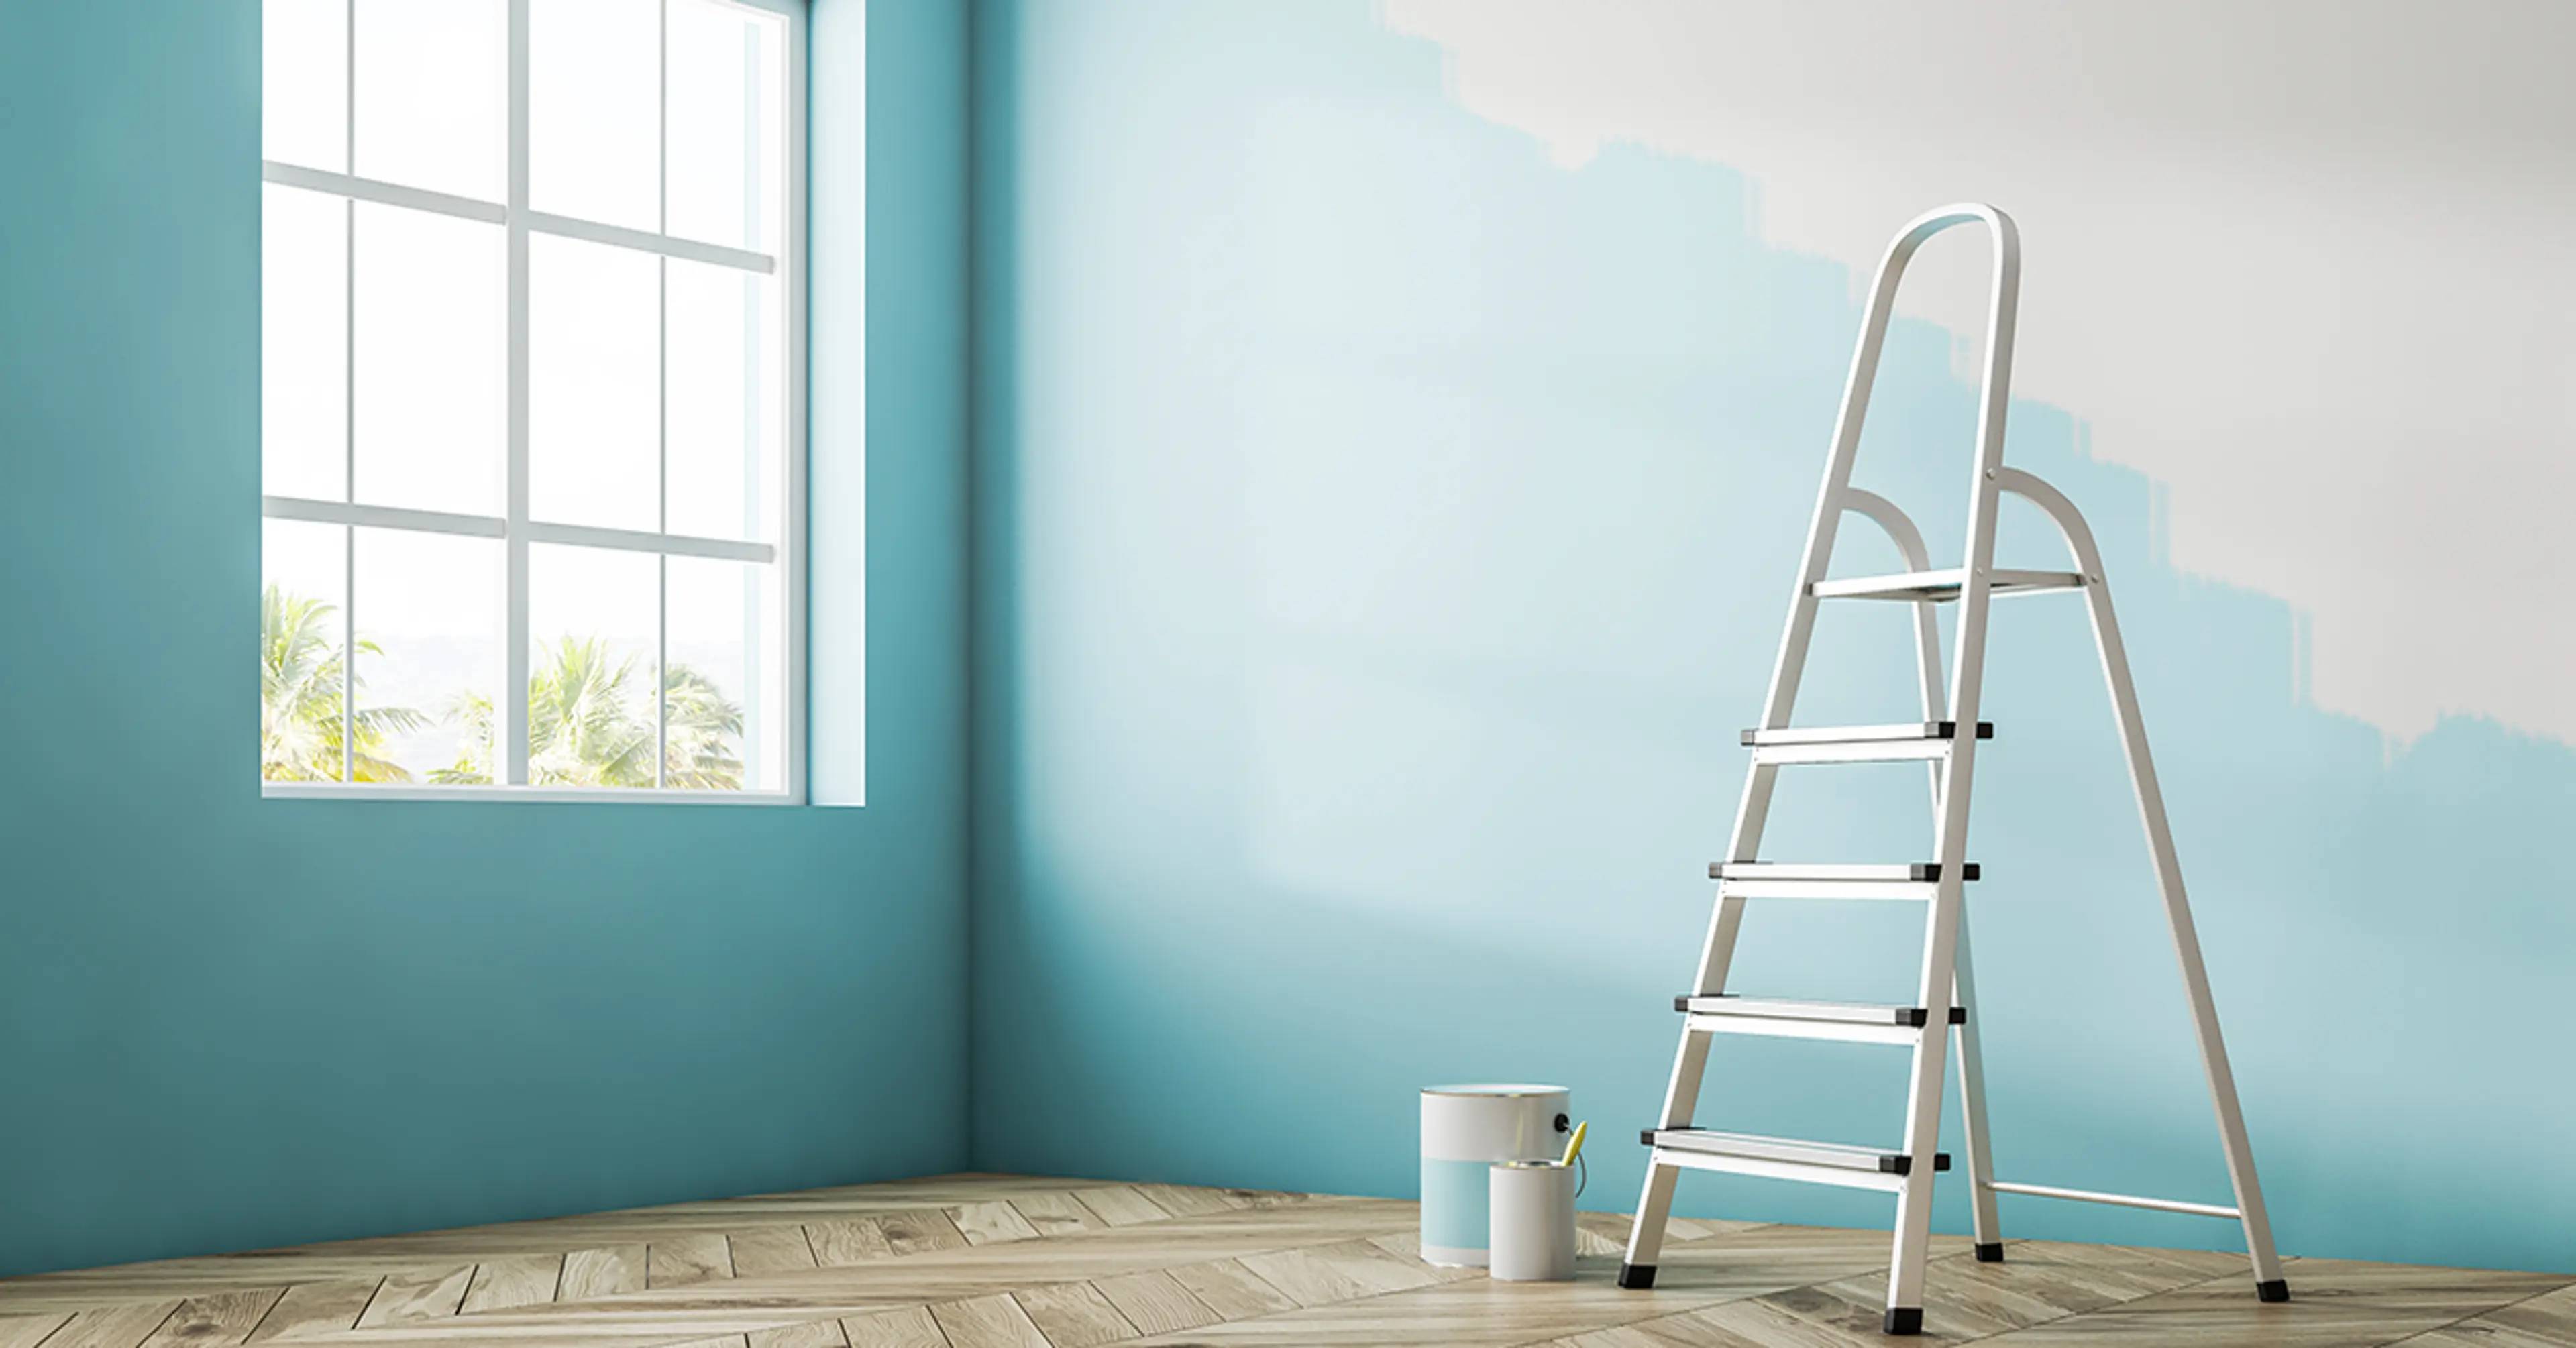
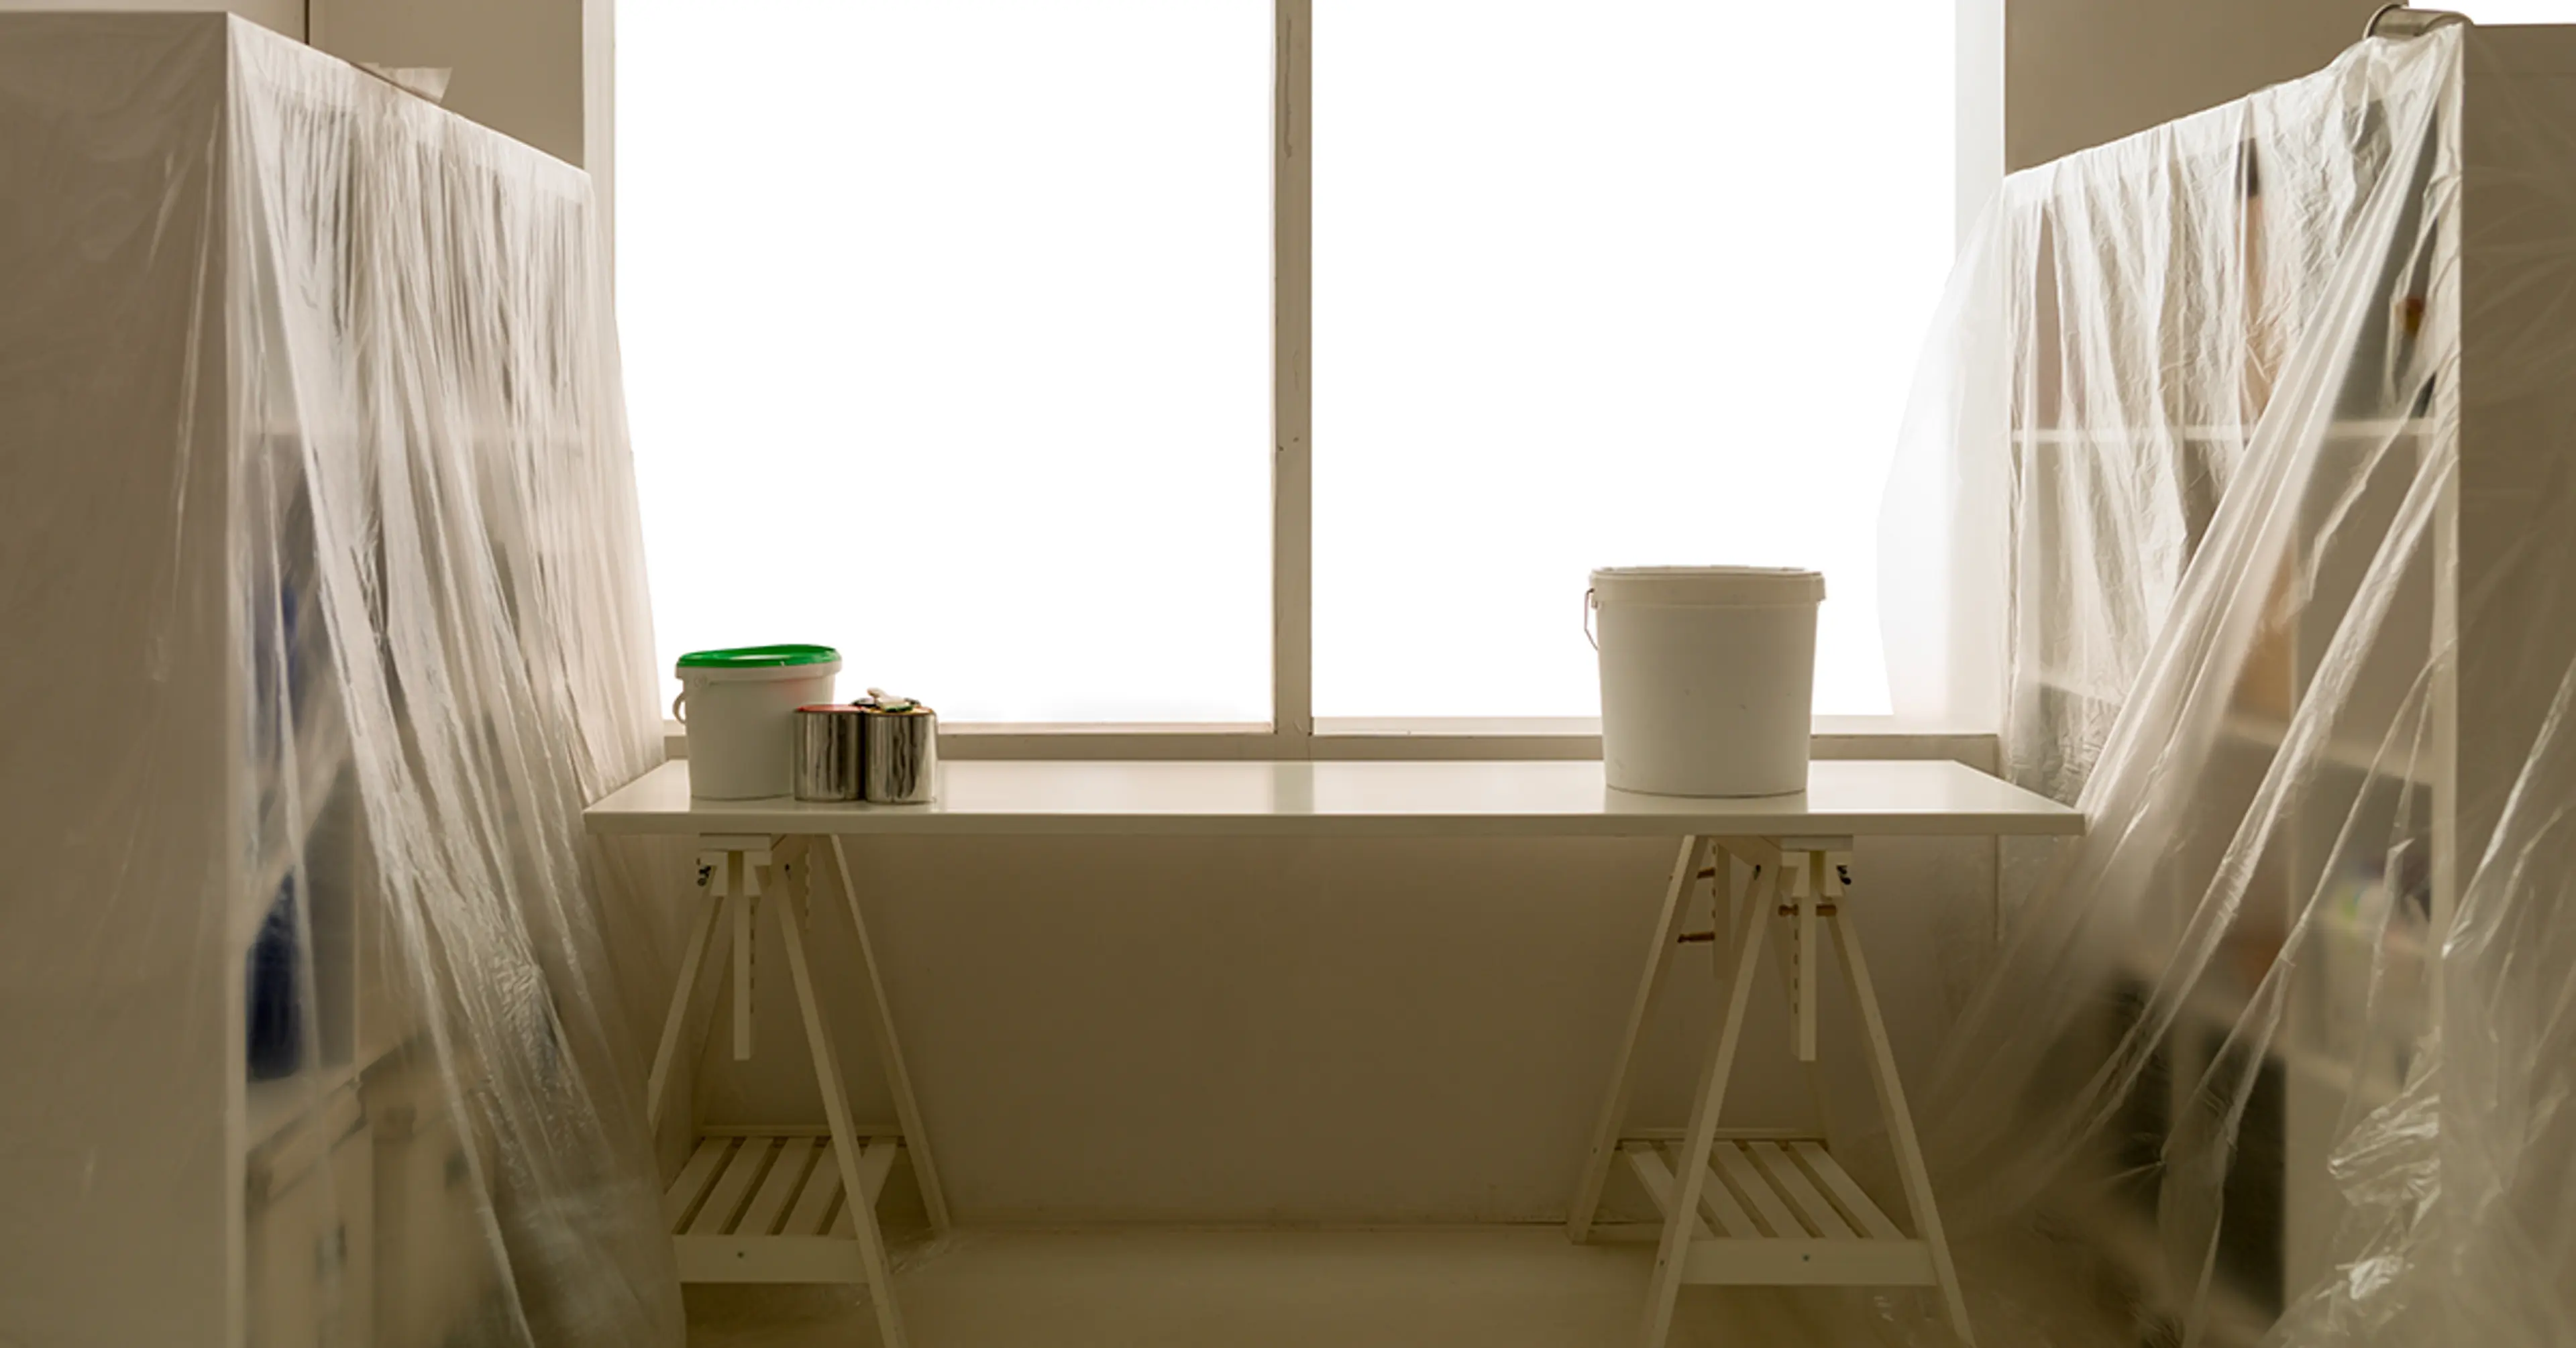
5. Prep The Walls And Room
Let's go through the steps to painting walls step by step. First, clear the room and cover furniture to keep everything tidy. Next, clean the walls with soap and water to remove any surface-level dirt – which is a real problem in every Indian household given the high levels of pollution. Repair any holes or cracks and sand them smooth once dry.
After that, apply masking tape around edges and trim to protect them from paint. If needed, apply a base coat, especially for new surfaces or drastic colour changes. Stir your paint thoroughly and pour it into a tray.
Now, grab your roller and start with the edges, then move to the main walls in small sections. Let each coat dry before adding another, usually about 2-4 hours.
Book Your Express Painting Service Today
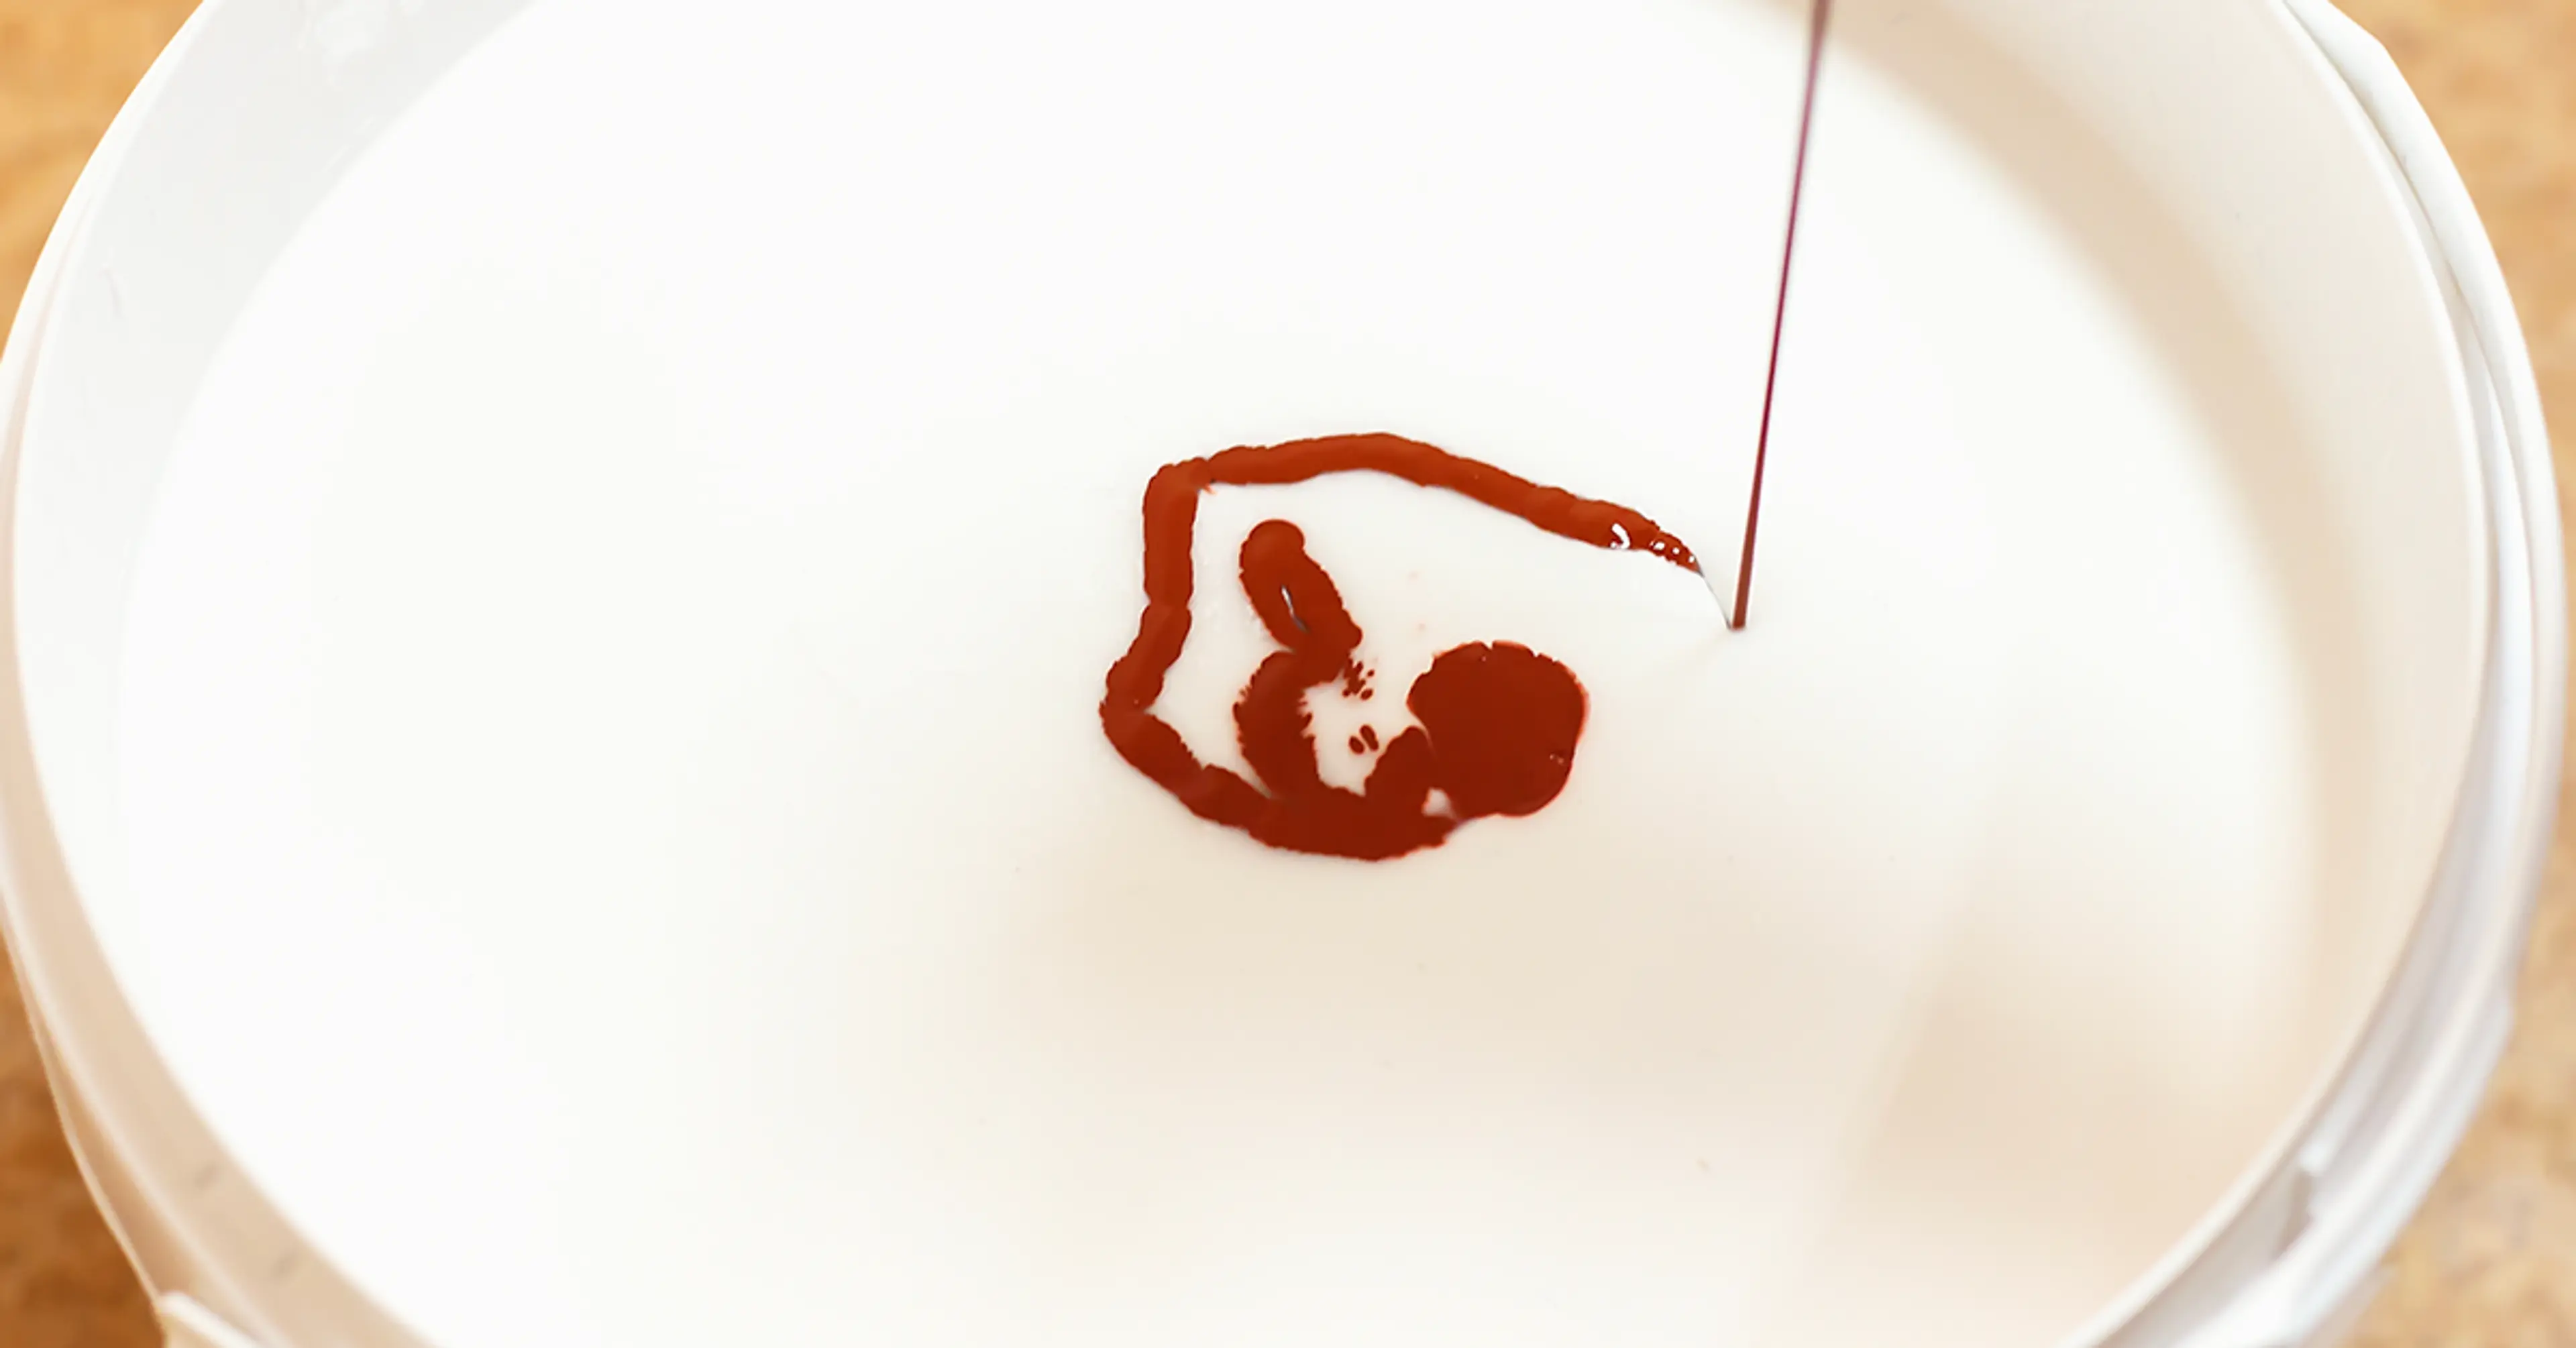
6. Mix Your Paint
When you're ready to mix your paint, follow these steps to painting walls. Choose your paint colour and type carefully. Measure the amount needed based on your wall's size.
Pour the paint into a mixing bucket. If using multiple cans of the same colour, blend them thoroughly for consistency. Stir the paint well until it's smooth.
For accurate colour matching, check the paint in different lights after mixing. Once ready, pour it into your roller tray and prepare for application.
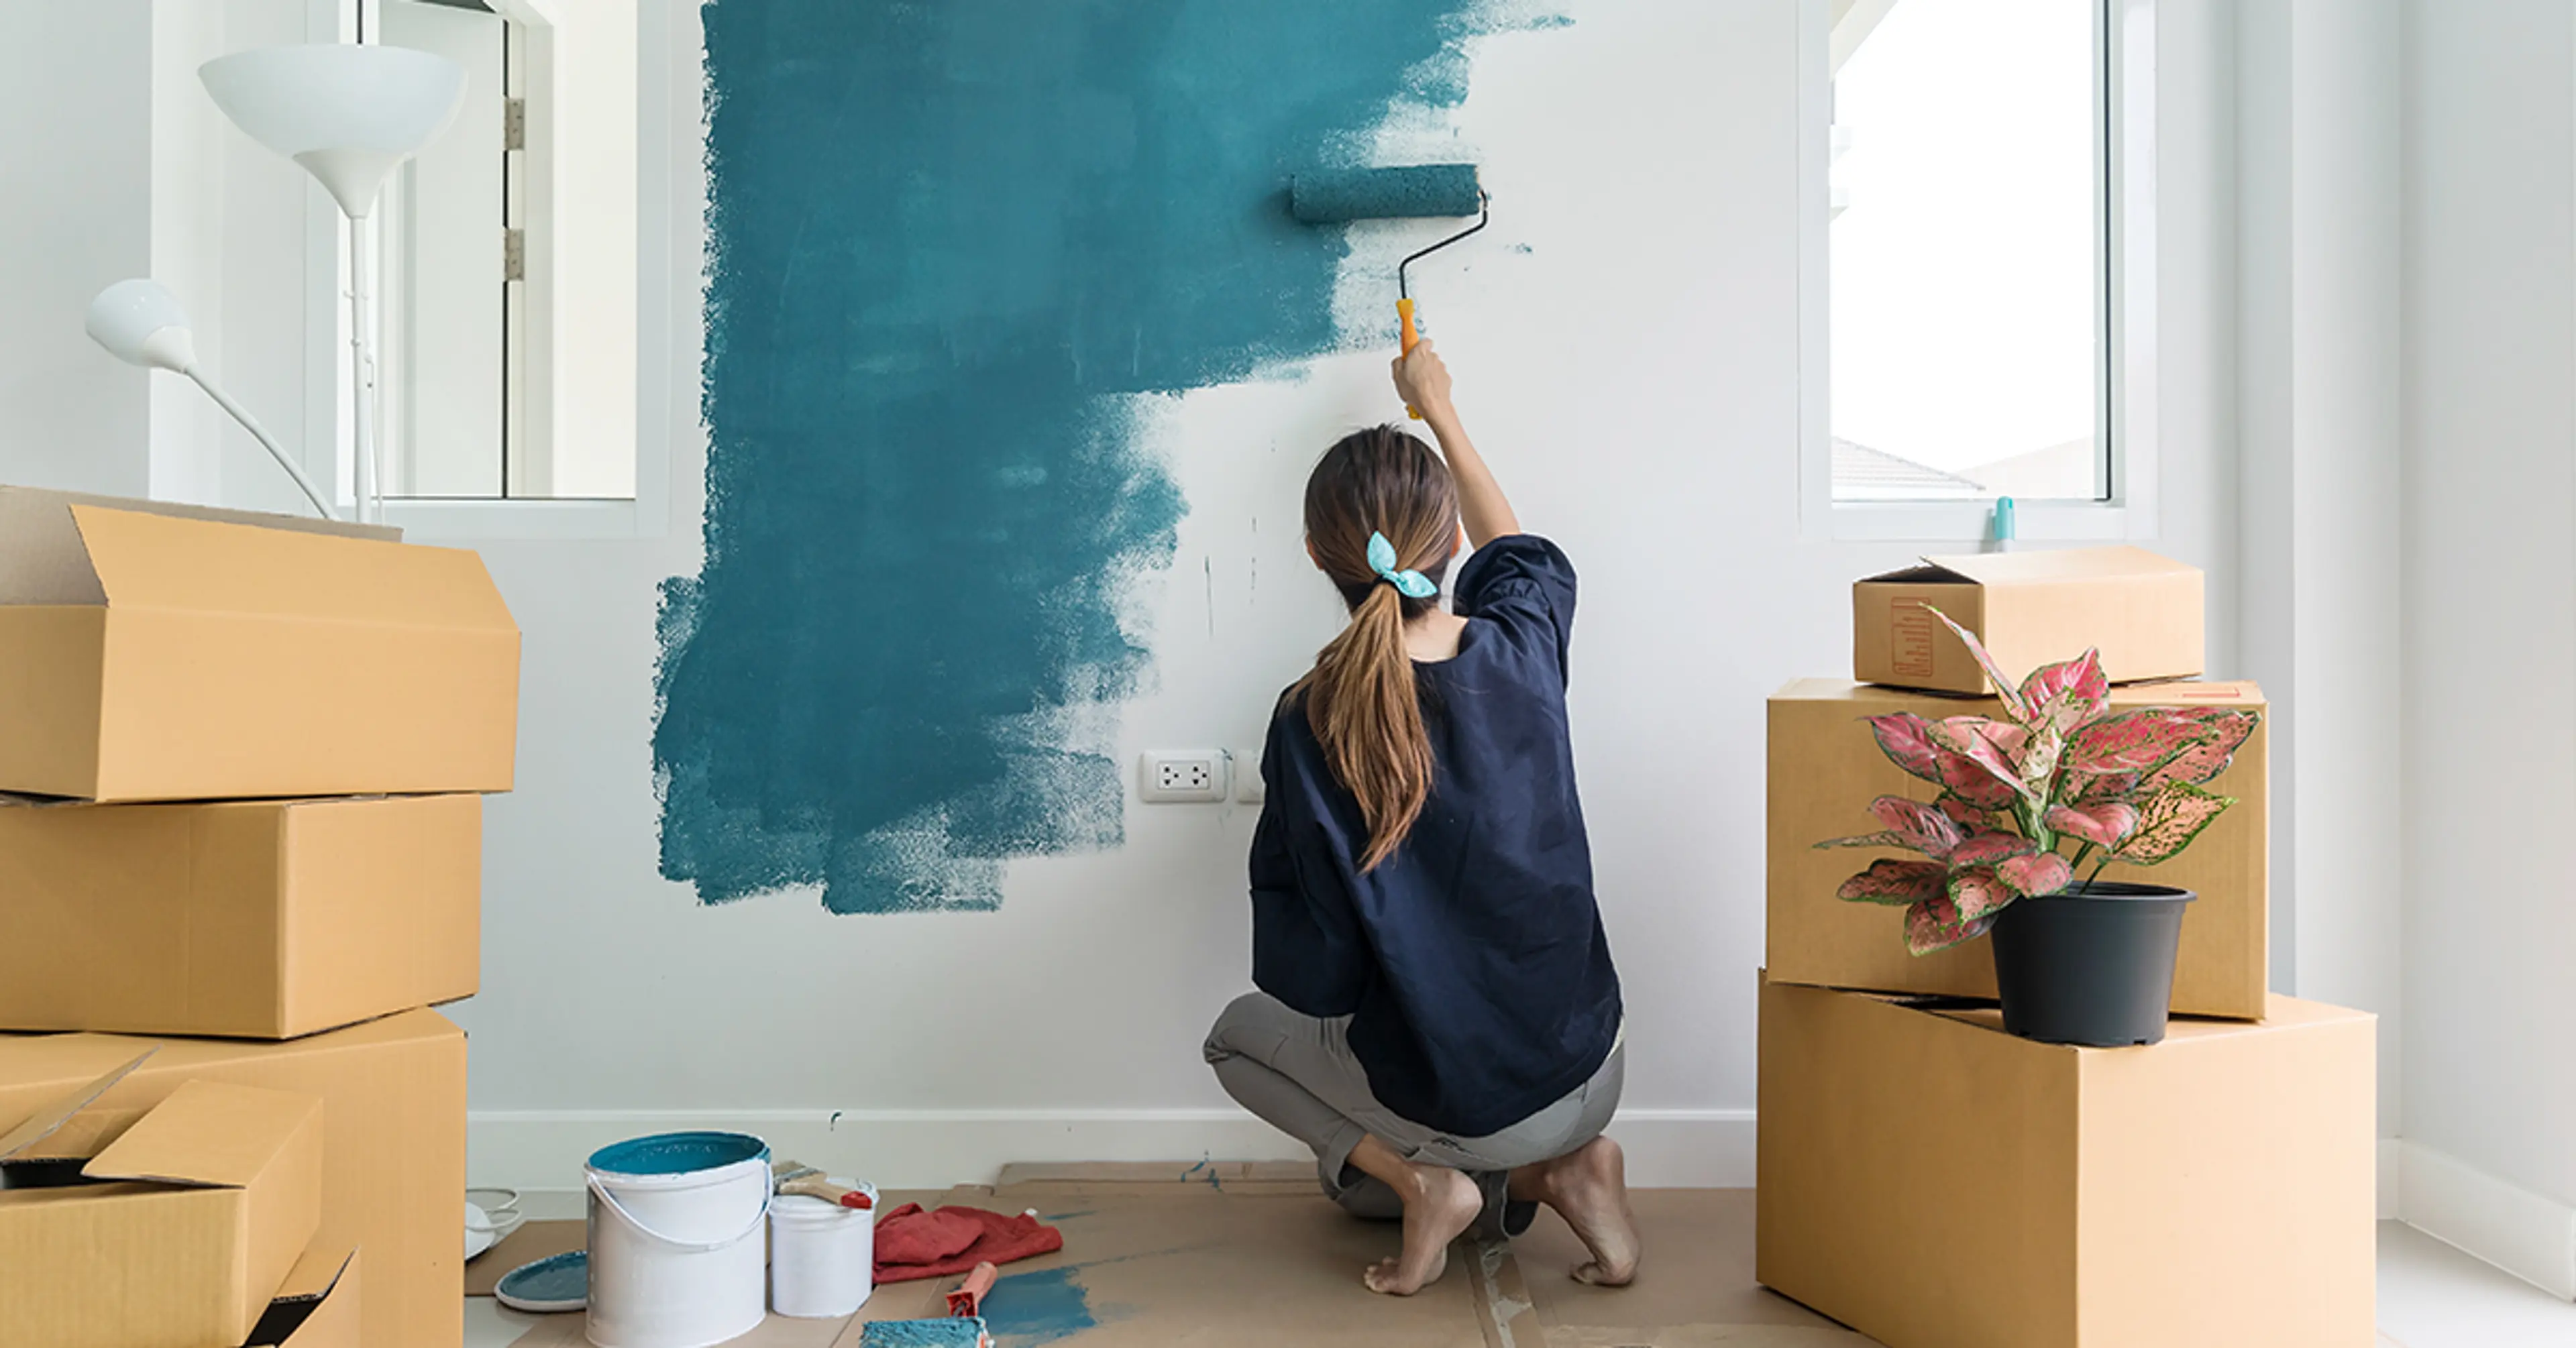
7. Choose Your Painting Technique
When deciding how to paint your walls, understanding different techniques is key to the steps to painting walls effectively. Here’s a guide on paint procedure for walls that helps you achieve great results.
First, consider the room’s size and purpose. For larger rooms, using rollers ensures coverage, while brushes work well in smaller spaces or around trim.
Once you have selected your tools, begin with a primer. Priming is a step-by-step how to paint a wall that guarantees a smooth finish.
Next, decide on your application method. Whether rolling or brushing, following the wall paint steps and applying paint in even coats ensures a consistent finish.
Finally, allow each coat to dry thoroughly before applying the next. This painting steps for walls approach helps achieve a professional finish.
8. Ventilation Is Important
Ventilation is important during the steps to painting walls. Proper airflow improves the paint procedure for walls and ensures a healthier environment.
During steps in painting walls, keep windows and doors open to allow fresh air circulation. This step by step how to paint a wall safely and effectively.
Effective wall paint steps include using fans to improve air circulation. This painting steps for walls approach helps in maintaining air quality.
9. Clean Up
After completing the steps to painting walls, it's essential to properly clean up. This final paint procedure for walls ensures a tidy finish.
During steps in painting walls, keep cleaning supplies handy. This step by step how to paint a wall effectively.
Following these wall paint steps keeps your workspace organised.
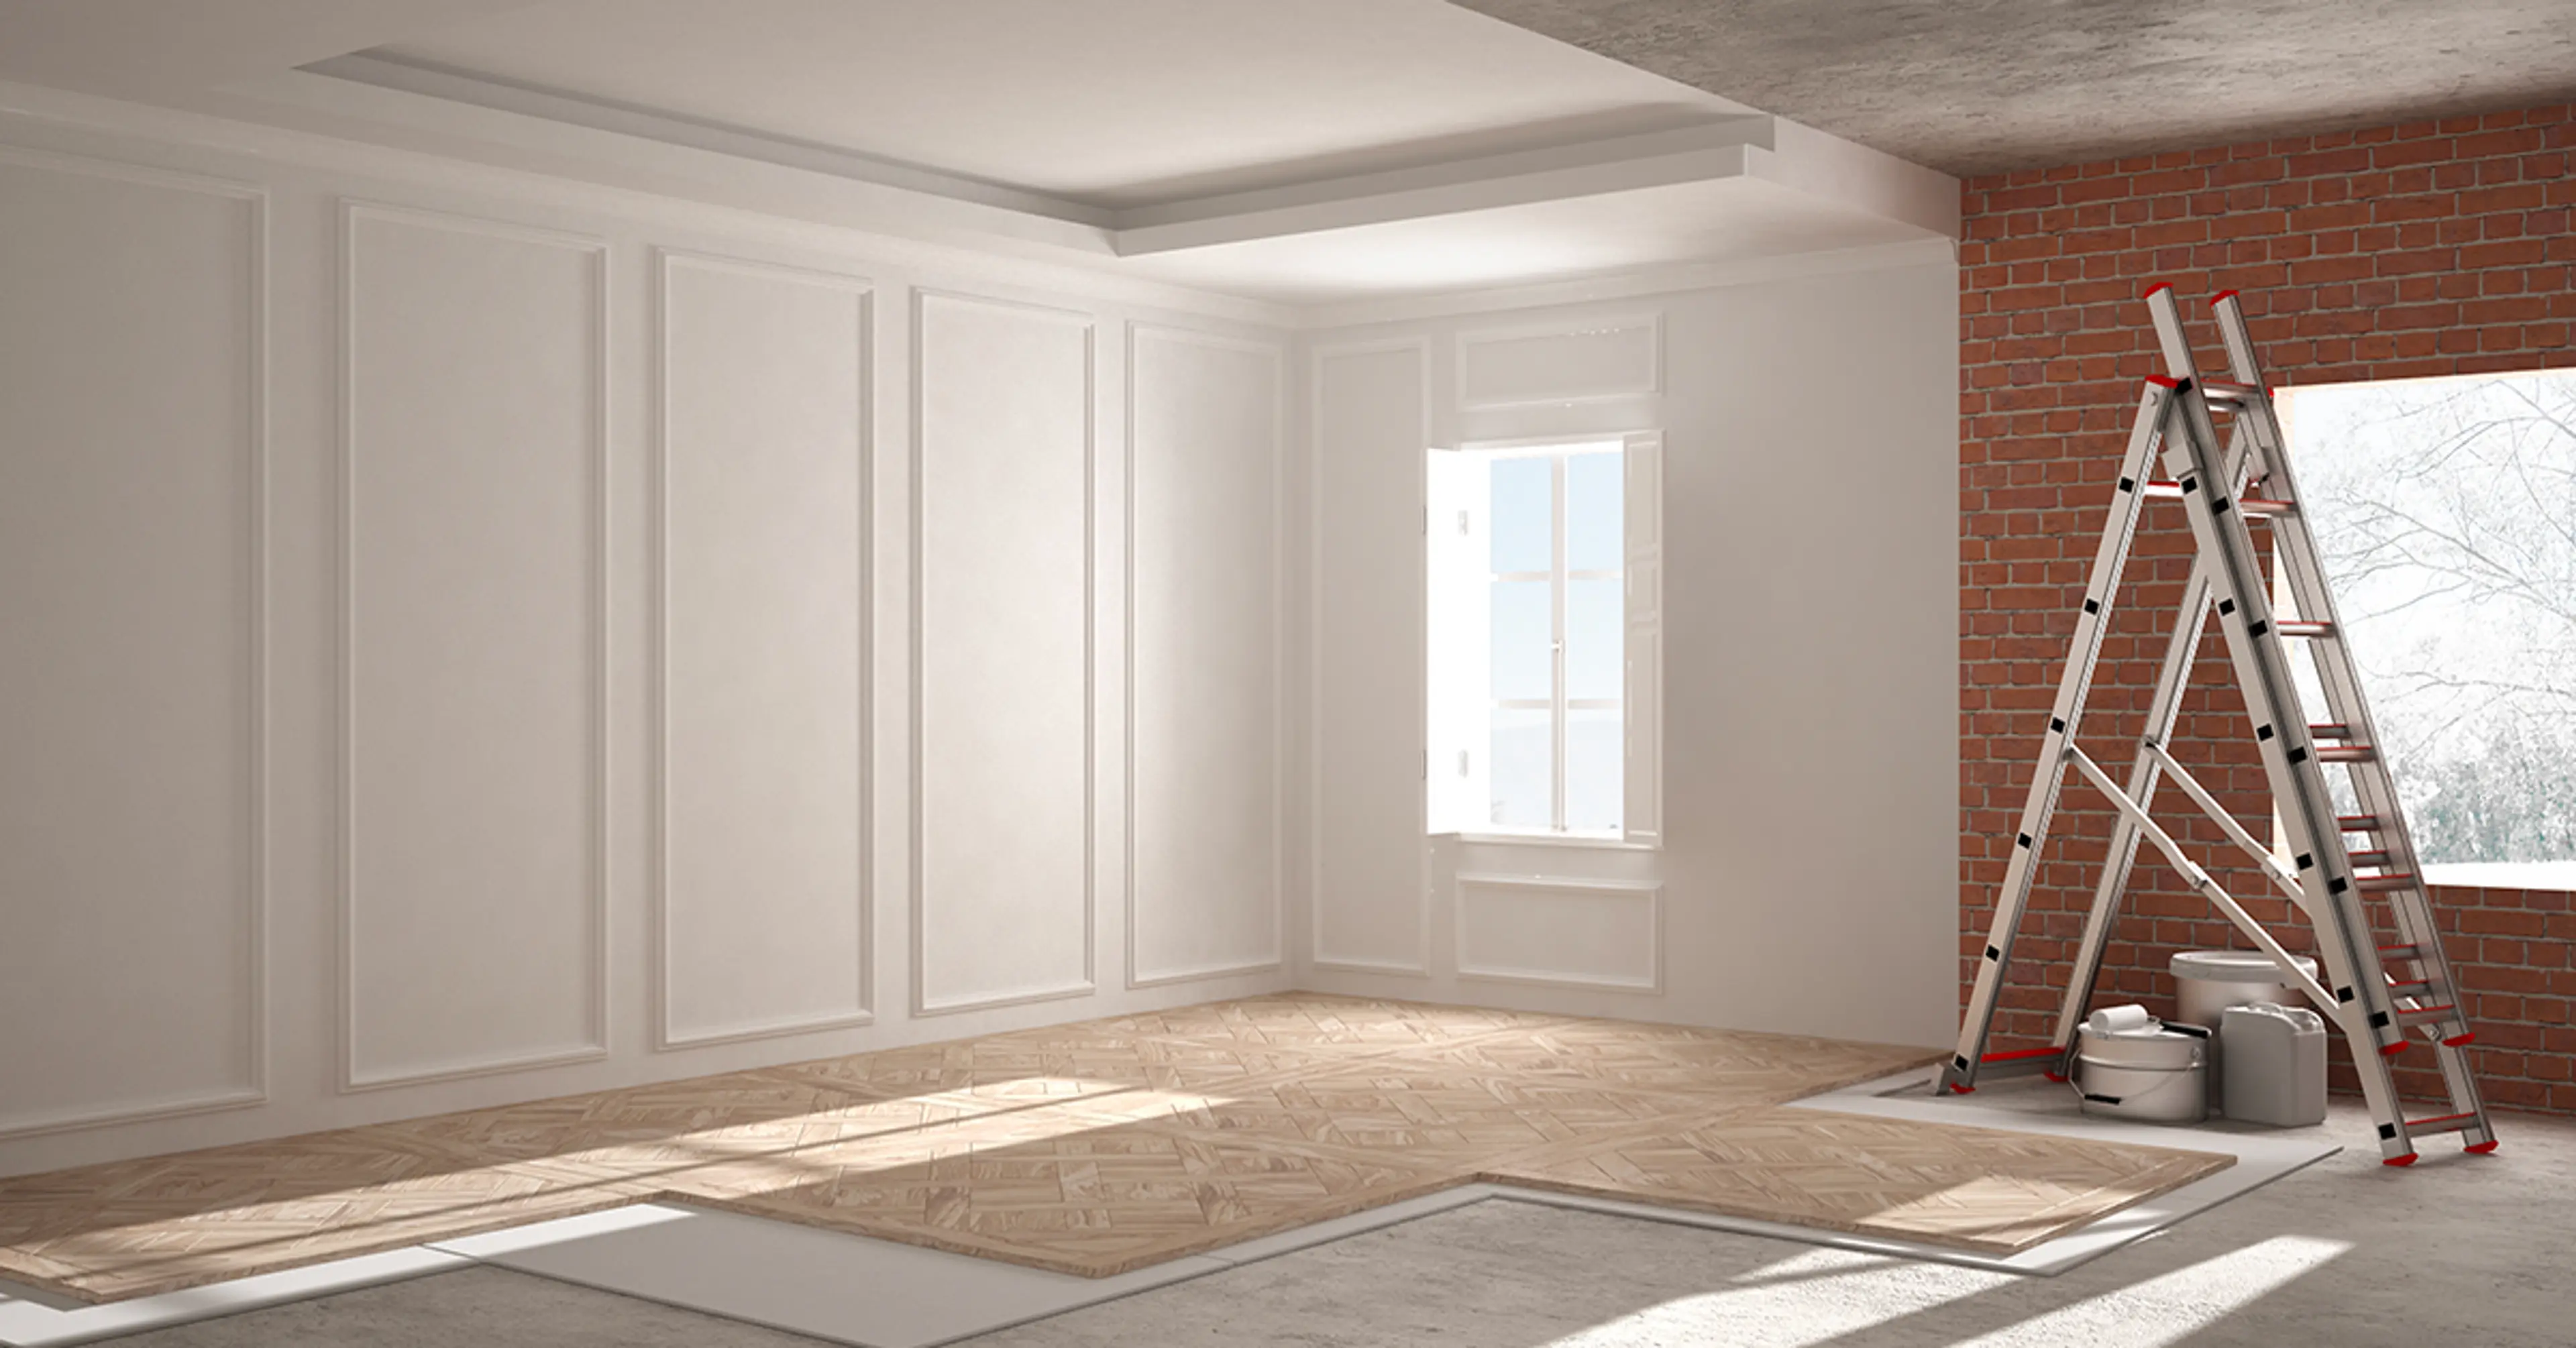
10. Give Some Time
Patience is key in the wall paint steps. This final paint procedure for walls ensures a proper finish.
During steps in painting walls, allow each coat to dry completely before applying the next. This step-by-step how to paint a wall helps in getting that smooth look.

Conclusion
Be it wall or ceiling paints, this blog will help you tackle steps to painting walls expertly. From selecting the proper raw materials to the after-paint clean-up, we have thoroughly seen the step-by-step how to paint a wall process that will assist you in the paint job.
check for any query you have about the blog
Frequently Asked Questions
To paint walls well, you'll need these tools: steps to painting walls include paint rollers, brushes (angled for corners and edges), tape, and a ladder or stool.
Before painting, prepare your walls with these paint procedure for walls steps. Clear the room and cover all the furniture with paper or cloth.
Take into account the room’s natural light, size, and overall home colour palette.
To fix mistakes, follow step by step how to paint a wall and allow the paint to dry completely. Lightly sand rough spots and touch up with a small brush or roller. For larger imperfections, repaint the affected area entirely after ensuring it's dry and properly prepped.
The best technique involves starting with cutting in (painting edges and corners) using a brush, then using a roller for wall paint steps in larger areas. Work from top to bottom in overlapping strokes for even coverage. Allow each coat to dry fully before applying the next for a smooth finish.