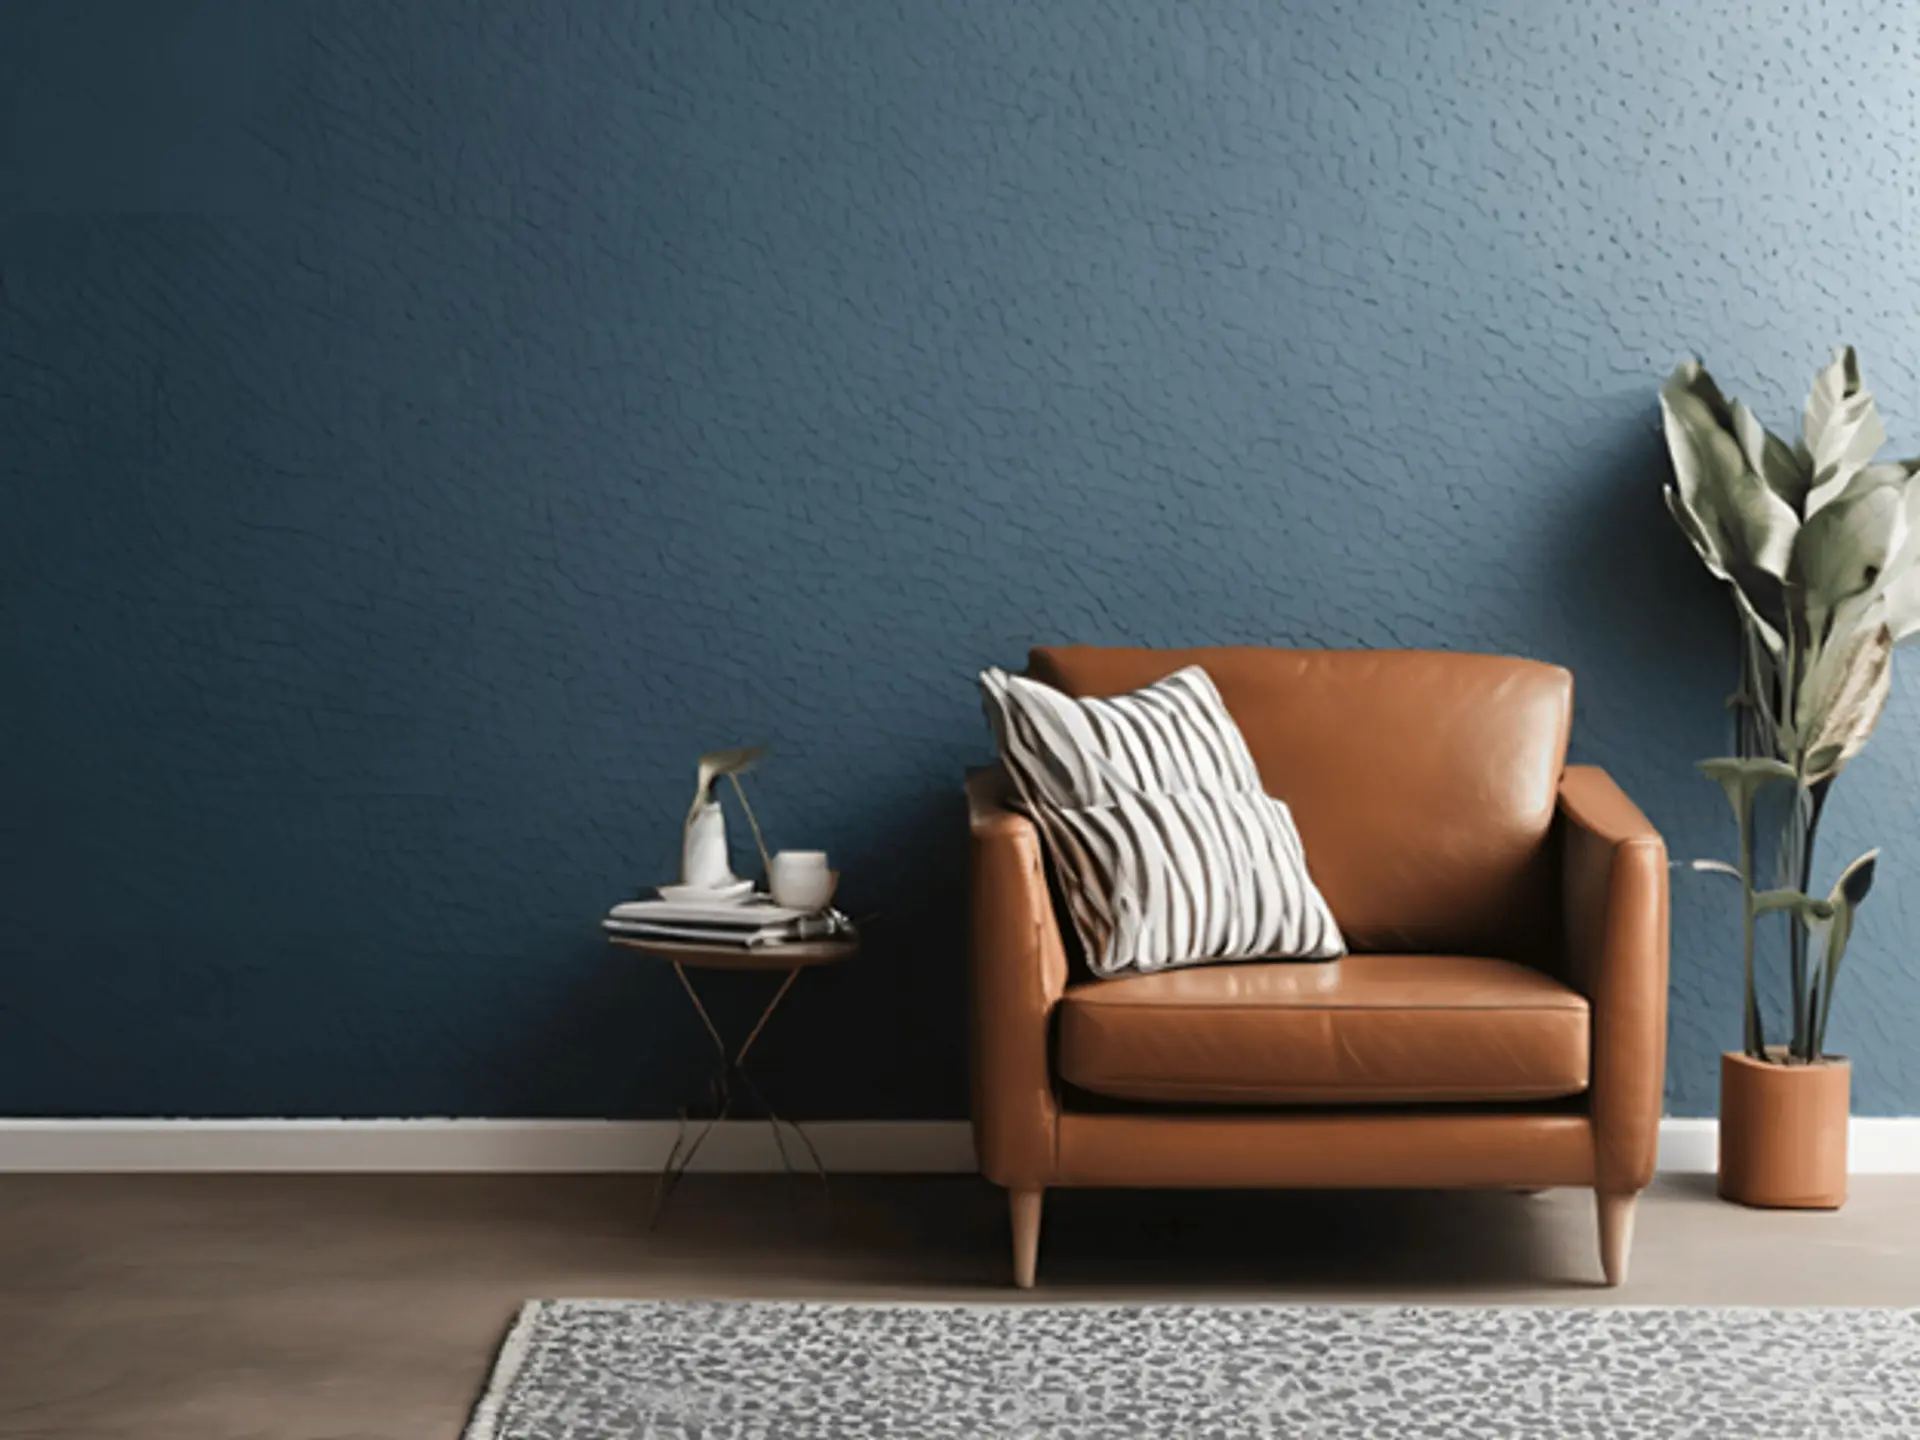
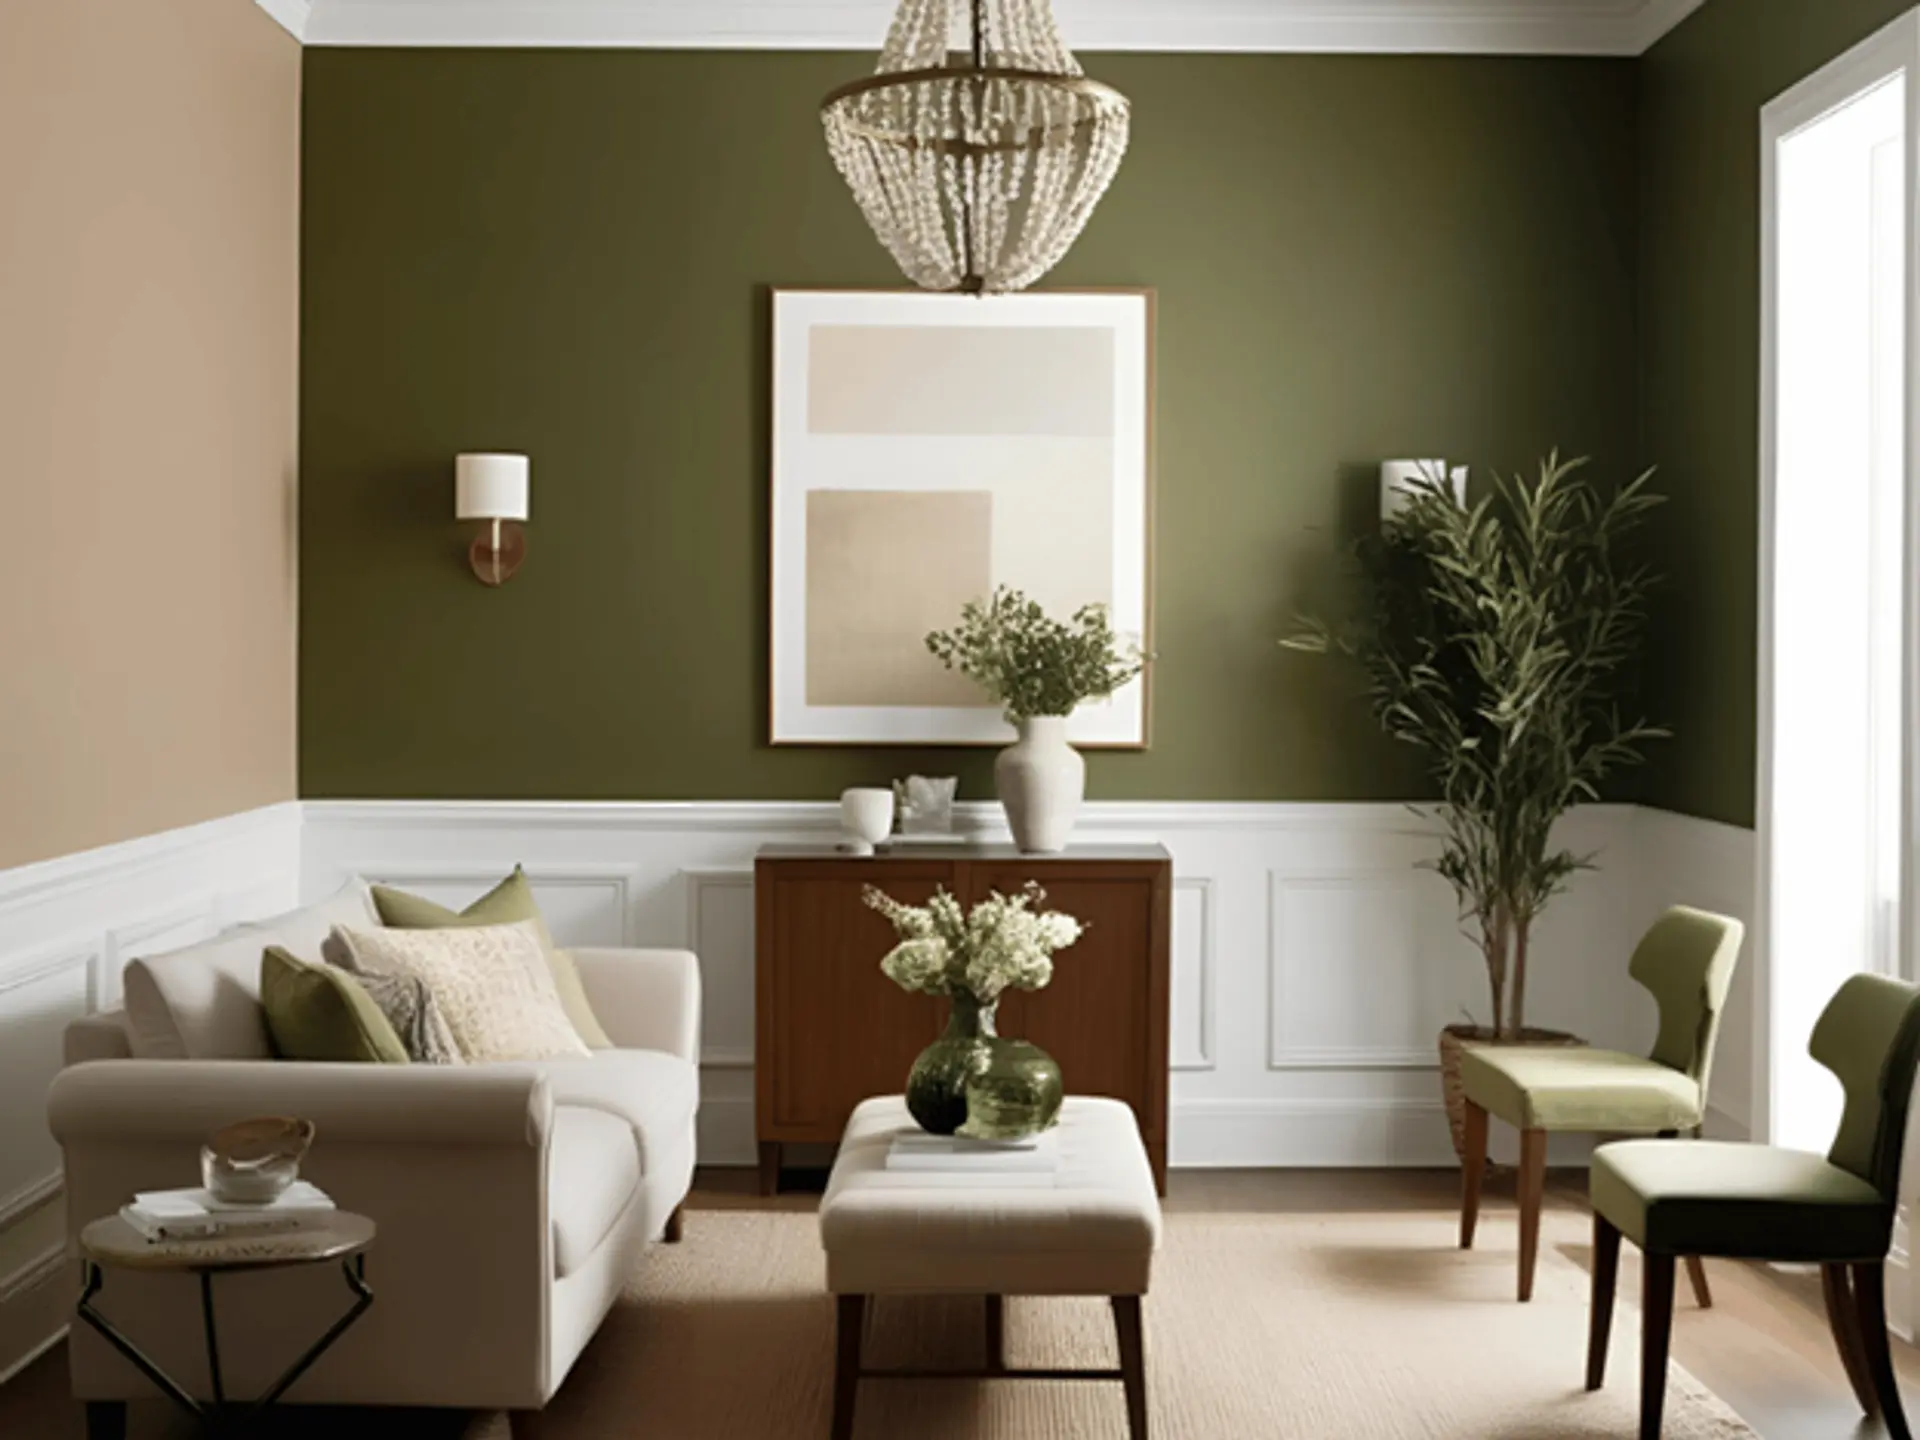
How To Paint Your Home: Tips And Techniques

 Sep , 2022
- Berger Speaks
- 4 Min Read
Professional painters are aware of the value of time. They frequently employ trade secrets to paint a space more quickly, intelligently, and neatly without losing quality or making expensive blunders.
So, for painting walls for beginners, we will now share with you some of the best painting walls tips and methods used by professional painters. Continue reading for their top interior painting tips for your perfect “Do it yourself” home look!

Start With a Perfectly Smooth Surface.
You need to start with a completely smooth surface if you want to paint walls, ceilings, and furniture with a flawless finish. One expert informed us that, given how much time he spends pushing sandpaper, “sander” would be a better professional title for him than “painting.” One of the most crucial interior painting tips you will ever receive is this!
With the right sandpaper, sanding may help level up joint drywall compound and spackling compound patches, smooth out repairs, merge inconspicuously with the surrounding surface and flatten ridges around nail holes. In painted wood trim, such as baseboard mouldings and window and door casings, sanding also removes burrs and rough places. Furthermore, the fresh paint layer will attach more readily if you use fine-grit sandpaper to rough up a glossy painted surface.
Cover Furniture

Do follow these techniques to paint walls effortlessly. Don’t bother moving all the furniture out of the room before painting. Placing all the furniture in the middle of the space will allow you to cover it with plastic sheets taped at the bottom. This will shield the furniture from sanding dust, paint drippings, and splatters. This is one of the most important interior painting tips ever!
Get The Best Supplies
Avoid skimping on paint and brushes is one of the best painting tips and tricks you will hear. Brushes at a low cost are a false economy. Your brushes will last a lifetime if you get the nicest ones you can afford and take good care of them. It will appear as you raked paint onto the wall with a cheap plastic brush. The bristles will also dislodge and land in the paint. Purchase good paint brushes, which are more expensive than regular brushes but significantly more robust and smoother in applying paint. A good all-purpose paintbrush is a broad, angled sash brush. It has several uses, and the bristles may be washed and reused until reduced to a nub. Also, select the right paint that will last long. This is one of the most critical components of interior painting tips ever!
Use Tinted Primer

Professionals tinting the primer with a little grey paint or the colour of the final paint instead of using a white primer is an easy way to paint walls. A tinted primer works better at hiding patched areas and obliterating the hue of the existing paint. The final paint coat will be more brilliant, possibly requiring fewer applications. This is especially true when painting over hues like red or orange since you might need to use three or more topcoat applications without using tinted priming beforehand. You’ll never learn a suggestion more important than this one on interior painting tips!
Eliminate Brush And Lap Marks
For a smooth, even look, brush and roll from “wet to dry” rather than the other way around. When the substrate is extremely porous, use a primer or sealer to seal the surface and produce consistent porosity (follow label and Technical Data Sheet priming recommendations for bare substrates). These interior painting tips will prove beneficial in the long run!
Box Paint For Consistent Colour
What happens when you purchase two or more cans of the same colour of paint? Almost infrequently, are they the same hue? This is due to the extremely tiny variations in paint colour across cans. Professional painters use a process known as “boxing” paint, which involves mixing their paint cans into a five-gallon bucket to maintain colour uniformity from beginning to end. Then, you won’t need to pour paint into a roller tray since you may paint straight from the bigger bucket (though you should remember that the heavy bucket is harder to move).
Finish One Wall Before Starting Another
Most do-it-yourself painters cut in all the room corners before rolling paint on the walls, but it isn’t how to paint a room properly. Professionals achieve a seamless appearance by cutting in one wall and instantly rolling on the paint before the cut-in areas dry, professionals achieve a seamless appearance. This allows the brushed and rolled areas to meld together seamlessly. This is one of the best interior house painting tips shared by professionals.
When transitioning between brushing and rolling, cover your paint bucket, tray, or container with a moist cloth to prevent your paint and utensils from drying. These interior painting tips will eventually pay off!
Buy An Extra Bucket Or Two
When painting, it’s a good idea to have a few clean, empty buckets available as freshly shaken paint doesn’t stay freshly shaken for very long. Additionally, using a stir stick by itself won’t revive settled paint. Therefore, until the solids accumulated at the bottom of each can have been blended in, you must pour the paint back and forth between two buckets: the best—and the only—way to guarantee that your paint is fully and correctly mixed. Additionally, mix any paint in many cans to guarantee colour consistency.
Wash Roller Covers
As strange as it may sound, it’s crucial to wash brand-new paint roller covers before applying paint. Pre-washing removes any loose fluff that will inevitably fall off once you begin painting. After washing the covers with water and a little liquid soap, run your hands up and down the covers to remove any loose fibres which is also known as preconditioning. Additionally, there is no need to wait for the roller coverings to dry before utilising them.
Use Canvas Drop Cloths
Use canvas drop cloths, just as the experts do. Canvas is less slippery, absorbs spills, and is strong enough to last a lifetime while being more expensive. Additionally, you don’t need a drop cloth that is big enough to cover the entire room unless you’re painting the ceiling. The best way to protect the floor is with a canvas cloth that is only a few feet wide and extends the entire wall length.
Clean Dirty Walls Before starting
Paint won’t adhere to grubby, filthy, or dusty surfaces, including kitchen walls over stoves, mudrooms where youngsters kick off their muddy boots, or areas near light switches where unclean hands are prone to touching them. In certain circumstances, clean the surface with a degreaser before painting. Degreasers, also known as degassers, remove grease and dirt to improve paint adherence. This material is strong, so read the label and follow the instructions. Also, put on rubber gloves and safety glasses.
Let The Paint Dry, Then Cut The Tape Loose For a Perfect Edge
Cut the tape loose once the paint has dried to create a perfect edge. This is one of the greatest painting tricks for walls you’ll ever get. After allowing the paint to set fully for at least 24 hours, cut through the film with a sharp utility or box cutter knife. Make sure the paint is hard to cut neatly by beginning in a hidden region.
Prime and Texture Wall Patches To Avoid a Blotchy Finish. Wall patches should be primed and texture to prevent a blotchy finish. Freshly painted walls can seem patchy. The colour is constant, but the gloss varies. This often happens over the holes and cracks you filled with drywall compound or filler.
Bottom Line
You need to be quite cautious if you’re thinking about painting the walls in your house by yourself. Paint drips shouldn’t damage your favourite furniture, and you don’t want to start over after skipping a crucial stage. Therefore, if you’re unsure of how to paint a wall, the painting mentioned above advice will help you increase the calibre of your work and save time, regardless of whether you want to quickly update your house, change your design, or perform some normal home maintenance. So, These interior painting tips will pay off in the long term!
Don’t worry, if you can’t do it yourself, Berger Painting Services is always there to help you!
check for any query you have about the blog
Frequently Asked Questions
An interior’s ceiling should be painted first because it is the surface over which we have the least influence. There will certainly be paint on the floor; maybe even a little will get on the walls, but it won’t matter too much because they will be painted later.
The ideal sequence for painting a room
- The Ceiling.
- The Walls
- The Skirting Boards.
- The door and window frames.
- The Doors.
For around two to three days after painting, keep windows open as wide as the weather will prevent unwelcome exposure to paint fumes (and return to acceptable indoor air quality).
Before painting the ceilings and walls, paint the trim. Painting a space is often done in a certain order by professionals. Before painting the walls or ceiling, the trim is painted. This is because taping off the trim is simpler (and quicker) than taping off the walls. Furthermore, you should not tape them both off!
Painting a home’s interior is unquestionably less complicated, and takes less equipment and preparation time than painting the exterior. However, the task could need more precision and time-consuming attention to detail.